This article was co-authored by Patrick Johns. Patrick Johns is a Home Improvement Specialist and the Owner of CatchAll Handyman Services. With more than 28 years of experience, he has worked on a variety of home improvement projects, such as carpentry, plumbing, and door and window installations in both commercial and residential properties.
This article has been viewed 575,338 times.
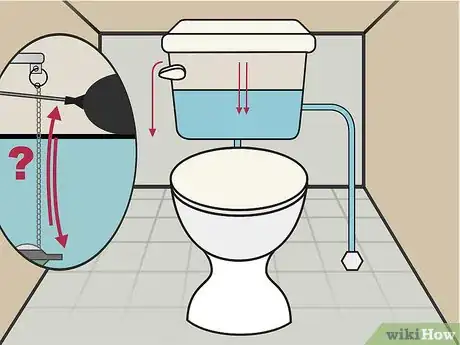
A toilet that constantly runs or doesn’t flush well is not only a big annoyance, it's a waste of precious water. The good news is that most flushing mechanisms are easy to fix. While toilet flushing systems can vary, most toilets use a flapper system to control the flush. Although replacement is always an option, the first thing you should do is adjust the flapper chain. If that doesn't work, you can swap it out for a new one.
Steps
Adjusting the Flapper Chain
-
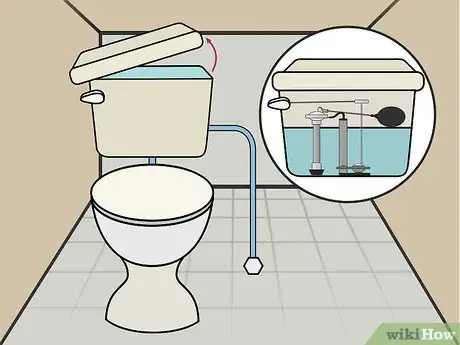
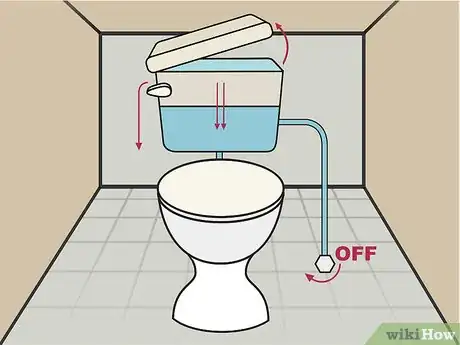
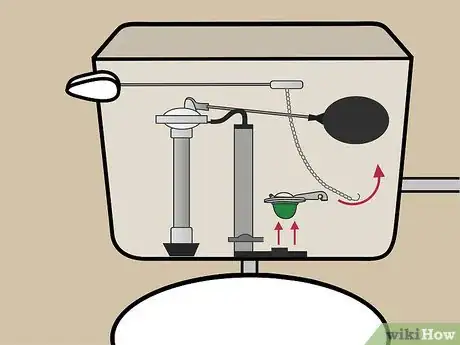
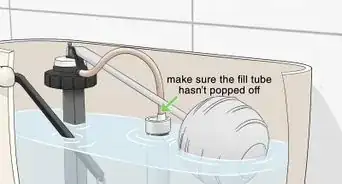
1Remove the lid from your toilet tank and note the parts. Grab the lid from both sides and gently lift it upward. Set it down on a piece of cardboard to avoid getting your floor wet. Take note of the parts in your tank: the flushing handle should be connected to a long metal or plastic handle arm that connects to the flapper chain. In turn, the chain connects to the flapper.[1]
- Don't worry about emptying your toilet tank to tighten the flapper.
-
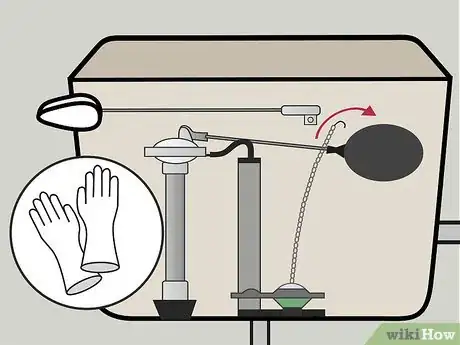
2Take the chain off of the handle arm. Reach into the tank and remove the chain link that connects the handle arm to the flapper. There should be a small opening in the link that lets you remove it. Inspect the chain and wipe it down to make sure there's no sediment in that got stuck.[2]
- Put on a pair of rubber gloves to avoid getting wet.
Advertisement -
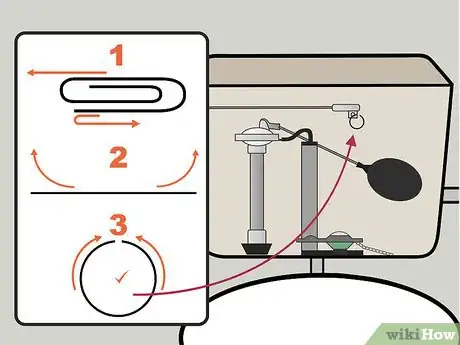
3Hook a paperclip to the handle arm. Start by opening up the paper clip until it's straight. Now, bend the clip into a circle with a small opening in it. Afterward, hook the circle into the end of the handle arm where you removed the chain.[3]
- Use a plastic-coated paper clip for the best results, as it won't corrode as fast.
-
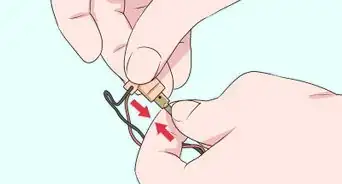
4Connect the chain to the paper clip. Attach a link on the chain to the paper clip—which should now be a circle shape—by inserting it into the open end. Now, squeeze the sides of the paperclip to close the space and tighten it.[4]
- Select a link that allows the chain to sag slightly.
-
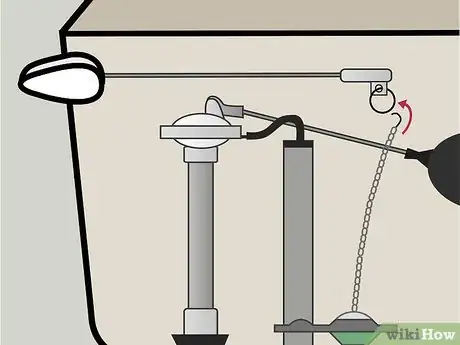
5Flush the toilet and check the chain tightness. Press down on the toilet handle and make sure that the chain is tight enough. The chain should bring the flapper high enough to stay open while the toilet flushes. If it doesn't, continue adjusting the paperclip location until the chain tightness is ideal.[5] Also make sure the chain is not obstructed and is not catching on anything.[6]
- If the chain isn't tight enough and the flapper doesn't go all the way up, attach the paperclip to a chain link closer to the flapper valve.
- If the chain is too loose and the flapper doesn't completely seal the hole, move the paperclip to a chain link closer to the toilet handle or add another 1 to 2 paperclip links.
Replacing Your Toilet Flapper Valve
-
1
-
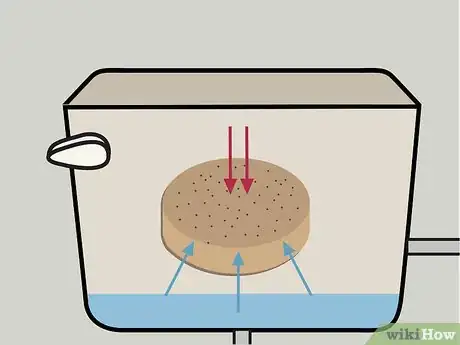
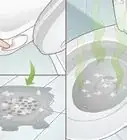
2Take out any water left in the tank. Get a towel and sponge and wipe up the rest of the water in the tank. If there's a lot of water, squeeze out your towel or sponge into a bucket and continue wiping until it's gone.[9]
- Use a wet-dry vacuum if you have one to make things easier.
-
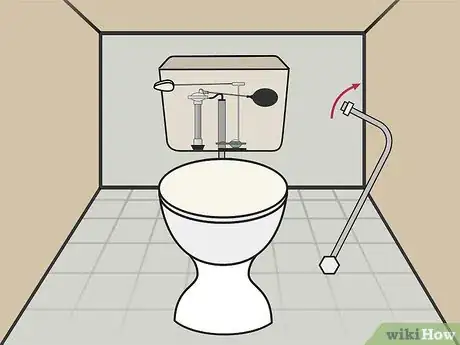
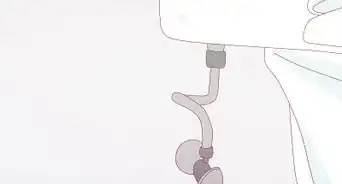
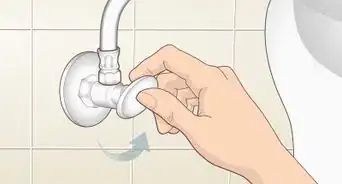
3Remove the water supply hose or tube. Loosen the nuts located on the base of the water supply valve—which is what the flapper is connected to—using an adjustable crescent wrench. Afterward, pull out the water supply hose and set it aside.[10]
- Take off any old plumber's tape that’s on the water supply valve.
- If you have a new water supply tube, throw out your old one.
-
4Remove the old flapper valve. Start by removing the chain from the old flapper. Now, take the flapper off the flush valve, which is the piece the supply tube was connected to.
- If you want to put in a new chain, remove the old one from the lever arm—the long piece that extends from the toilet handle.
-
5Connect the new flapper valve.[11] Attach the new flapper to the flush valve. Afterward, connect the chain to the top of it and then connect the remaining end to the handle arm.[12]
- Before attaching a new flapper, smooth the rough edges around the lip of the flapper valve—located underneath the flapper—with an emery cloth. This will help it create a watertight seal.
-
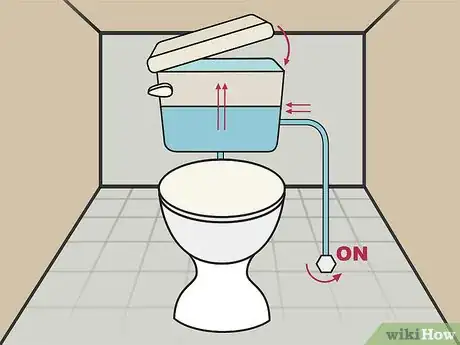
6Reattach the water supply hose and turn the water back on. Attach the water supply hose to the flush valve, which is where the new flapper should be attached. Afterward, turn your water supply back on by turning it counterclockwise and wait for the toilet to fill up.[13]
- Replace the lid once everything is working as it should be.
Community Q&A
-
QuestionThe flapper on my toilet wither closes too soon or does not close at all, depending on how much I tighten the lock nut on the flush handle. There is no float on the style I have. I have tried replacing the flush handle, but it acts the same way. What am I doing wrong?
 Community AnswerIn the case where the flapper closes too quickly, get one that has more buoyancy, such as the Hornet V (buy online) or a universal one by Korky (at Home Depot, Lowe's, etc.). These two tend to float on top of the water as it drains downward. Avoid flappers that have a small round hole in the front of the flapper cone, as the hole reduces buoyancy.
 -
QuestionHow do I unkink a lift chain?
 Community AnswerGet a plastic straw cut length wise about 2/3 the length of the chain and wrap it around the chain.
 -
QuestionWhat if the flapper closes before enough water flushes from the tank?
 Community AnswerIf the flapper chain has a float on it, lower the float closer to the flapper. It can slide down the chain and then lock in place. When the float is lower it is buoyed up by the water longer and holds the flapper up longer. If you have the float placed too high, it is pulled out of the water quickly when you flush and doesn't provide the buoyant counter force for a long enough time.
Warnings
- Be very careful not to crack the ceramic lid or tank when fixing a toilet flapper.⧼thumbs_response⧽
Things You’ll Need
Adjusting the Flapper Chain
- Plastic-coated paperclips
Replacing Your Toilet Flapper Valve
- Screwdriver
- Pliers
- Adjustable crescent wrench
- Toilet flapper kit (for replacement)
References
- ↑ https://www.familyhandyman.com/plumbing/toilet-repair/parts-of-a-toilet/view-all/
- ↑ Patrick Johns. Home Improvement Specialist. Expert Interview. 5 April 2022.
- ↑ https://living.thebump.com/fix-running-toilet-chain-not-long-enough-9005.html
- ↑ https://living.thebump.com/fix-running-toilet-chain-not-long-enough-9005.html
- ↑ https://living.thebump.com/fix-running-toilet-chain-not-long-enough-9005.html
- ↑ Patrick Johns. Home Improvement Specialist. Expert Interview. 5 April 2022.
- ↑ https://www.familyhandyman.com/plumbing/toilet-repair/fix-a-running-toilet/
- ↑ http://www.planitdiy.com/how-to/plumbing/how-to-replace-a-flush-valve/
- ↑ http://www.planitdiy.com/how-to/plumbing/how-to-replace-a-flush-valve
- ↑ http://www.planitdiy.com/how-to/plumbing/how-to-replace-a-flush-valve/
- ↑ Patrick Johns. Home Improvement Specialist. Expert Interview. 5 April 2022.
- ↑ http://www.planitdiy.com/how-to/plumbing/how-to-replace-a-flush-valve/
- ↑ http://www.planitdiy.com/how-to/plumbing/how-to-replace-a-flush-valve/
About This Article
To fix a flapper on a toilet, take the lid off the toilet tank and remove the chain link that connects the handle arm to the flapper. Next, straighten out a paper clip and bend it into a circle with a small opening in it. Then, hook the circle into the end of the handle arm, attach a link on the chain to the paper clip, and squeeze the sides of the paper clip to tighten it. Finally, press down on the toilet handle to check how it's flushing and adjust the paper clip location as needed until you achieve the right tightness. For tips on replacing a broken or worn-out flapper, read on!
