This article was co-authored by Matt Ham and by wikiHow staff writer, Nicole Levine, MFA. Matt Ham is a Computer Repair Specialist and the CEO and President of Computer Repair Doctor. With over a decade of experience, Matt specializes in Mac, PC, iPhone, iPad, and Smartphone repairs and upgrades. Matt holds a BS in Mechanical Engineering from North Carolina State University and an MS in Mechanical Engineering from Columbia University. Matt has expanded Computer Repair Doctor to seven different locations. He is also a Co-Owner of Repair Life, a full-scale marketing agency specializing in driving both online and offline leads to cell phone and computer repair shops and device retailers.
There are 9 references cited in this article, which can be found at the bottom of the page.
This article has been viewed 103,044 times.
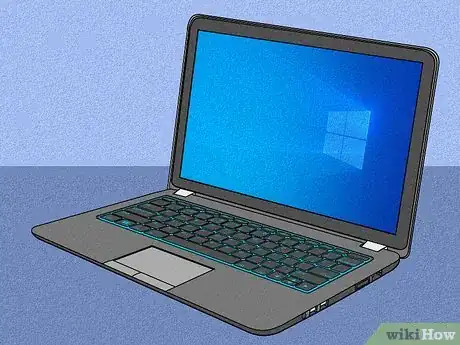
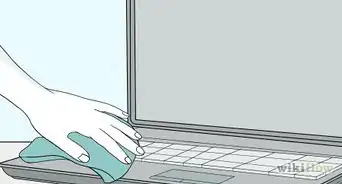
If your laptop's LCD screen is cracked, shattered, blotched, or otherwise damaged, it's not the end of the world! If you don't have an accidental damage protection plan and don't want to pay repair costs, you can often buy a replacement display and do the repair yourself. We'll help you decide whether fixing your laptop screen on your own is the right decision, help you get the right tools, and walk you through the basics of replacing your PC laptop or MacBook's screen.
Steps
Can I replace a broken laptop screen myself?
-
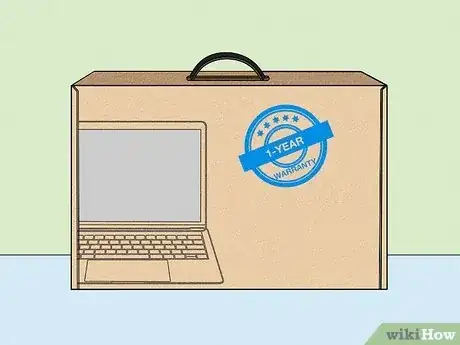
1If you have a warranty with accidental damage protection, get your screen fixed professionally. As long as you have a plan that covers screen damage, replacing your broken screen will be free when you do it through a service provider that's authorized by your warranty. Taking the laptop to an authorized professional ensures that you don't void your warranty or support plan. Contact your manufacturer to find out the fastest way to get your screen replaced.
- Even if you don't have an accidental damage plan, you might be able to pay an authorized service provider to do the repair for you. Unlike doing the repair yourself, this would usually protect your warranty as long as the technician is authorized.
-
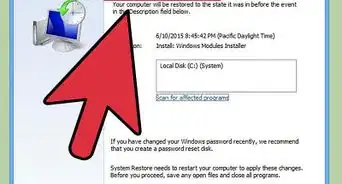
2Replacing most PC laptop LCD screens is easy if you have the right parts. Although the exact steps are different for every model, you can usually find all of the parts and tools you'll need online, as well as helpful videos and walkthroughs for your particular laptop. The thing to keep in mind is that replacing your own screen will likely void your warranty. If your laptop is still covered by a warranty or support plan, check with the manufacturer to find out whether doing your own repair will affect your warranty status.
-
3Things get a little trickier with MacBooks. The steps to replace a MacBook display are different for every individual MacBook model. Before you try to replace the screen, check out the display replacement guide at iFixit.com for your particular model and make sure you feel comfortable with all of the steps, and make sure you have room in your budget for all the tools you'll need to open up your Mac. You will void your warranty by attempting this repair.
- You'll want to purchase the entire replacement screen assembly (which includes the laptop cover) rather than just the screen itself. This requires you to disassemble your MacBook, which involves special tools.
- Due to security features built in to your Mac, you'll need to buy an official Apple digital assembly, as aftermarket assemblies won't work with modern processors.[1]
-
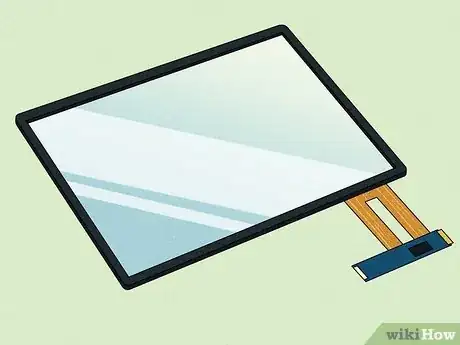
4Special considerations for laptops with touchscreens. If your laptop's touch function is embedded within the LCD, replacing the screen is no different than replacing a non-touch screen. But if your touchscreen is covered with glass that extends all the way to the edges of the bezel like a smartphone, you have a separate digitizer. These are trickier to replace.
- Because you'll usually have to do several extra steps that are specific to the model when replacing a touch screen with a separate digitizer, you'll want to search the web for your particular model and "touch screen replacement" to find instructions that pertain to your computer.[2]
Buying Replacement Screens and Tools
-
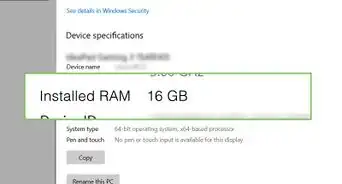
1Find your exact laptop model number. Many companies offer laptop complete display replacement kits that come with everything you'll need to replace your screen (minus the tools). Before you can order the parts you'll need, you'll have to know your exact laptop model number.
- PC: Press Windows key + R, type msinfo32, and then press Enter. You'll find the model next to "System Model" (i.e., "Inspiron 16 7610").
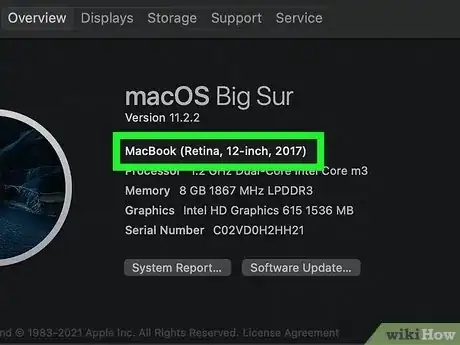
- Mac: Click the Apple menu, select About This Mac, and then locate the model number below the operating system version (i.e., "MacBook Pro 15-inch 2017").[3]
-
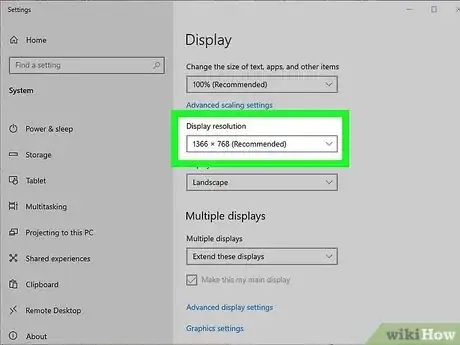
2Find your screen resolution (if you have a PC). Most PC laptops have unique model numbers to reflect different screen resolutions. However, it might be possible that your manufacturer uses the same model number for multiple screen configurations, especially if you have a built-to-order/customized model. Before ordering a screen, make sure you know the resolution of the current screen. Here's how to check:
- Right-click the desktop and choose Display Settings.
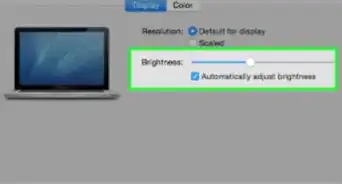
- Under "Scale & layout," find the "Display resolution" drop-down menu. The value next to "Recommended" is the resolution you'll want to look for.
-
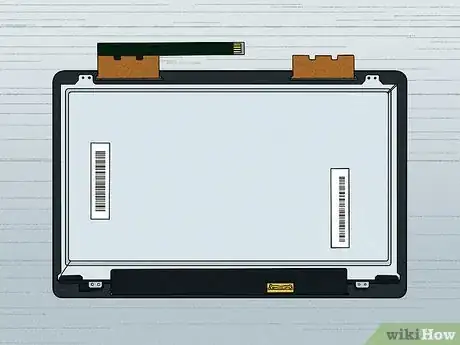
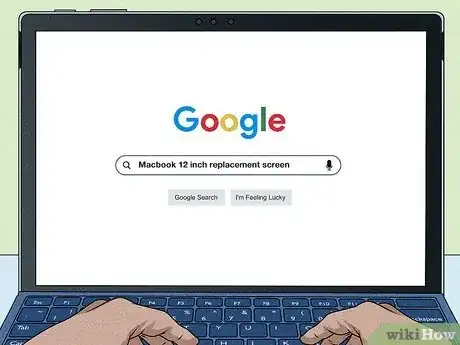
3Order a replacement screen or assembly. You can search the web for your laptop model number and "replacement screen" or "LCD screen" to find the correct part. There are many reputable websites that offer replacement screens for various PCs and MacBooks.
-
4Get the right tools. You'll need a few special tools to replace your laptop screen, which can vary by manufacturer and the parts you need to replace.
- When you order a screen replacement, check the website for the tools you'll need for your specific model. You can often purchase all of the necessary tools together as a kit.
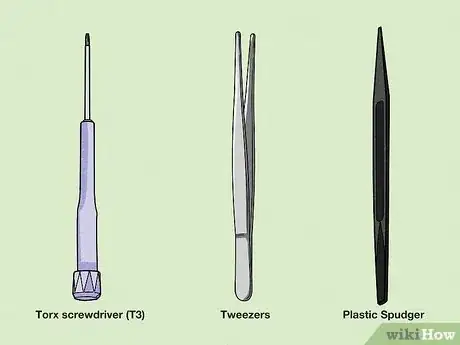
- In general, you'll want to have one or two magnetic Philips head electronics screwdrivers (size 0 and 00), a Torx T5 screwdriver, a pair of tweezers, a thin metal blade, and a plastic spudger.
-
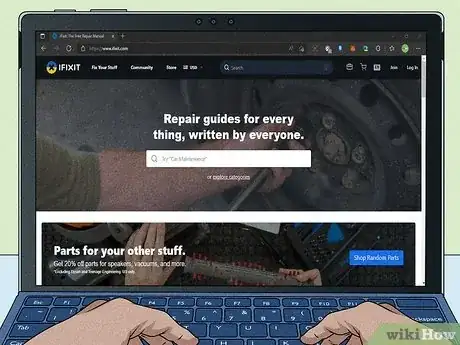
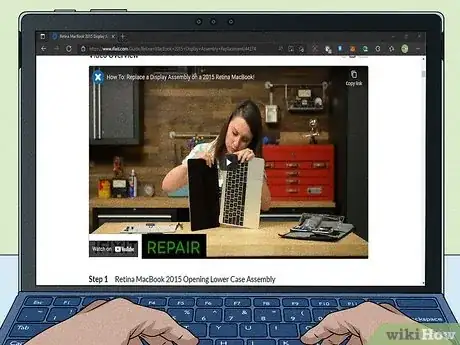
5Find a repair guide for your specific model. Because there are thousands of different PC models, it'll be best if you can find a reliable screen replacement guide for your particular laptop. Search the web for your laptop model and "screen replacement" or "LCD replacement." You can also check websites like iFixIt.com or even YouTube for comprehensive video and photo guides.
- If you need to replace the screen of your MacBook Pro, Air, or regular MacBook, the best way to find out which tools and parts you'll need is to go to https://ifixit.com and search for a repair guide for your specific model.
Replacing a PC Laptop Screen
-
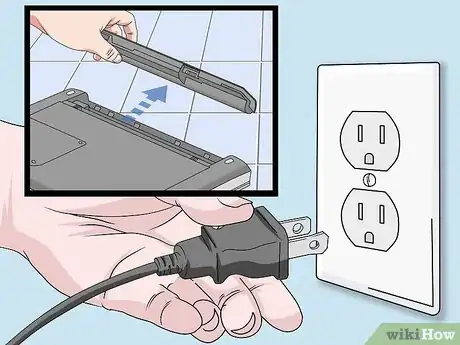
1Unplug the laptop and remove the battery. On a flat surface, clean surface, power down your laptop and remove the battery from the bottom. Make sure there is no power going into the laptop.
- Many modern laptop batteries are screwed in. You'll usually need to unscrew the bottom panel to reach the battery, which you'll then need to unscrew.
- Keep the battery in a safe spot, as you will need to put it back in later.
-
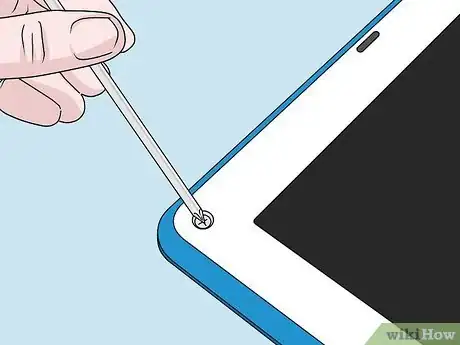
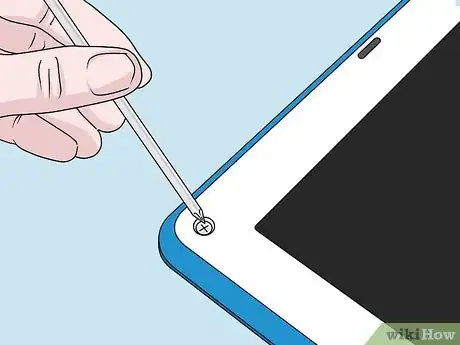
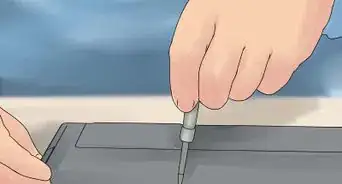
2Use a screwdriver to remove the bezel screws. If there are screws on the bezel that surrounds your laptop screen, use a screwdriver to remove them one by one. There are usually 4-6 bezel screws.
- Some bezels don't have any screws on them—they might even be held in with double-sided tape.[4]
- If there are rubber screw covers over the screws, remove them first using the end of a screwdriver.
- Place the screws in a plastic bag or bowl with the rubber covers so all the components are together in a safe place.
-
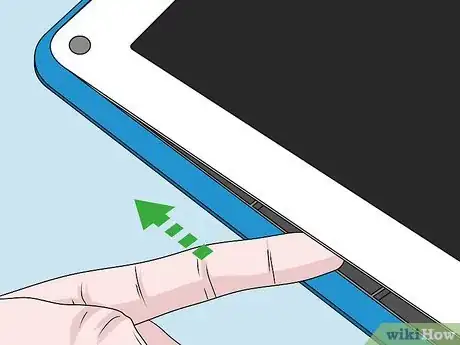
3Remove the bezel. Place your fingers at the bottom center of the laptop screen. Then, gently slide your fingers or a thin plastic spudger between the bezel and the screen. Pull the bezel with your fingers and it should snap loose. If it does not, try pulling it gently in different directions until it comes loose. Work your fingers around the bezel until it detaches from the screen.
- If the bezel does not pop or slide off with a bit of pulling, you may have missed a bezel screw. Check the screen to confirm you removed all the bezel screws so the bezel can slide off.
-
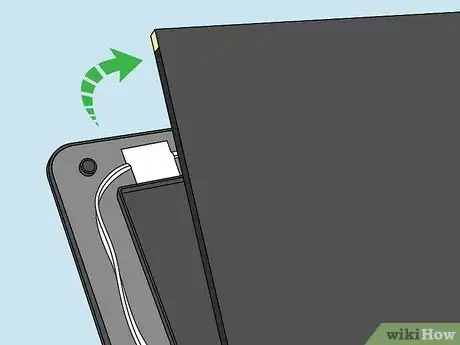
4Remove the screws holding the LCD screen in place. Most modern laptops have LCDs that are screwed in under a removable bezel. Using a small screwdriver, unscrew every screw on the face of the LCD, and then lay the LCD screen flat onto the keyboard gently. Be careful not to damage the video wire that is still connecting the LCD screen to the computer.
- Be careful of any broken glass or plastic on the screen as you remove it.
-
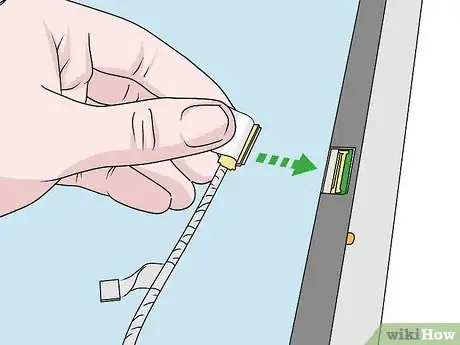
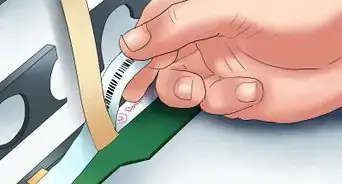
5Disconnect the video connector wire. Locate the video cable, which is a long wire taped to the back of the screen. Gently lift off the tape with a putty knife or spudger, then disconnect the video cable from its bracket on the back of the screen.
- Some laptops might have two separate cables connected to the LCD.[5]
- Try to keep the tap intact so you can use it to secure the connector(s) to the back of the new LCD.
-
6Lay the replacement screen flat on the keyboard, face-down. This will make it easy to connect the video connector to the new screen.
-
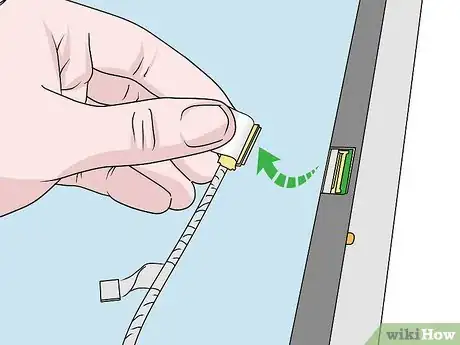
7Connect the video connector(s) to the back of the new screen. Once you plug the video cable(s) into the back of the new LCD, lay the adhesive tape on the connector flat over the connection to keep it secure.
-
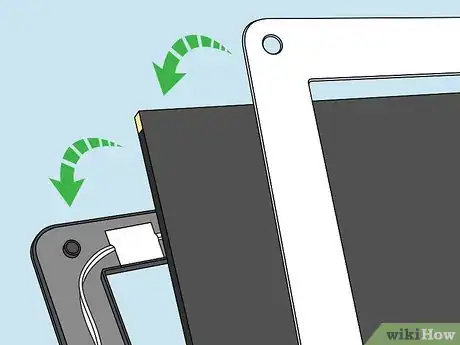
8Screw in the new screen and place the bezel over it. If your LCD screen needs to be screwed in below the bezel, gently lift the screen up and align it with the mounting holes. Then, screw it in and reattach the bezel by snapping it over the screen.
-
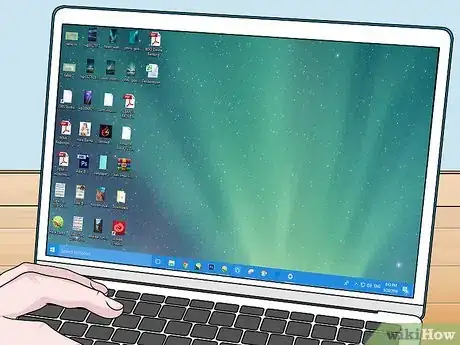
9Put the battery back into the laptop and plug it in. Check that there are no blurry lines, cracks, or distorted images on the screen. The screen should be clear and function like new.
Replacing a Mac Laptop Screen
-
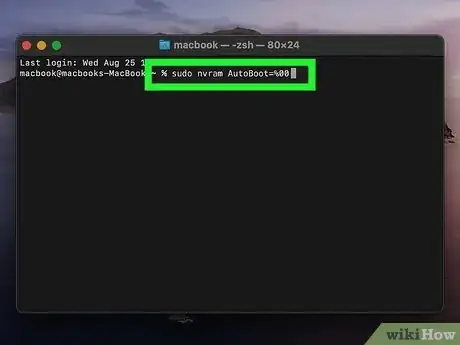
1Disable AutoBoot. If your MacBook is from between 2016 and early 2020 and running macOS Catalina or earlier, you'll need to disable AutoBoot to prevent your Mac from automatically booting when you open the lid. This will not work for Macs running a more recent operating system—but you can still proceed normally as long as you disconnect the battery as soon as you unscrew the bottom of your MacBook.[6]
- Open Terminal on your Mac.
- Type sudo nvram AutoBoot=%00 and press Return.
- Enter your password to confirm.
-
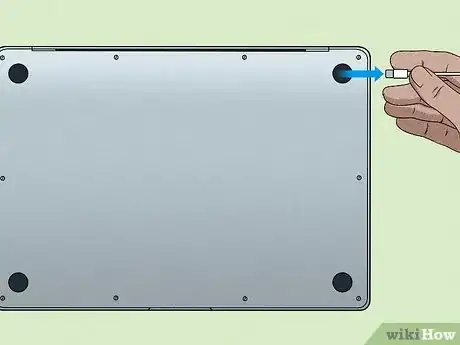
2Unplug and turn off your MacBook. Once your MacBook is turned off, flip it so the bottom is facing upwards on a flat surface.
-
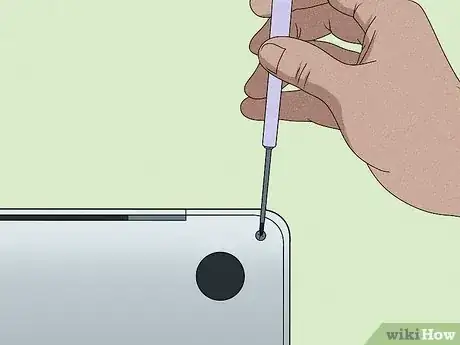
3Remove the screws from the lower-case panel. To replace the display assembly, you'll need to open your MacBook, which you can do by removing the screws from the bottom panel. Use the screwdrivers required for your model to remove all of the screws on the bottom of the unit, keeping track of all of the screws.[7]
- Because the screws are a variety of sizes, it might be helpful to store each size screw in an empty ice cube tray so you don't mix them up.
-
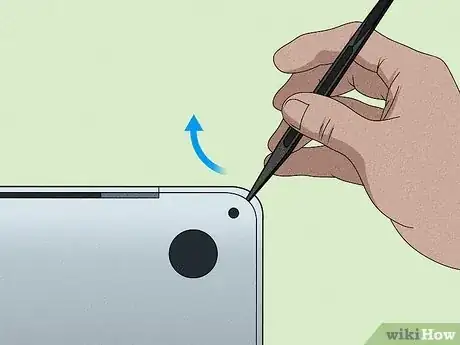
4Lift the bottom panel from the MacBook. You can use your fingers or a thin plastic spudger to do so on most MacBooks and MacBook Airs. If you're using a MacBook Pro from 2016 and later, you may need to use a larger industrial suction cup to remove the panel, and then push the panel forward rather than pulling it straight up to remove it.[8]
-
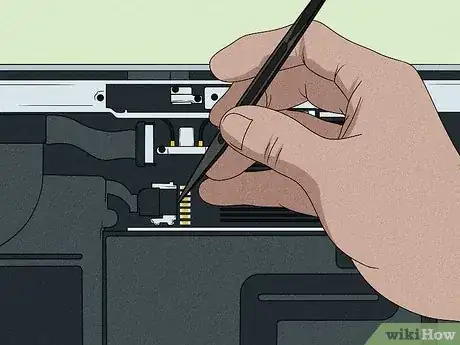
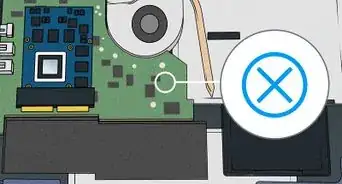
5Disconnect the battery. If the battery connector is covered with tape, peel back enough of the tape to reveal the battery connector without removing the tape completely.[9] Some models cover the battery connector with a long black strip, which you can easily lift away from the motherboard. Then, using the flat end of a plastic spudger to unlatch the lock on the battery connector.
- The latch is different per model—sometimes you'll need to actually lift a metal locking arm to pull the battery out of the socket, and on other Macs, you'll need to use the spudger to slide the connector parallel to the logic board to remove the plug from the socket.
- If you have a MacBook Pro, you will also need to unscrew the round pancake screw that secures the battery connector in place.[10] You can do this with a T5 Torx screwdriver. Once you remove the screw, use a spudger to lift up the metal connector to ensure that there is no contact with the metal underneath.[11]
-
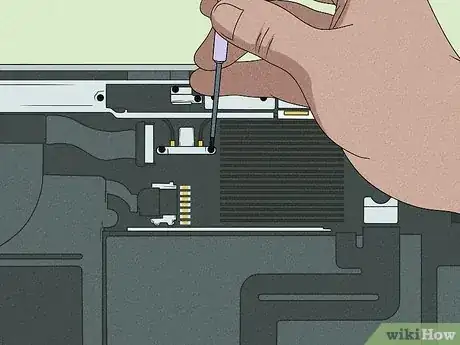
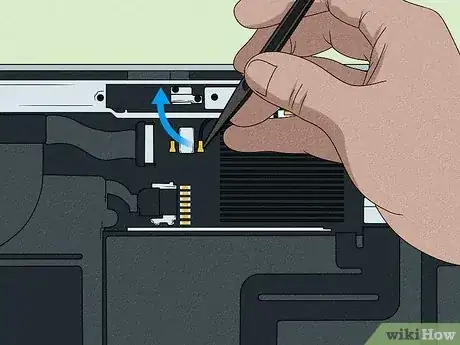
6Disconnect the antenna cables. If you have a MacBook Air or other MacBook with a metal strip covering the antenna connectors, remove the metal cover and disconnect the two antenna cables. If you have a MacBook Pro, first unscrew the hinges on either side of the antenna bar, remove the hinge covers, and then pull each of the three antennas away from its socket.
-
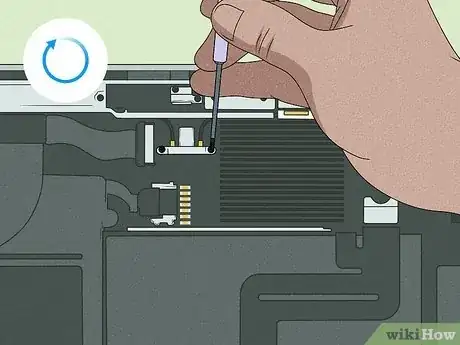
7Disconnect the display board cable and antenna cables. You'll have to remove the screws securing the cover on the display board cable, remove the cover, and then remove the screws that secure the cable to the motherboard.
-
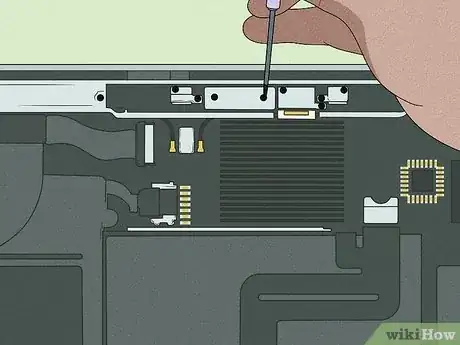
8Lift the antenna bar away from the computer. There could be anywhere from 6 to 16 screws holding in the antenna bar, depending on your model. Remove all of the screws and lift the antenna bar out of your MacBook.
-
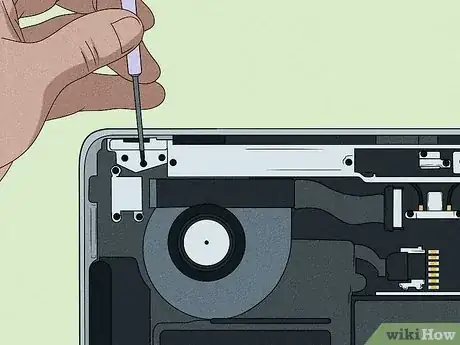
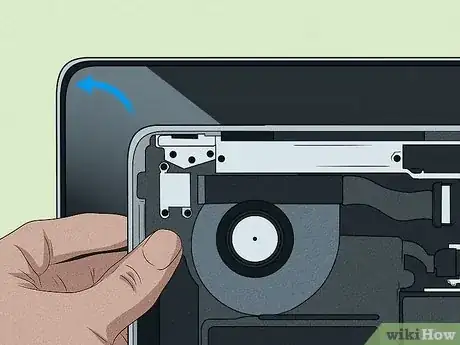
9Remove the display. Now you'll just need to unscrew the hinges that allow you to pull the display free from the MacBook. Unscrew the hinges at the top-right corners (where the lid is attached) and then gently lift the display away from the case as described in your model's guide.
-
10Attach the new display. At this point, attaching the new display assembly is simple—just place the new assembly on top of the open unit and lock the hinges into place.[12] Once secure, replace the hinge screws so the display is secure.
-
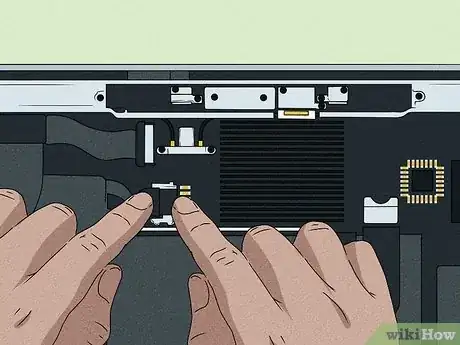
11Reattach the antenna and display cables. After reattaching all cables, be sure to replace any protective covers, including antenna bar hinge covers (MacBook Pro) and connector covers.
-
12Reconnect the battery. If you removed a round screw from the battery, replace the screw after connecting the battery cable back to the logic board, and then cover the connector with its protective cover or tape.
-
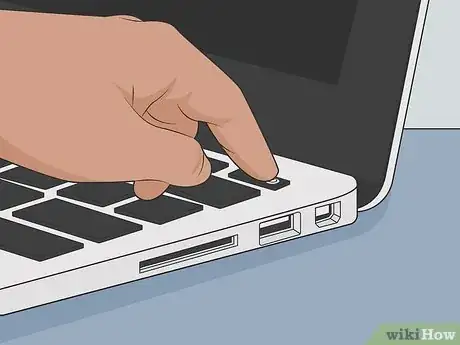
13Reattach the bottom panel and power on your MacBook. Once your MacBook is put back together, plug it into a power source, and then press the Power button to turn it back on.
- If you disabled AutoBoot, you'll want to re-enable it. To do so, return to the Terminal, type sudo nvram AutoBoot=%03, and press Return.
Expert Q&A
-
QuestionHow do I troubleshoot my touch screen?
 Matt HamMatt Ham is a Computer Repair Specialist and the CEO and President of Computer Repair Doctor. With over a decade of experience, Matt specializes in Mac, PC, iPhone, iPad, and Smartphone repairs and upgrades. Matt holds a BS in Mechanical Engineering from North Carolina State University and an MS in Mechanical Engineering from Columbia University. Matt has expanded Computer Repair Doctor to seven different locations. He is also a Co-Owner of Repair Life, a full-scale marketing agency specializing in driving both online and offline leads to cell phone and computer repair shops and device retailers.
Computer Repair Specialist You would want to determine if its the their is a problem with the touchscreen itself, or if it's software issue. I its a software issue you could restore your computer or reinstall Windows, and that'll rule out like a software or a driver issue. But if the touchscreen is malfunctioning, and there's been some sort of damage or liquid damage or physical damage, you may just need to order a new touchscreen. But usually you can determine if it's usually either going to be the touchscreen itself, or it's going to be software, and a reinstall can roll out software.
 -
QuestionCan you clean Mac screen with glasses cleaner?
 Matt HamMatt Ham is a Computer Repair Specialist and the CEO and President of Computer Repair Doctor. With over a decade of experience, Matt specializes in Mac, PC, iPhone, iPad, and Smartphone repairs and upgrades. Matt holds a BS in Mechanical Engineering from North Carolina State University and an MS in Mechanical Engineering from Columbia University. Matt has expanded Computer Repair Doctor to seven different locations. He is also a Co-Owner of Repair Life, a full-scale marketing agency specializing in driving both online and offline leads to cell phone and computer repair shops and device retailers.
Computer Repair Specialist Yes, you could use Windex glass cleaner. Just spray straight onto a paper towel, and then clean the screen with that paper towel. You don't want to spray it directly on the machine. Technically, some glass cleaners can take off a top level shine. But we've never seen that problem with Windex, just take Windex or something watered down, spray it onto a paper towel and do it twice over on the screen.
 -
QuestionI changed my laptop screen but my laptop won't power on at all. When I disconnect the screen, my laptop will power on without the screen. Any idea what is wrong?
 rk bgCommunity AnswerIt is not likely that your laptop is not turning on because of the screen. It is suggested that you take your laptop to the nearby repair center and explain the problem to them so they can troubleshoot it for you.
References
- ↑ https://www.ifixit.com/Guide/MacBook+Pro+16-Inch+2019+Screen+Replacement/135189
- ↑ https://www.laptopscreen.com/blog/touchscreen-laptops-understanding-the-different-types-and-ordering-the-correct-replacement/
- ↑ https://support.apple.com/en-us/HT201581
- ↑ https://www.youtube.com/watch?v=nstes4o3WRk
- ↑ https://www.hp.com/us-en/shop/tech-takes/diy-laptop-screen-repair
- ↑ https://www.ifixit.com/Guide/MacBook+Air+13%E2%80%9D+Retina+Display+Late+2018+Display+Replacement/135506
- ↑ https://www.ifixit.com/Guide/MacBook+Air+13-Inch+Late+2020+Display+Replacement/142554
- ↑ https://www.ifixit.com/Answers/View/647645
- ↑ https://www.ifixit.com/Guide/MacBook+Air+13%E2%80%9D+Retina+Display+Late+2018+Display+Replacement/135506
About This Article
1. Unplug the laptop and remove the battery.
2. Remove the bezel screws.
3. Detach the bezel from the screen.
4. Disconnect cables from the screen.
5. Remove the screen.
6. Place the new screen in the metal frame.
7. Connect the cables.
8. Reattach the bezel and screw in.
9. Insert the battery and turn the laptop on.
