wikiHow is a “wiki,” similar to Wikipedia, which means that many of our articles are co-written by multiple authors. To create this article, 16 people, some anonymous, worked to edit and improve it over time.
This article has been viewed 102,983 times.
Learn more...
Starting with Halo 2, most of the games in the Halo series contain a special hidden "I would have been your daddy!" skull somewhere in the game. The skull doesn't affect the gameplay at all — instead, finding it makes rare in-game dialogue from other characters much more common. The IWHBYD skull in Halo 3 is quite hard to find compared to the skulls in other games, but once you know where it is, it isn't that hard to actually get.
Steps
Finding the Skull
-
1
-
2Start the level from the beginning. You must do this for the skull to appear. You can't get the skull if you start from a saved game or a rally point.Advertisement
-
3Get to the end of the level. The skull is located at the very end of the level, so you can play through most of it as you normally would. When you see the chapter title "Stop Truth" and enter the massive, long room filled with glowing rings, you've reached the part of the level where you can get the skull.
- Don't worry — as long as you met the criteria above, none of your actions earlier in the level will affect whether or not you can get the skull.
-
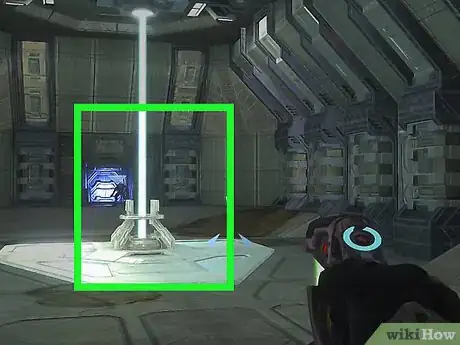
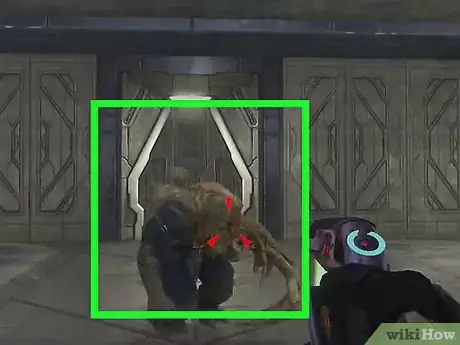
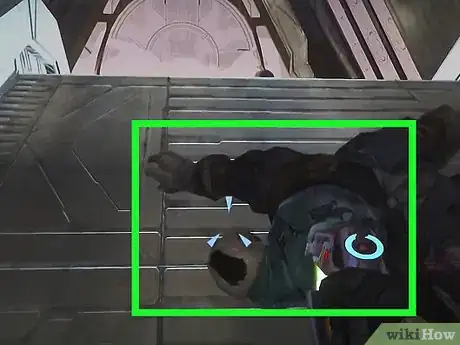
4Clear the final room of enemies. Getting the skull is almost impossible if you have to worry about fighting enemies at the same time. Kill all of the hostiles in the room before you get started. In other words:
- Kill all the Covenant in the room.
- Kill the Prophet of Truth.
- Extend the bridge at the end of the room and kill all the Flood.
- Don't jump down the elevator shaft — you won't be able to return if you do.
Getting the Skull
-
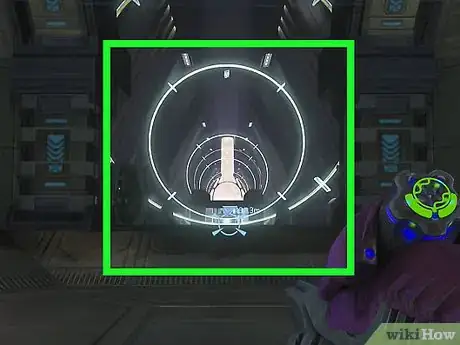
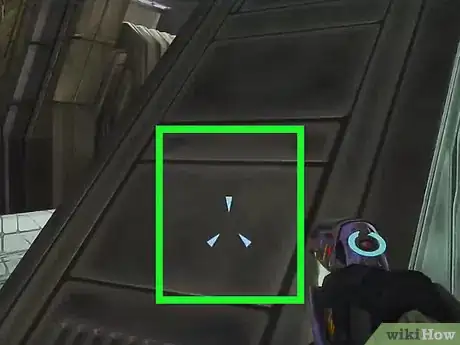
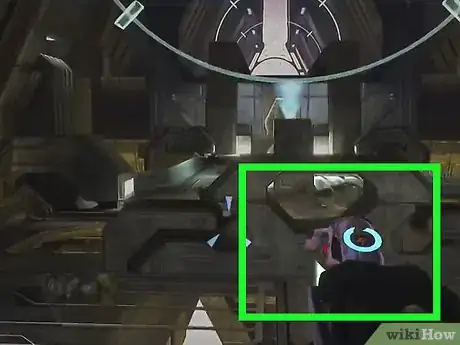
1Number the rings one through seven. Getting the skull requires you to jump through the giant glowing rings in a certain order. There are seven rings in the room. The ring next to the elevator is "1." The ring next to Truth is "7." The rest of the rings proceed in order between these two: the second ring from the elevator is 2, and so on.
- For easy reference, the only ring with a red section on it is "4."[3]
-
2Jump through rings 4, 6, 5, 4, 5, 3, and 4. Because the rings are so far apart, this can take a few minutes. Don't worry — there's no time limit. However, there are a few things to keep in mind as you do this:[4]
- You must always jump toward the bridge you extended. You won't get the skull if you jump through the rings in the wrong direction.
- If you mess up, you must start from the beginning again (ring 4). You don't have to start the whole level over.
-
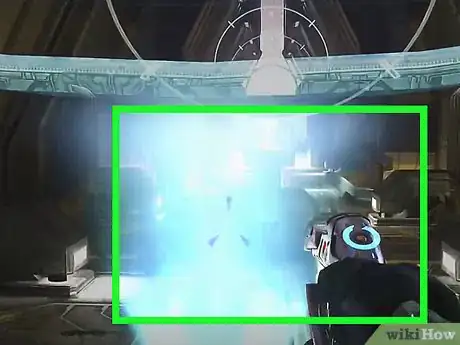
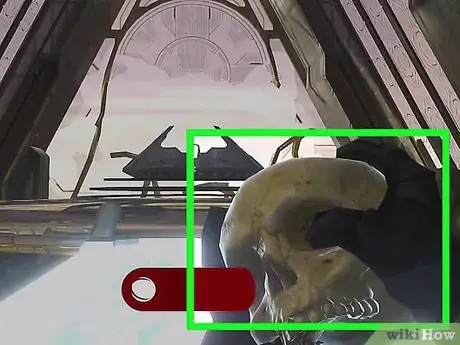
3Watch for the rings to flash. This is a sign that you've completed the order successfully. Now, head for the bridge at the end of the room. The skull will be on the ground in the center of the path.
-
4Use the skull to hear rare dialog. The skull doesn't affect the game besides giving you an achievement and changing the way dialog works. Computer-controlled characters will have the rarity of their dialog responses reversed. In other words, they'll frequently say things that they would normally say only rarely and vice versa. This can lead to some interesting, humorous exchanges, especially during combat.
- As just one example, if you're using the skull while fighting Brutes with other marines, you may hear one of them say, "Hey, I heard their weakness is bananas, do we have any bananas?" It's possible to hear this without the skull, but it occurs much more rarely.[5]
-Step-13.webp)












-Step-13.webp)
