wikiHow is a “wiki,” similar to Wikipedia, which means that many of our articles are co-written by multiple authors. To create this article, 40 people, some anonymous, worked to edit and improve it over time.
There are 11 references cited in this article, which can be found at the bottom of the page.
wikiHow marks an article as reader-approved once it receives enough positive feedback. This article has 11 testimonials from our readers, earning it our reader-approved status.
This article has been viewed 442,029 times.
Learn more...
Gram staining is a quick procedure used to look for the presence of bacteria in tissue samples and to characterise bacteria as Gram-positive or Gram-negative, based on the chemical and physical properties of their cell walls.[1] The Gram stain should almost always be done as the first step in diagnosis of a bacteria infection.
The Gram stain is named after the Danish scientist Hans Christian Gram (1853 – 1938), who developed the technique in 1882 and published it in 1884 as a technique to discriminate between two types of bacteria with similar clinical symptoms: Streptococcus pneumoniae (also known as the pneumococcus) and Klebsiella pneumoniae bacteria.[2]
Steps
Preparing a Gram Stain
-
1Prepare for laboratory work. Put on gloves and tie back long hair to prevent contaminating the bacteria sample you'll be testing. Disinfect a workspace under the fume hood, or in another well-ventilated area. Check that the bunsen burner and microscope are functional before you begin.
-
2Sterilize a glass microscope slide. If the glass slide is dirty, wash it in soapy water to remove grease and dirt. Disinfect the slide with ethanol, glass cleaner, or whichever method is recommended by your laboratory.Advertisement
-
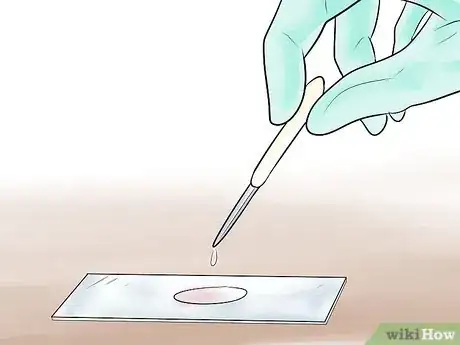
3Add the sample to the slide. You can use the Gram stain method to help identify bacteria present in medical samples, or bacterial cultures grown in a petri dish. In order for the Gram stain to be useful, add a thin layer of the sample on the stain. A sample under 24 hours old is recommended, as older bacteria may have damaged cell walls that respond less predictably to gram staining.[3]
- If using a tissue sample, add 1–2 drops onto the glass slide. Spread it evenly on the slide to form a thin smear, using the edge of a second sterilized glass slide. Allow it to air dry before continuing.
- If taking bacteria from a petri dish, sterilize an inoculation loop in a Bunsen burner flame until it glows, then let it cool. Use it to place a drop of sterile water on the slide, then sterilize and cool the loop again before transferring a tiny sample of bacteria and gently stirring into the water.
- Bacteria in broth should be mixed in a vortexer, then added with an inoculation loop as above, without adding the extra water.
- If you have a swab sample, roll the swab lightly across the slide.
-
4Heat fix the smear. Heat will fix the bacteria to the slide, so they are not as easily rinsed off during the stain. Quickly pass the slide two to three times through a Bunsen burner flame, or heat it on top of an electric slide warmer. Do not overheat, or the samples may become distorted. If using a Bunsen burner, the flame should be a small, blue cone, not a tall orange one.[4]
- Alternatively, the smear may be fixed by methanol instead, by adding 1-2 drops of methanol onto the dried smear, draining off the excess methanol, and allowing it to air dry. This method minimises damage to host cells, giving a cleaner background.
-
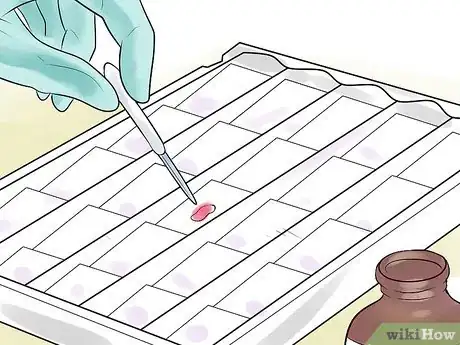
5Position the slide on a staining tray. A staining tray is a shallow metal, glass, or plastic dish with a small mesh or wire support running across the top. Place the slide on top of this support, so the liquids you'll be using can drain down into the tray.
- If you do not have a staining tray, the slide can be placed directly on top of a plastic ice cube tray.
Performing the Gram Stain
-
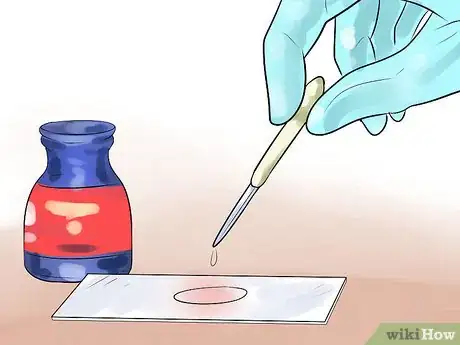
1Flood the smear with crystal violet. Use a pipette to flood the bacteria sample with several drops of crystal violet dye, sometimes called gentian violet. Wait thirty to sixty seconds. Crystal violet (CV) dissociates in aqueous solutions into CV+ and chloride (Cl–) ions. These ions penetrate through the cell wall and cell membrane of both gram-positive and gram-negative cells. The CV+ ion interacts with negatively charged components of bacterial cells to stain the cells purple.
- Many laboratories use "Hucker's" crystal violet, which adds ammonium oxalate to prevent precipitation.
-
2Rinse off the crystal violet gently. Tilt the slide and use a wash bottle to squirt a small stream of distilled or tap water over the top of the slide. The water should run down over the surface of the smear, but not be aimed directly at it. Do not rinse excessively, which might remove the stain from Gram positive bacteria.
-
3Flood the smear with iodine, then rinse. Use a pipette to cover the smear with iodine. Let it sit for at least 60 seconds, then rinse off with the same careful method.[5] Iodine, in the form of negatively charged ions, interacts with CV+ to form large complexes of crystal violet and iodine (CV–I complexes) within the inner and outer layers of the cell. This will trap the purple crystal violet colour in the cell, wherever it has stained.
- Iodine is corrosive. Avoid inhalation, ingestion, or skin contact.
-
4Add a decoloriser, then rinse quickly. A 1:1 mix of acetone and ethanol is typically used for this critical step, which must be timed carefully. Hold the slide at an angle, then add the decoloriser until no more violet colour is visible in the draining runoff. This typically takes under 10 seconds, or even less time if the decoloriser contains higher concentrations of acetone. Stop immediately, or the decoloriser will remove the crystal violet stain from both gram-positive and negative cells, and the stain will have to be repeated. Immediately rinse off excess decoloriser, using the earlier technique.
- Pure (95%+) acetone can be used instead. The more acetone there is, the faster the decoloriser will work, requiring more precise timing.
- If you are having trouble timing this step, consider adding the decoloriser drop by drop.
-
5Flood the smear with counterstain, then rinse. A counterstain, typically safranin or fuchsin, is used to add extra contrast between gram-negative and gram-positive bacteria, by staining decolorised (gram-negative) bacteria pink or red.[6] [7] Leave it on for at least 45 seconds, then rinse off.[8]
- Fuchsin will stain many gram-negative bacteria more intensely, such as haemophilus spp and legionella spp. This may make it a better option for beginners.
-
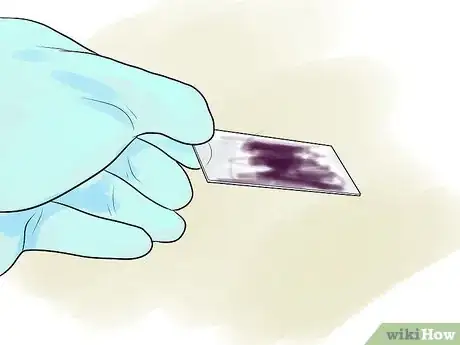
6Dry the slide. You may allow the slide to air dry, or blot it dry using bibulous paper sold for this purpose. The Gram stain is complete.
Examining the Result
-
1Prepare the light microscope. Place the slide under the light microscope. Bacteria vary greatly in size, so the total magnification required will vary from 400x to 1000x. At the higher end of these magnifications, an oil immersion objective lens is recommended for greater clarity. Place a drop of immersion oil on the slide, avoiding motion during application to prevent bubbles. Move the microscope turret so the objective lens clicks into place, touching the oil.[9]
- Oil immersion can only be used on specially designed lenses, not a "dry" lens.
-
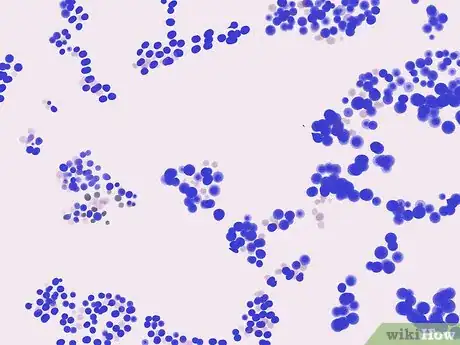
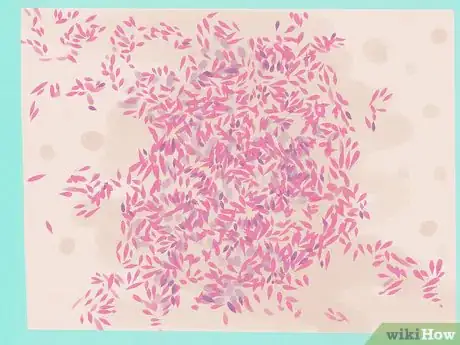
2Identify gram-positive and gram-negative bacteria. Examine the slide under the light microscope. Gram-positive bacteria appear purple, due to the crystal violet trapped within their thick cell walls. Gram-negative bacteria appear pink or red, since the violet washed through the thin cell walls, then the pink counterstain entered them.[10]
- If the sample is too thick, you may see false positive results. Stain a new sample if all bacteria types are gram-positive, to make sure the result is correct.
- If the decoloriser ran too long, you may see false negative results. Stain a new sample if all bacteria types are gram-negative, to double-check your results.
-
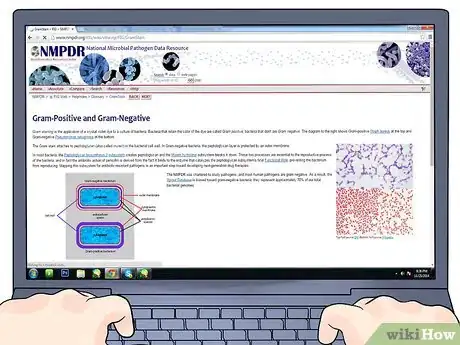
3Look up reference images. If you are not certain what a bacteria is, look through a collection of reference images, sorted by shape and result of the gram stain. You can find databases online at the National Microbial Pathogen Database, and many other sites. To make identification easier, common or diagnostically important examples are sorted below by gram status and shape.
-
4Identify gram-positive bacteria by shape. Bacteria are further classified by their shape under the microscope, most commonly as cocci (spherical) or rods (cylindrical). Here are a few common gram-positive (purple-stained) bacteria organized by shape:
- Gram-positive cocci are generally either Staphylococci (meaning cocci in clusters) or Streptococci (meaning cocci in chains).
- Gram-positive rods include Bacillus, Clostridium, Corynebacterium, and Listeria. Actinomyces spp. rods often have branches or filaments.[11]
-
5Identify gram-negative bacteria. Gram-negative (pink-stained) bacteria are often classified into three groups. Cocci are spherical bacteria, rods are long, thin bacteria, and coccoid rods are somewhere in between.[12]
- Gram-negative cocci are most commonly Neisseria spp.
- Gram-negative rods include E. coli, Enterobacter, Klebsiella, Citrobacter, Serratia, Proteus, Salmonella, Shigella, Pseudomonas, and many others. Vibrio cholerae can appear as ordinary rods or curved rods.
- Gram-negative "coccoid" rods (or "coccobacilli") include Bordetella, Brucella, Haemophilus, and Pasteurella.
-
6Evaluate mixed results. Some bacteria are difficult to stain precisely, due to the fragility or waxiness of their cell walls. They may have a mix of purple or pink stain in the same cell, or among different cells in the same smear. Any bacteria sample over 24 hours old can have this problem, but some species are difficult to stain at any age. They may require more specialized tests to narrow down the identification, such as an acid-fast stain, culture growth observation, TSI medium cultures, or genetic testing.[13]
- Actinomyces, Arthobacter, Corynebacterium, Mycobacterium, and Propionibacterium spp. are all considered gram-positive bacteria, but often appear inconclusively stained.
- Small and slender bacteria such as Treponema, Chlamydia, and Rickettsia spp. are difficult to Gram-stain properly.
-
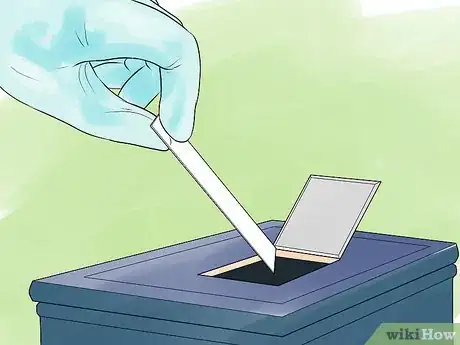
7Dispose of materials. Waste disposal procedures vary between laboratories and according to the materials being used. Typically, the liquid in the staining tray is disposed of in sealed bottles as hazardous waste. Soak slides in a 10% bleach solution, then dispose of them in sharps containers.
Community Q&A
-
QuestionWhat gram stain is used for the bacterial cell wall?
 Community AnswerCrystal violet is used because its has a positively charged group that will combine with the negatively charged molecule of the bacteria cell and stain the cell purple.
 -
QuestionWhat does a visible pink color mean?
 Community AnswerA visible pink color indicates that the bacteria cell is Gram negative bacteria.
 -
QuestionWhat should I do if too much stain was added?
 Community AnswerIf too much stain has been added and it has not yet set, you should try to wash as much of it off while also being careful not to damage the sample. This can be quite difficult to achieve and thus it could always be re-done for optimal results.
Warnings
- Acetone and ethanol are flammable. Acetone will remove oils from your hands, causing your skin to absorb other chemicals more easily. Wear gloves and use with caution.⧼thumbs_response⧽
- Don't let the smear become dry before you rinse off the stain or counterstain.⧼thumbs_response⧽
Things You'll Need
- Tissue sample
- Glass slides
- Pipette
- A source of flame, or a slide warmer, or methanol
- Water
- Crystal violet
- Iodine
- Decolorising agent, such as alcohol or acetone
- Safranin
References
- ↑ Bergey, David H.; John G. Holt; Noel R. Krieg; Peter H.A. Sneath (1994). Bergey's Manual of Determinative Bacteriology (9th ed.). Lippincott Williams & Wilkins.
- ↑ Gram, HC (1884). "Über die isolierte Färbung der Schizomyceten in Schnitt- und Trockenpräparaten" (in German). Fortschritte der Medizin 2: 185–9.
- ↑ https://my.clevelandclinic.org/health/diagnostics/22612-gram-stain
- ↑ https://serc.carleton.edu/microbelife/research_methods/microscopy/gramstain.html
- ↑ https://serc.carleton.edu/microbelife/research_methods/microscopy/gramstain.html
- ↑ Beveridge TJ, Davies JA (November 1983). "Cellular responses of Bacillus subtilis and Escherichia coli to the Gram stain". Journal of bacteriology 156 (2): 846–58.
- ↑ Davies JA, Anderson GK, Beveridge TJ, Clark HC (November 1983). "Chemical mechanism of the Gram stain and synthesis of a new electron-opaque marker for electron microscopy which replaces the iodine mordant of the stain". Journal of bacteriology 156 (2): 837–45.
- ↑ https://my.clevelandclinic.org/health/diagnostics/22612-gram-stain
- ↑ https://www.ncbi.nlm.nih.gov/books/NBK562156/
- ↑ https://medlineplus.gov/lab-tests/gram-stain/
- ↑ http://www.ncbi.nlm.nih.gov/books/NBK8385/
- ↑ https://www.ncbi.nlm.nih.gov/books/NBK562156/
- ↑ https://my.clevelandclinic.org/health/diagnostics/22612-gram-stain
- Isenberg, H.D. (ed). 1992. Clinical Microbiology Procedures Handbook . American Society for Microbiology, Washington, D.C.
- Isenberg, H.D. (ed). 1995. Essential Procedures for clinical Microbiology. American Society for Microbiology, Washington, D.C.
About This Article
To prepare a gram stain, fix the bacteria to the slide by passing it through a Bunsen burner flame. Then, flood the sample with several drops of crystal violet dye. The ions will interact with negatively charged bacterial cells and stain them purple. Rinse the crystal violet off and flood the smear with iodine. This will trap the purple crystal violet color in the cell. Finally, add a decoloriser, rinse, and flood the smear with counterstain to see the contrast between the gram-negative and the gram-positive bacteria. For tips on how to examine the results, keep reading!
