wikiHow is a “wiki,” similar to Wikipedia, which means that many of our articles are co-written by multiple authors. To create this article, volunteer authors worked to edit and improve it over time.
wikiHow marks an article as reader-approved once it receives enough positive feedback. In this case, 94% of readers who voted found the article helpful, earning it our reader-approved status.
This article has been viewed 46,763 times.
Learn more...
Coffee can be difficult to grow outside of tropical climates, but if you have enough space indoors or the right sort of climate outdoors, you can grow a few trees at home and produce small amounts of your own coffee. When grown from seed, a coffee tree can take nine years to mature. The wait can be well worth it, however.
Steps
Starting from Seed
-
1Use ripe coffee cherries when possible. If you have the good fortune of having access to a pre-established coffee tree, start with coffee cherries that have been freshly picked. Choose from a healthy tree with a large yield.
- Note that ripe seeds are usually deep crimson in color.
- To prepare a coffee cherry, begin by crushing the cherry with your hands or a wooden spoon. Rinse the inner beans with water and allow them to ferment for several days in a small container. The beans are ready once the remaining pulp falls off.
- Wash the beans in a small tub of fresh water. Discard any beans that float.
- Place the beans on a mesh screen and set the screen out in open, dry air in a space away from direct sunlight. Wait until the beans are almost completely dry to the touch.
- Test the bean by carefully biting it open. It should be dry on the outside but a little soft and moist inside.
-
2Alternatively, purchase green seeds. If you do not have access to fresh coffee cherries, purchase green coffee beans that have been recently harvested. Prepare these seeds by pre-soaking them in a small container of water for 24 hours.[1]
- Beans are most likely to germinate if sown within the first four months after harvest. After this point in time, however, the likelihood that your seeds will germinate decreases dramatically.
Advertisement -
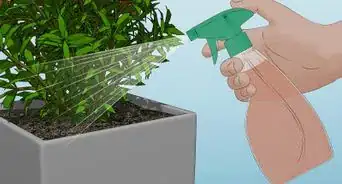
3Sow the seeds. Fill a 2 oz (60 ml) container with agricultural sand or vermiculite. Spray the growing medium with water to moisten it, then plant one seed in the container by pushing it just beneath the surface of the growing medium.
- Alternatively, you could rinse two burlap coffee sacks with water and sandwich the seeds in between these two sacks.
-
4Keep the seeds moist. Prior to germination, you need to make sure that the growing medium remains damp. Water twice a day, draining off any excess water so that the seeds are thoroughly moist but not swamped.
- Fresh seeds should germinate after roughly 2.5 months, but older seeds may take as long as 6 months.
-
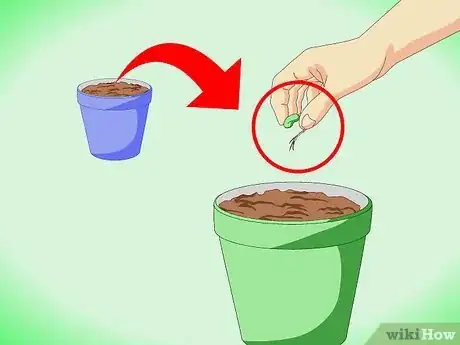
5Transfer the germinated seed to a larger container. After the seed germinates and produces a "gooseneck" shoot, carefully remove it from its growing medium and transplant it into a deeper pot. Prepare a hole that is 1/2 inch (1.25 cm) deep and carefully place the seed flat side down inside.
- The growing medium in this pot should be loamy and have a high humus content. For additionally nutrition, consider mixing in rotted manure, bone meal, or dried blood. If you cannot use this sort of soil, use any lightweight, porous soil.
- After planting the seedling in the soil, loosely sprinkle more of the soil over it. Do not press the seed down.
- If you want to help preserve moisture, you can add 1/2 inch (1.25 cm) of mulched grass on top.
-
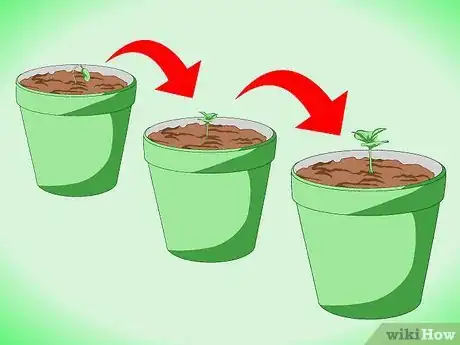
6Watch over the seed until it turns into a seedling. You should continue to water the seedling once each day. The soil needs to be continually moist, but should never be completely saturated. Wait until the seed fully germinates before transplanting it.
- After another three to four months, you should have a tall stalk with a bean-like pod stuck on top. A month or so later, that pod should open up to reveal its primary leaves. After nine months pass, more leaves should develop and the plant should look more like a traditional coffee plant. You can transplant the seedling to its permanent container or outdoor location at that point.
Transplanting Seedlings
-
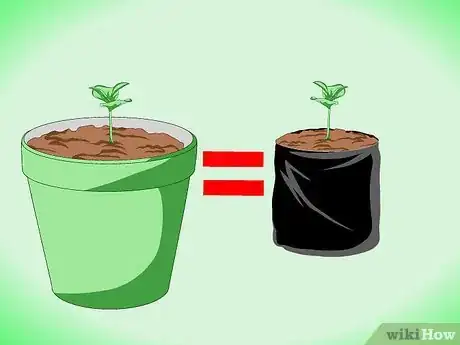
1Use a seedling you grew or a seedling from a nursery. If you do not want to wait 9 to 12 months before transplanting your coffee seedling to its final location, skip the seeds and buy a pre-established seedling. Look for a seedling that is at least 3 to 4 inches (7.6 to 10 cm) tall, if not taller.[2]
- You can check with your local nursery when looking for a coffee seedling. If they do not have any in stock, ask if they will order the plant for you.
- Note that you can buy taller coffee trees if desired. The taller the tree is, the quicker you can harvest fruit from it. A young plant will still take seven to eight years to produce viable fruit, but an established plant will produce usable fruit in three to four years.
-
2Choose the best possible location outdoors. If you live in a hot, humid climate, you might be able to grown your coffee tree outdoors. Choose a location with deep, porous soil that the roots can easily move through.
- Ideally, the location should also be relatively shady and should provide ample shelter from cold or hot winds.
- Coffee trees are delicate plants, so it is a good idea to transplant them near large trees with shady branches, buildings, or similar structures that can help protect the young trees as they grow.
-
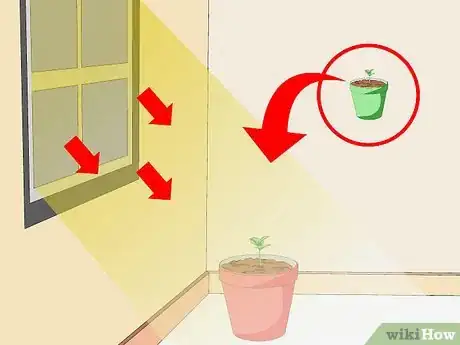
3Alternatively, transplant the seedling in a container. Most geographic regions of the United States and all areas of Canada are too cool to support a coffee plant outdoors. You can usually have success transplanting your seedlings into large pots indoors, though.
- Choose a windowed room that lets in a minimum of four to five hours of direct sunlight. A room with bright artificial lighting can also work.
- The room must remain at a temperature between 60 and 80 degrees Fahrenheit (15 and 27 degrees Celsius) throughout the day. At night, it must not drop below 45 degrees Fahrenheit (7 degrees Celsius).
- The container you use will need to be very deep. Use a half wine barrel or similar pot that holds roughly 20 to 25 gallons (75 to 95 L).
-
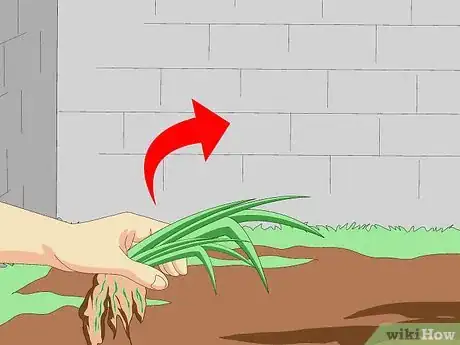
4Clear the area and improve the soil. If planting the seedling outdoors, you should cut away any tall weeds before doing so. Improve the quality of both indoor and outdoor soil by amending it with coarse salt or basalt gravel dust. You can also add organic rotted manure.
- Consider testing the soil. Ideally, it should have a high nitrogen content and a mildly acidic pH of about 6.
-
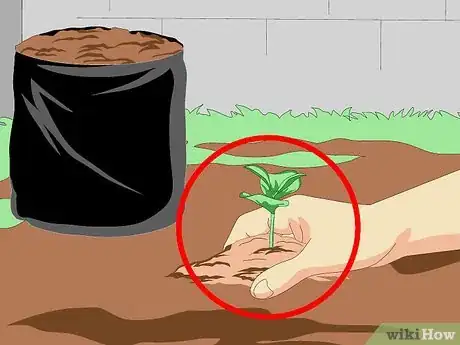
5Plant the seedlings. Make a hole in your new soil that is just large enough to fit the current root system of your plant. Carefully remove the plant from its current container and slide it into this new hole. Leave the crown of the plant above the surface and pack the soil around the taproot firmly.[3]
- If planting outdoors, plant your trees in rows spaced 3 yards (3 meters) apart. Dig holes roughly that are 20 inches (50 cm) in depth, width, and length.
- If planting indoors, plant one seedling into the center of your prepared container. Dig a hole that is at least as deep and as wide as the current root system of your plant.
-
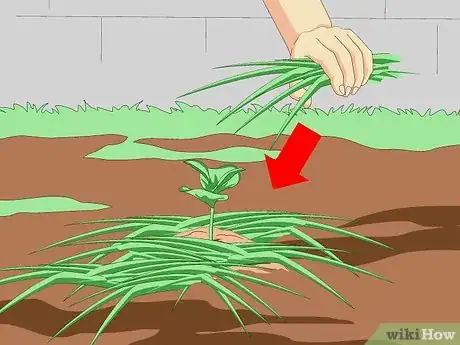
6Cover the soil. To preserve the moisture and nutrients in the soil, you should cover the soil with a loose, light layer of grass mulch or rotting leaves.
- If planting the trees outdoors, you could also plant a cover crop, like legumes. Legumes are especially helpful since they provide extra nitrogen.
Basic Care
-
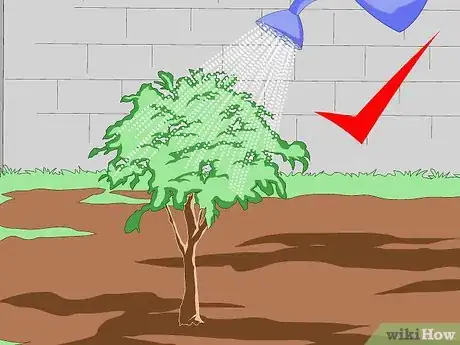
1Water regularly until the tree is established. If you plant the tree outdoors and it receives plenty of natural rainfall, you do not need to water it separately. If you plant it indoors, however, you should water the tree twice a week using a full watering once and a half watering once.
- For a full watering, soak the soil then allow the excess to drain. Soak the soil a second time and let the excess drain again. You can also add fertilizer during this second round of watering.
- For a half watering, soak the soil once and allow it to drain.
- During the winter, reduce watering to once a week for two to three months.
- After the tree establishes itself and begin to produce a steady crop, you can reduce watering to once a week.
-
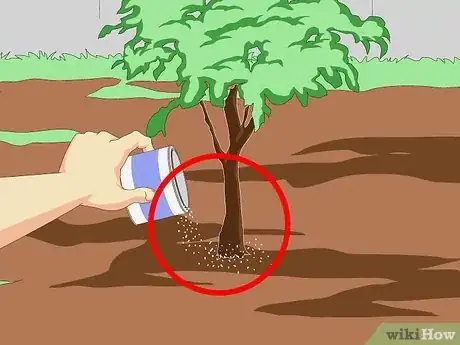
2Apply fertilizer only as needed. Your first application of fertilizer should be six weeks after you transplant the tree. Apply a citrus fertilizer, and continue adding it once every six weeks during the warmer months.[4]
- After the first six months pass, switch your schedule. Apply fertilizer once every two weeks from March through October, then once a week from November through February. Use a high-nitrogen fertilizer suitable for use with orchids.
- Always apply fertilizer during the latter half of a full watering.
-
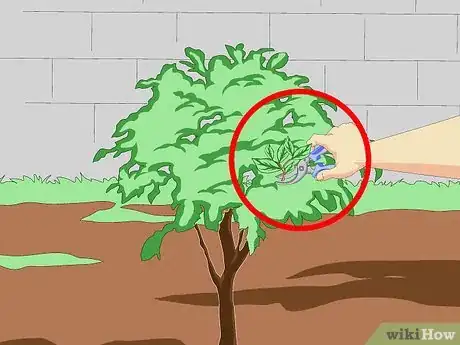
3Prune the tree. Pruning is not strictly necessary, but if you want to keep the plant small, you should begin to prune the leaves once the tree reaches 20 inches (500 mm) in height. Cut or pinch away the growing tips of each stem to encourage lateral branching.
- Note that many professional coffee plantations prune trees to the ground every three years to encourage new growth. If you area only planting a small home-grown coffee plant, though, this much pruning could shock the tree and weaken it severely.
Harvesting Coffee Beans
-
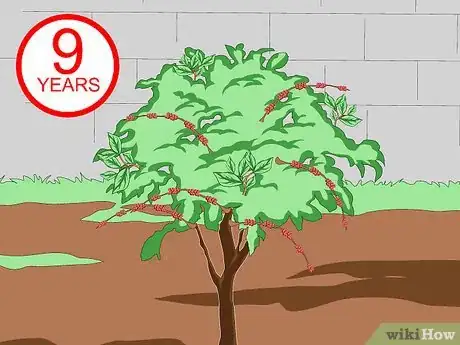
1Give it time. On average, a coffee tree will need nine years before it produces usable fruit.
- Within two or three years, you might see some flowering and a few green coffee cherries.
- The flowering phase will last for about one month. After it ends, the flowers will turn brown and fall off the plant.
- Over the next six to eight months, the tree will be in its fruiting phase. If the cherries reach a deep red color, they can be picked. If they drop off naturally before reaching this color, however, the tree is not yet mature enough.
-
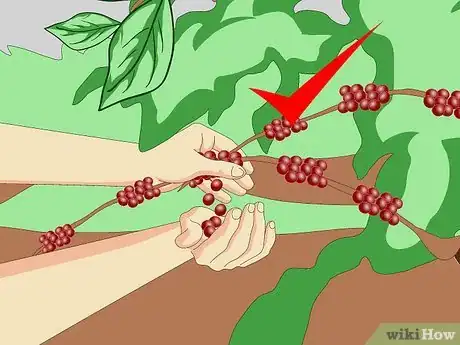
2Pick the berries when ripe. Coffee cherries are ready to be picked when they turn a deep crimson color. Pick the beans by simply twisting and pulling them off with your fingers.
- Note that each berry has two beans inside.
- You will not be able to harvest all of the berries at once since they will all ripen at different paces.[5] Harvest your berries once a week.
-
3Dry and roast the beans. If you want to use the coffee beans to make actual coffee, you will need to remove the beans from each cherry and dry them out.
- Open the cherries and remove the beans. Allow each bean to ferment by soaking it in water for several days. When bubbles form and the beans feel gritty, washing them in fresh water.
- Spread the beans out in the sun for seven days. When ready, they will crack when squeezed between your teeth.
- Remove the outer parchment and silver layers of skin, leaving only the green bean behind.
- Roast the inner green beans for 10 minutes in an oven preheated to 400 degrees Fahrenheit (200 degrees Celsius).
Community Q&A
-
QuestionHow long does the coffee plant take to grow beans?
 Community AnswerIt takes about five years for a coffee tree to bear its first full crop of beans. It will then be productive for about fifteen years.
Things You'll Need
- Coffee seeds
- Small containers
- Mesh screen
- Spray bottle and/or watering can
- Agricultural sand, vermiculite, or burlap sacks
- Loamy or lightweight soil
- Shovel
- Nitrogen-rich fertilizer
- Large container, approximately 20 gallons (75 L) deep
- Grass clippings or similar mulch
- Pruning shears

