This article was co-authored by Ryaan Tuttle. Ryaan Tuttle is a Home Improvement Specialist and the CEO of Best Handyman, Inc. in Boston, Massachusetts. With over 17 years of experience, he specializes in building home service businesses, focusing on creating scalable and efficient brands. With the help of his global team, the companies have achieved over 10+ million in sales and received recognition through magazine features, and enjoy partnerships with wikiHow and Jobber field service software. Boston Magazine and LocalBest.com have named Best Handyman Boston the Best Handyman in Boston. Ryaan holds Construction Supervisor and Home Improvement Contractor Licenses.
This article has been viewed 44,840 times.
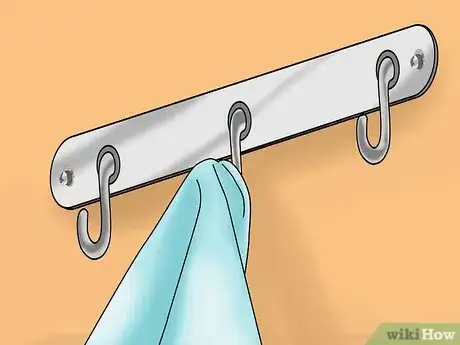
Drywall is thin and easier to damage than other types of wall materials, so it is important to use the right hardware when hanging items from the wall. If at all possible, secure heavy objects to a stud. If that is not a possibility, and you must hang things directly on the drywall, choose a method that is appropriate for the weight of your item. Adhesive hooks and press-in wire hooks are great for lightweight objects, while threaded anchors work well for medium-weight objects. Use a molly bolt for the heaviest items.
Steps
Using Adhesive Hooks
-
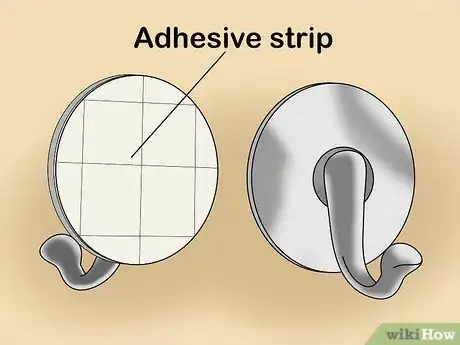
1Choose adhesive hooks for objects up to 8 pounds (3.6 kg). These hooks have adhesive backings that stick to walls, so you don’t have to put a hole in the wall. Weigh the object first so you can pick a hook that will properly support it.[1]
- Adhesive hooks come in various sizes and should say how many pounds they will hold. The largest of these hooks hold 8 pounds (3.6 kg) and the smallest are rated for only 1 pound (0.45 kg) of weight.
- For objects that are slightly heavier than your hooks are meant to hold, use 2 hooks.
-
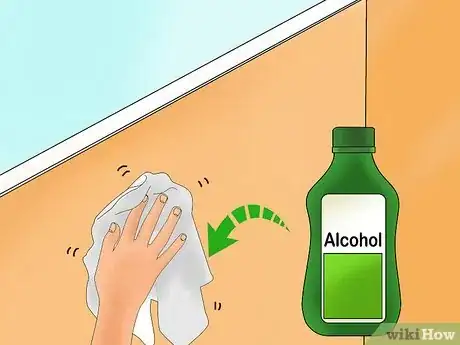
2Clean the wall with rubbing alcohol for a better hold. Use a clean rag or paper towel and some rubbing alcohol to scrub the area of any debris. This will ensure that the adhesive will stick firmly to the wall.[2]
- If you don’t have rubbing alcohol, you can use warm water mixed with a small amount of dish soap to clean the wall.
Advertisement -
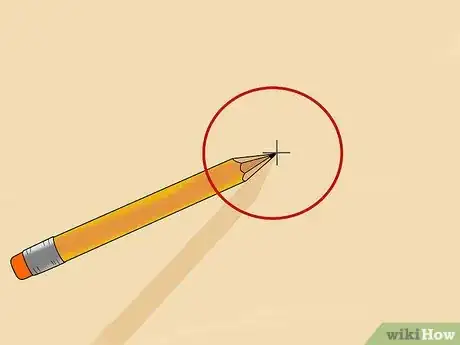
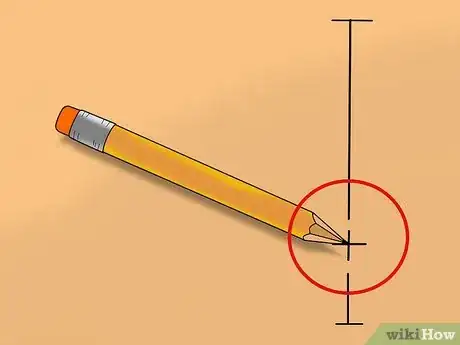
3Determine where on your wall you want to place the hook(s). Make a small pencil mark where the center of your hook will be. If you are using 2 hooks, measure the width of your object and divide that number into 3. Make your first mark on the wall at the 1/3 position and the second mark at the 2/3 position. For example, if your picture is 9 inches (23 cm) wide, you’d place 1 hook at 3 inches (7.6 cm) in from the edge, and the second at 6 inches (15 cm). Double check that the 2 marks are in line either using a leveler or by measuring down from the ceiling.
- If the item you’ll be hanging has a wire hanger on the back, be sure to consider the length of the slack. You can test this by pulling the center of the wire tight toward the top of your object. Measure from the bottom of the object to where the wire catches.
-
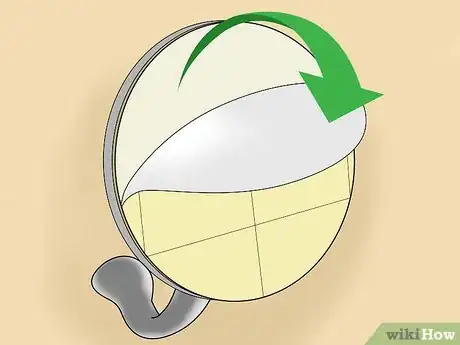
4Remove the liner from the adhesive strip and affix it to the back of the hook. If your hook’s adhesive strip is not already on the back of the hook, peel the liner off 1 side of the strip. Line it up to the back off the hook and press down.
- Some adhesive hooks come with the adhesive already affixed to the back. Skip this step and move on to the next if that’s the case with the adhesive hook you have.
-
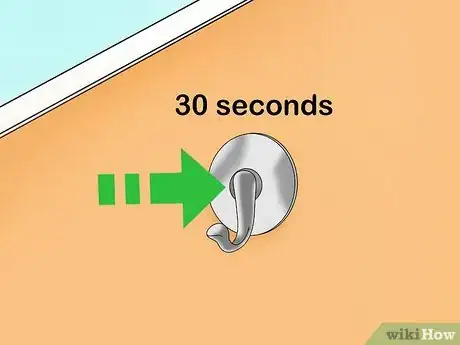
5Press the adhesive side of the hook to the wall for 30 seconds. Remove the paper lining on the back of the hook, line it up straight, and press the hook firmly onto the wall. Hold for 30 seconds and release.
-
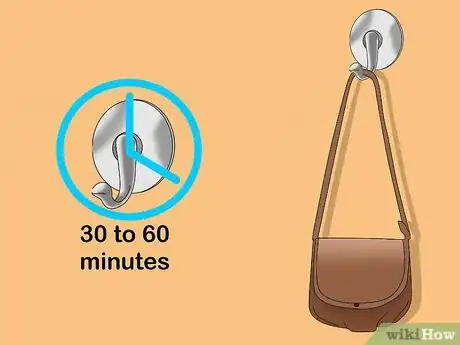
6Allow the adhesive to dry 30-60 minutes. Once the adhesive has dried, hang your items from the hook(s).
- If your item pulls the adhesive hook off the wall even after you’ve waited, check to make sure you’ve used a hook that is appropriate for the weight of your item.
Utilizing Wire Hooks
-
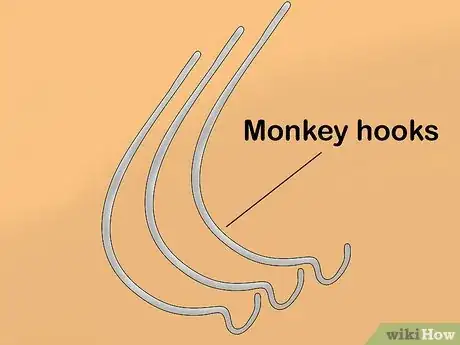
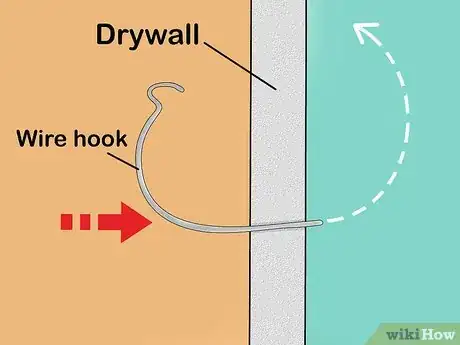
1Choose a press-in wire hook for items weighing up to 50 pounds (23 kg). Press-in wire hooks are designed to be inserted into drywall without hammers or any other tools. These wire hooks are sometimes known by their brand names, like Monkey hooks or Gorilla hooks.[3]
-
2Determine where on your wall you want to hang your object. Make a small pencil mark where you will insert the hook. With press-in wire hooks, the hanger will be approximately 2 centimetres (0.79 in) lower than your hole.
- Measure the length of the slack if the item you are hanging has a wire on the back of it. Pull the center of the wire up, then measure the distance from the bottom of the object to the top of the wire.
-
3Push the long, tapered end of the hook through your drywall. Line the hook up with your mark and press it firmly into the wall. The entire wire except for the little hook on the end should go into the wall. Twist the wire so that the hook is facing up.
-
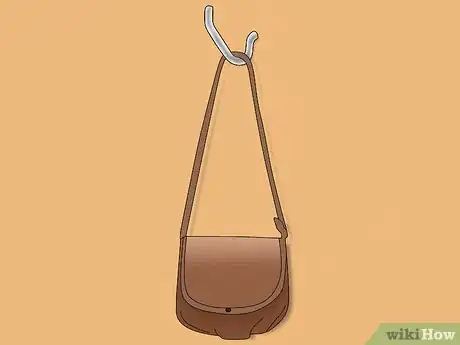
4Hang your item. Finish by placing the object you are hanging on the hook using the wire or hanging hardware on the back. You may have to pull the hook out from the wall a little or press it in further, depending on the item you are hanging.[4]
Securing Items with Threaded Anchors
-
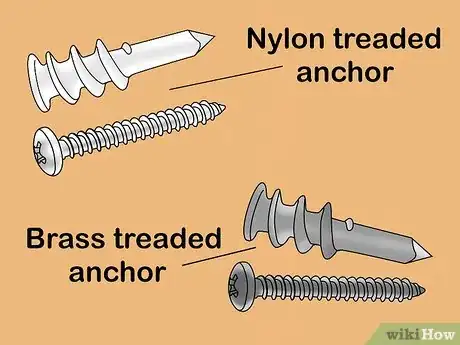
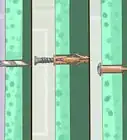
1Choose threaded anchors for items weighing up to 80 pounds (36 kg). Threaded anchors are made specifically for use in drywall. They have large, aggressive threads that hold to the drywall. They act as anchors for a support screw, which is what you will actually hang your pictures from. You will need to buy support screws that are the right size for your anchor.[5]
- You can choose between nylon or brass threaded anchors. While the nylon anchors are cheaper, the metal ones hold up better.
-
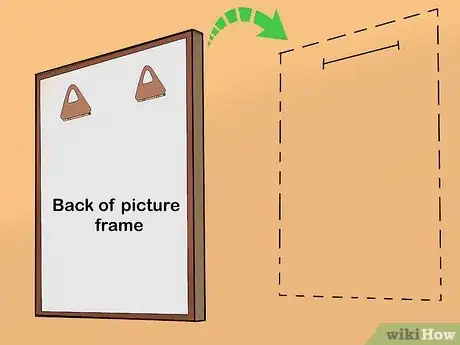
2Determine where you want to hang your item. If your picture frame or mirror has a wire-hanger in the back, be sure to consider the slack when determining where you want the picture or mirror to hang.
- If you are using 2 anchors because your item has 2 hooks, make sure to measure the distance between the hooks to determine how far apart your threads should be from one another.
- If you are using 2 anchors simply to provide more strength, determine their placement by first measuring the width of your object. Divide that number into 3. Place 1 anchor at the 1/3 position and the second anchor at the 2/3 position.
- For example, if your picture is 9 inches (23 cm) wide, you’d place 1 anchor at 3 inches (7.6 cm) in from the edge, and the second at 6 inches (15 cm).
-
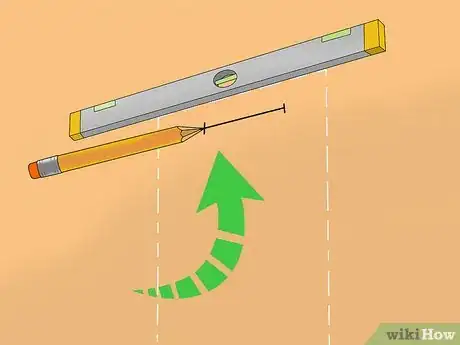
3Make a light pencil mark on the wall where you want to place the anchor. If you are using 2 anchors, double check that the 2 marks are in line either using a leveler or measuring down from the ceiling.
-
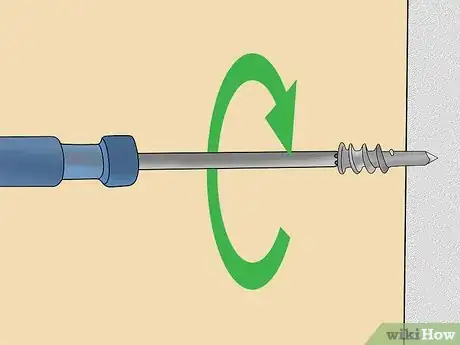
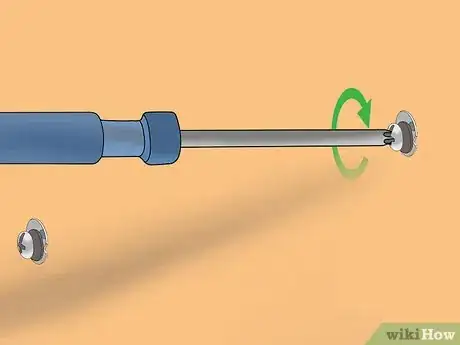
4Screw the anchor into the wall using a Phillips head screwdriver. These threaded anchors do not require a drill. Place the tip of the screw on your pencil mark and use a Phillips head screwdriver to press the anchor firmly into the wall. Turn the screwdriver to the right until it is flush in the wall. [6]
- Make sure you keep the screw perpendicular to the floor as you screw. If you get off track, back up and place it in the perpendicular position before resuming.
-
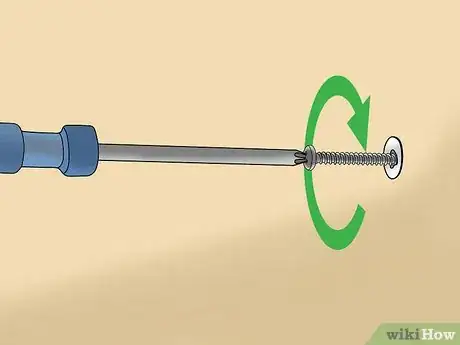
5Place the support screw into the anchor and tighten. Line up the screw and the anchor and, using either a Philips or flat head screwdriver, turn the screw clockwise just until the base of the screw comes to rest against the base of the anchor.
- If the object you are hanging has a mounting bracket, you may need to slide the screw through the bracket before screwing it into the anchor.
-
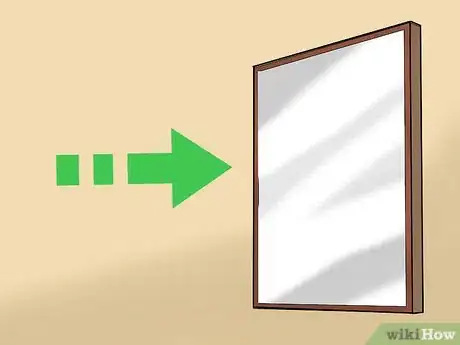
6Hang item from the support screw. Line your item’s hanging hardware up to the support screw and fasten. If you find that there is not enough space to accommodate the hanging hardware, loosen the support screw slightly.
Hanging Heavy Objects with Molly Bolts
-
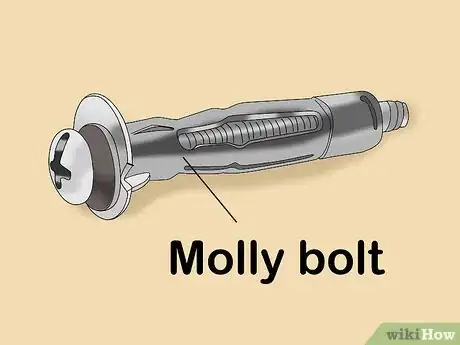
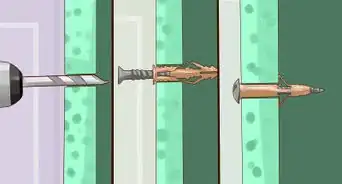
1Choose molly bolts for heavy items up to 100 pounds (45 kg). Molly bolts are the strongest of your options, holding up to 100 pounds (45 kg) in straight drywall. A molly consists of a screw and a sleeve. The sleeve flays out against the backside of drywall to create a wide base of support.[7]
- You will need a drill to install a molly bolt. Attach the bit that matches the size of your molly bolt.
-
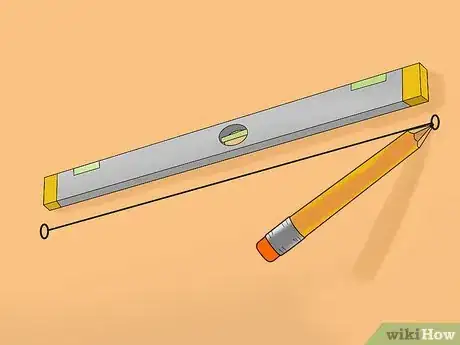
2Mark the spot where you plan to hang the object. Remember that molly bolts create large holes in your wall, so choose your placement carefully. If you are using 2 molly bolts, predetermine how far apart you need them to be according to the size of your item. Use a tape measure to make the two marks the correct distance apart. Double check that the 2 marks are in line either using a leveler or by measuring down from the ceiling.
- If the item you’ll be hanging has a wire hanger on the back, be sure to consider the length of the slack. You can test this by pulling the center of the wire tight toward the top of your object. Measure from the bottom of the object to where the wire catches.
-
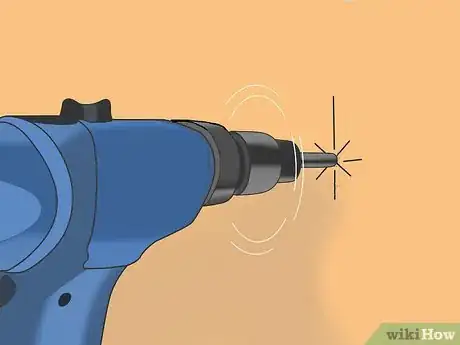
3Drill a hole for the molly bolt. Keep the bit perpendicular to the floor. Use the same size bit as the bolt. For example, if you chose a 1⁄4 inch (6.4 mm) bolt, use a 1⁄4 inch (6.4 mm) bit.
-
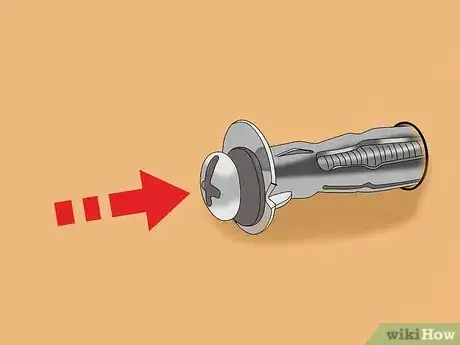
4Insert the molly bolt into the hole. Place the molly bolt, the screw and the sleeve together, into the hole you’ve drilled.
- Some drywall flakes are normal and can just be brushed off the wall.
-
5Screw the bolt down tight. Use your drill or a screwdriver to screw the molly bolt flush into the wall. As you screw, the sleeve spreads behind the wall and you will feel it tighten.[8]
- If what you are hanging requires brackets, remove the screw by turning it to the left. The sleeve will stay in place. Place the screw through the bracket and screw it back into place.
-
6Hang your item. Line your item’s hanging hardware up to the molly bolt and fasten them together. If you find that there is not enough space to accommodate the hanging hardware, loosen the screw slightly.
Expert Q&A
-
QuestionHow do you remove old wall anchors out of drywall?
 Ryaan TuttleRyaan Tuttle is a Home Improvement Specialist and the CEO of Best Handyman, Inc. in Boston, Massachusetts. With over 17 years of experience, he specializes in building home service businesses, focusing on creating scalable and efficient brands. With the help of his global team, the companies have achieved over 10+ million in sales and received recognition through magazine features, and enjoy partnerships with wikiHow and Jobber field service software. Boston Magazine and LocalBest.com have named Best Handyman Boston the Best Handyman in Boston. Ryaan holds Construction Supervisor and Home Improvement Contractor Licenses.
Home Improvement Specialist You could pull them out with a pair of pliers, if you wanted to. If not, you could always take 1/4 in (0.6 cm) drill bit and drill out the insert.
Things You'll Need
Using Adhesive Hooks
- Adhesive hooks
- Rubbing alcohol or dish soap
- Clean rag or paper towel
- Tape measure
- Pencil
Utilizing Wire Hooks
- Wire hooks
- Tape measure
- Pencil
Securing Items with Threaded Anchors
- Threaded anchors
- Support screws
- Phillips head screwdriver
- Tape measure
- Pencil
Hanging Heavy Objects with Molly Bolts
- Molly bolts
- Standard drill
- Drill bit the same size as the molly bolt
- Phillips head screwdriver
- Tape measure
- Pencil
References
- ↑ https://www.apartmenttherapy.com/10-temporary-removable-products-all-renters-should-know-about-206028
- ↑ https://www.apartmenttherapy.com/10-temporary-removable-products-all-renters-should-know-about-206028
- ↑ https://www.todayshomeowner.com/how-to-hang-anything-on-anything/
- ↑ https://www.todayshomeowner.com/how-to-hang-anything-on-anything/
- ↑ https://www.naturalhandyman.com/iip/inffastener/infanchor/infanchor.html
- ↑ https://www.naturalhandyman.com/iip/inffastener/infanchor/infanchor.html
- ↑ https://www.todayshomeowner.com/how-to-hang-anything-on-anything/
- ↑ https://www.naturalhandyman.com/iip/inffastener/infanchor/infanchor.html
