X
wikiHow is a “wiki,” similar to Wikipedia, which means that many of our articles are co-written by multiple authors. To create this article, 9 people, some anonymous, worked to edit and improve it over time.
This article has been viewed 83,952 times.
Learn more...
Hanging a gate begins with the gate posts. Leaving enough space between the posts to accommodate your gate as well as being sure the posts are set securely enough to sustain usage over time can be tricky. But, with persistence and the following instructions, you can hang a gate that will function smoothly for a long time.
Steps
-
1Dig a hole at least 3 feet (or 1 meter) deep using a post hole digger.
-
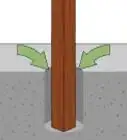
2Place one of the posts into its hole and while holding it as level as you can, pour dry concrete into the hole until it is half filled.Advertisement
-
3Pour in roughly 5 inches (or 12.7 centimeters) of water and let the mix soak for a minute or two.
-
4Fill the hole to about 5 inches (or 12.7 centimeters) from the top with more of the dry mix, adding another 5 inches (or 12.7 centimeters) of water until the hole is filled.
-
5Add water as it is absorbed by the dry concrete until the mixture is thick enough to hold the post upright.
-
6Repeat this process for the post on the opposite side.
-
7Leave the posts to set for a day or two, or until the concrete is completely hardened.
-
8Calculate, starting with the bottom hinge of your gate, how far above the ground it will need to be so that your gate moves freely and without hitting the ground anywhere within its full swing.
-
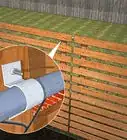
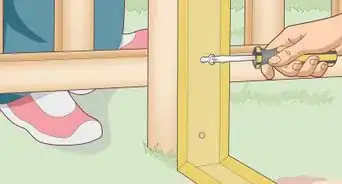
9Drill a hole through the hinge post as straight as you can using a spade bit.
-
10Screw a nut and a washer 1 inch (or 2.5 centimeters) onto the threaded end of the vertical hinge pin, and push it through the hole, so that the pin is pointed straight up.
-
11Determine where your top hinge needs to be by first measuring the distance between the bottom hinge loop and the top hinge loop on your gate. Then measure the distance between the face of the hinge pin and the center of its threaded rod, adding them together.
-
12Measure the distance between the hinge pin and the center of its threaded rod, add this to your measurement for the hinge loops and mark the resulting measurement with a line that runs up the inside of the hinge post to the hinge that is already in place.
-
13Draw a line on the inside of the post that is level with the center of the pin already in place.
-
14Push the hinge pin through the top hole as you did with the bottom pin without tightening the nuts.
-
15Calculate how far the top pin needs to protrude from the post so that it is aligned with the bottom pin, then tighten the top pin's nuts into place.
-
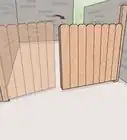
16Slide the hinge loops of the gate onto the hinge pins and tighten the clamps to hold it in place.
-
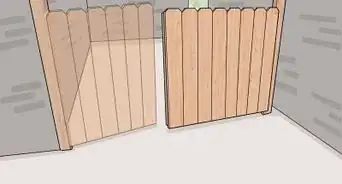
17Let go of the gate, adjusting the hinge pins as needed so that your gate hangs motionless.
-
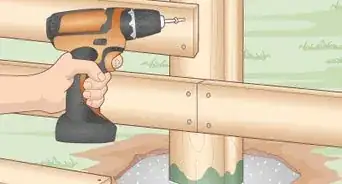
18Attach your latching hardware about midway up the post opposite the hinge posts, making sure that all the parts are aligned so that they slip into place when the gate is closed.


Advertisement
Warnings
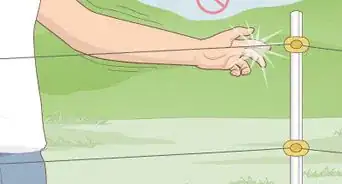
- Always wear proper safety equipment such as safety glasses.⧼thumbs_response⧽
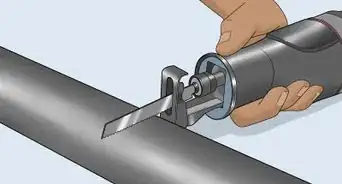
- If you need to cut the threaded rods, always use a hacksaw.⧼thumbs_response⧽
Advertisement
Things You'll Need
- Gate with hinges and latching hardware
- Concrete mix and water
- Drill with a spade bit
- Wrench
- Level
- Tape measure


About This Article
Advertisement