This article was co-authored by Mike Garcia. Mike Garcia is a Licensed Landscape Contractor and the Founder of Enviroscape LA, a full-service landscape design and construction firm in Los Angeles, California. With over 30 years of experience, Mike specializes in sustainable landscape practices. Mike holds an Ornamental Horticulture degree, C-27 Landscape Contractor and D-49 Tree Service Contractor licenses, and Permaculture Design, California Naturalist, International Certified Professional Pond Contractor, and Pond Building certifications. He is one of eight Internationally Certified Pond Builders in the world. Enviroscape LA has won landscape and water feature awards from the International Professional Pond Contractors Association (IPPCA), National Association of Pond Professionals (NAPP), and the California Landscape Contractors Association (CLCA). Mike is a past president of the CLCA and currently serves on their local Board of Directors. Enviroscape LA has been featured in PONDS USA Magazine, Pond and Garden Lifestyles Magazine, and the Los Angeles Times. Mike has appeared on Extreme Home Makeover, HGTV's Landscapers Challenge, and A & E's series Fix That Yard.
This article has been viewed 95,083 times.
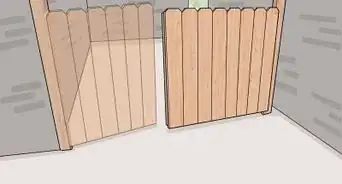
Replacing a fence post may seem like a daunting task, especially if concrete held the original post in place. Thankfully, the process is actually quite simple, and knowing how to do it will allow you to replace anything from a single rotten beam to an entire fence.
Steps
Removing the Original Post
-
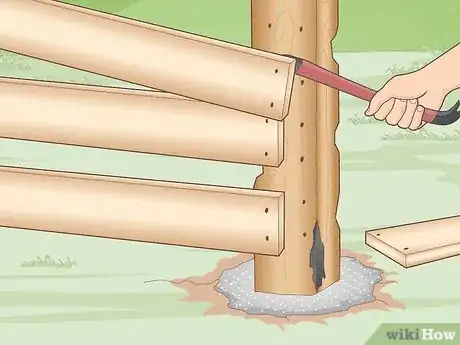
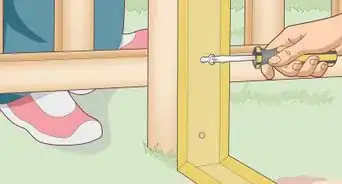
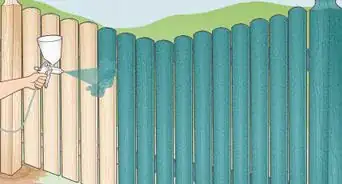
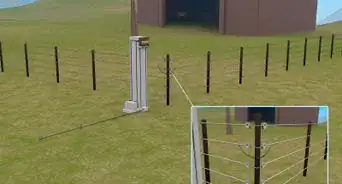
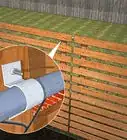
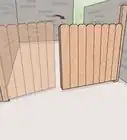
1Disconnect the post from any fence panels or wires. To gain access to the specific post you want to remove, you’ll first need to detach any fasteners securing the post to a wood fence panel or wire mesh. These fasteners may include:[1]
- Nails placed through a wood post into a wood panel.
- Screws connecting the post to the fence via a detachable panel.
- Tension bands holding wire mesh to the post.
-
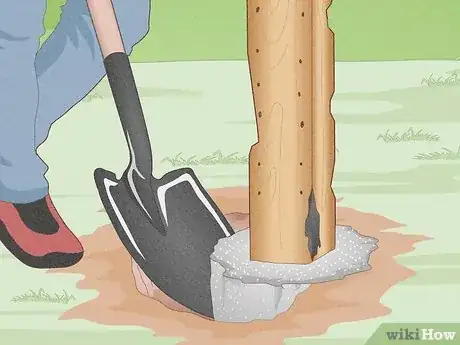
2Dig a hole around 1 side of the fence post. With a shovel, break into the ground surrounding the fence post’s concrete base. Keep digging until you create a half-circle gap between the ground and concrete. If possible, dig a hole that is as deep as the concrete itself, giving the post as much wiggle room as possible.[2]
- Creating a semi-circular hole will be more than enough for most posts. However, if your pole refuses to budge, try digging out the rest.
Advertisement -
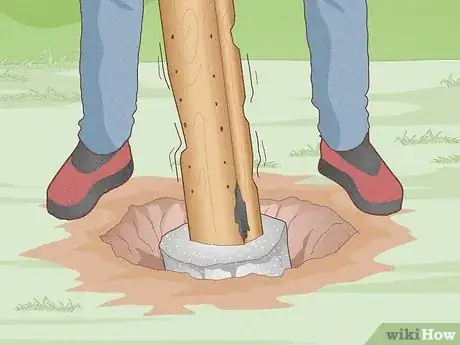
3Rock the post back and forth to break up the surrounding ground. Your pole will resist at first, but should eventually start to move. Keep wiggling the post until you can move it back and forth with ease, indicating that the ground has lost its hold on the concrete base.
-
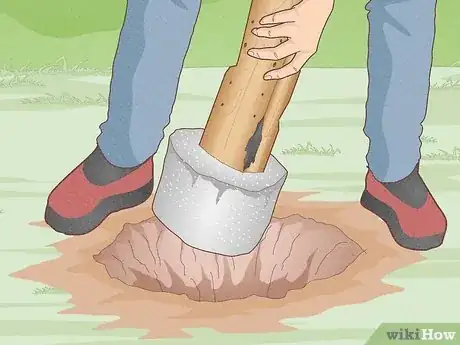
4Lift loose posts up by hand. Some posts, especially those that were not installed particularly well, can be easily removed by hand. Simply grip the base of the pole and lift up with your legs, pulling it out of the ground. Concrete is incredibly heavy, so make sure to grab a friend or 2 for help.[3]
-
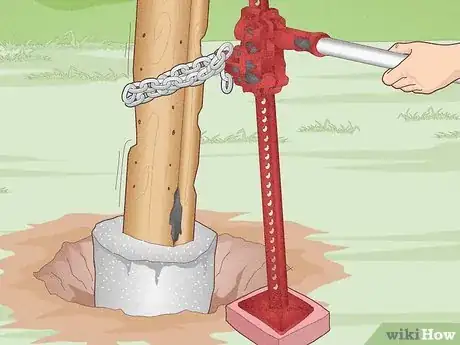
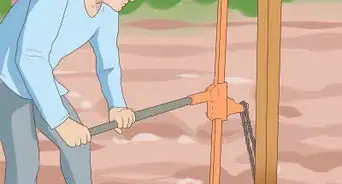
5Use a jack to remove your post if it’s stuck. Place a thick block or brick next to your post and set a high lift jack on top of it. Then, wrap 1 end of a thick chain around the base of your post and connect the other end of the chain to the jack. When you’re ready, pump the jack slowly. The additional force will help pull the post out of the ground.[4]
- If the jack doesn’t provide enough support, try connecting the chain to something even larger like a power lift.
-
6Clear the hole of any post and concrete remains. To prepare the hole for your replacement post, pull out any remaining wood splinters, concrete slivers, and other unwanted items. If necessary, run the head of a shovel along the inside edge of the hole, pulling out any excess debris and smoothing everything over.[5]
Placing a New Post
-
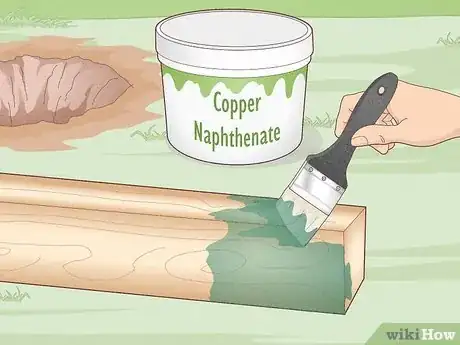
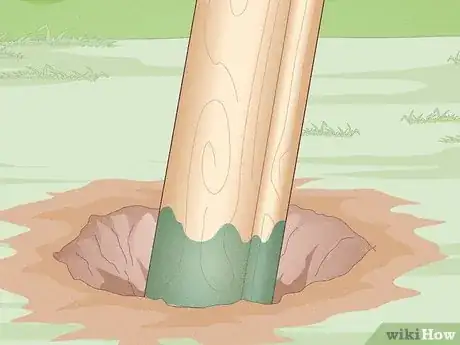
1Coat the bottom of wood posts with copper naphthenate. Due to their potential for rot, wood posts need a bit more care before placing them in the ground. Specifically, you’ll need to cover the bottom of your post in a copper naphthenate solution like Cuprinol. Copper naphthenate mixtures act as in-ground preservatives, protecting the wood from decay and damage.[6]
- Look for copper naphthenate solutions at home improvement and paint stores.
- You can apply the solution by brushing it onto the post or dipping the post into a tub filled with the liquid.
-
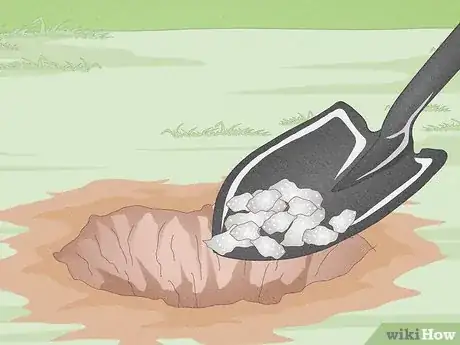
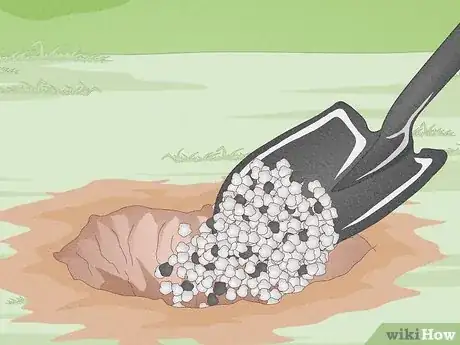
2Fill the bottom of the hole with aggregate. Construction aggregate is a coarse material made from sand, crushed stone, rock, and similar items. To hold your post steady, you’ll need to pour in enough of this material so that, when the post is fully inserted, the very bottom is covered by 2 in (5.1 cm) of aggregate or more.[7]
- Your aggregate should provide a sizeable cushion between the bottom of the hole and the base of your pole, so pour in a liberal amount.
- Aggregate helps water drain more quickly, preventing mildew and rot.
-
3Place your post inside the hole.[8] Set 1 end of your pole inside the hole, pushing down until it enters the aggregate mix. Then, if you’re lining the post up with a pre-existing fence, check to make sure that your pole sits at the same height as the other posts. If possible, pull your fence panels up to the post to make sure they fit together nicely.[9]
- If the pole won’t stand up on its own, ask a friend to hold it or place small stakes around the base.
-
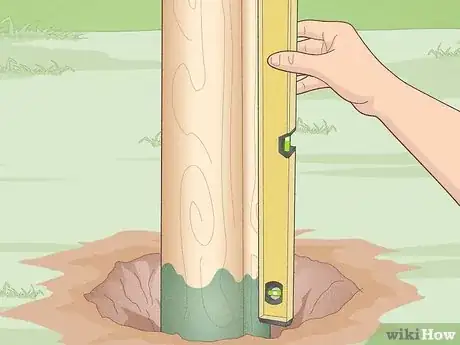
4Check the post’s vertical orientation with a bubble level. To avoid any issues with alignment, check to make sure that your post is perfectly straight. You can do this by placing a vertical bubble level flush against the side of the pole. If the bubble does not sit inside the device’s level markers, adjust the pole until it does.[10]
-
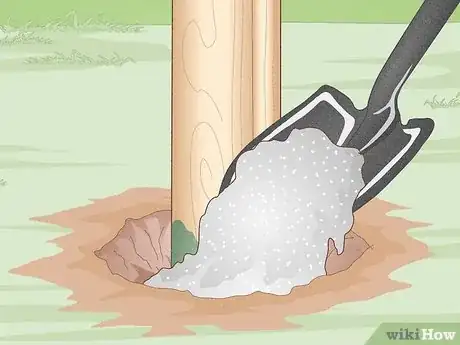
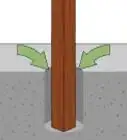
5Fill the hole with concrete. Purchase a ready-to-use personal concrete mix from a hardware store, then prepare it according to the manufacturer’s instructions. Once it’s ready, pour the concrete solution into the hole, making sure to fill it up evenly. Keep pouring until the concrete reaches just above the top of the hole.[11] [12]
- Wear protective eyewear, working gloves, and long-sleeved clothes to keep your eyes and skin safe from the concrete.
- If you get concrete on your skin, scrub it off and run the area under clean water for a minimum of 20 minutes. If necessary, prevent burning by adding vinegar or citrus to the water.[13]
- If you get concrete on your clothes, remove them immediately and rinse them in clean water.[14]
-
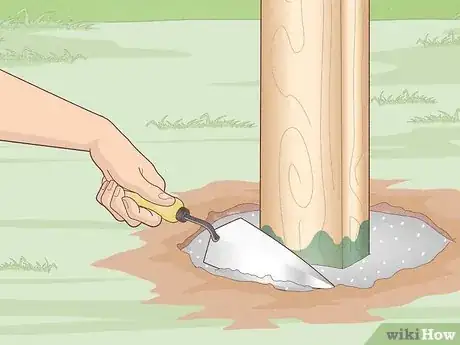
6Slope the concrete away from the post using a trowel. Before the concrete dries, scrape the top of the mixture with a trowel to make it smooth. Then, continue scraping the mixture until it slopes away from the post, ensuring the area drains properly.[15]
-
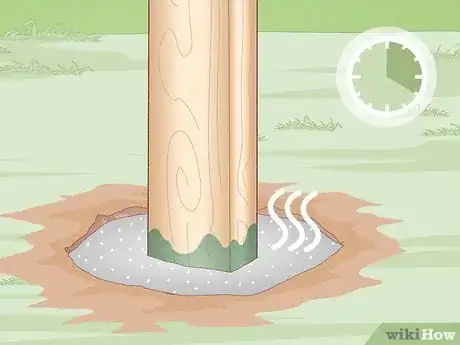
7Let the concrete dry for at least 4 hours. Most ready-to-use concrete mixtures will need at least 4 hours to set, though this time can vary based on the specific brand. To see if your concrete is dry, poke it with a small wooden rod.
-
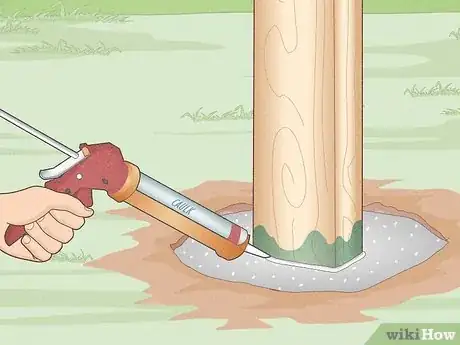
8Seal the base of the post with caulk. Once the concrete is completely dry, place a line of silicone or acrylic latex caulk around the area where the base of the post meets the concrete. During colder periods of the year, this caulk will prevent the concrete from opening up and creating a gap.[16]
-
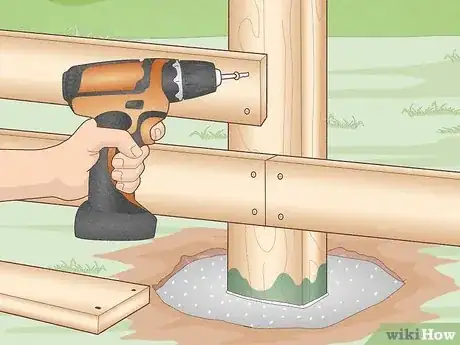
9Connect the post to any fence panels or wires. Check that the post is set and stable, then attach it to any pre-existing fence panels or wires using the same types of fasteners you removed earlier.[17]
Warnings
- While working with the post, wear heavy-duty gloves, protective goggles, and long-sleeved clothes to avoid injury.⧼thumbs_response⧽
References
- ↑ https://www.thisoldhouse.com/how-to/how-to-replace-rotted-fence-post
- ↑ https://www.familyhandyman.com/garden-structures/fences/fence-post-repair/view-all/
- ↑ https://www.familyhandyman.com/garden-structures/fences/fence-post-repair/view-all/
- ↑ https://www.youtube.com/watch?v=lHijZna7oPQ&feature=youtu.be&t=1m27s
- ↑ https://www.thisoldhouse.com/how-to/how-to-replace-rotted-fence-post
- ↑ https://www.familyhandyman.com/garden-structures/fences/how-to-set-fence-posts-that-won-t-rot/view-all/
- ↑ https://www.familyhandyman.com/garden-structures/fences/how-to-set-fence-posts-that-won-t-rot/view-all/
- ↑ Mike Garcia. Licensed Landscape Contractor. Expert Interview. 20 November 2020.
- ↑ https://www.thisoldhouse.com/how-to/how-to-replace-rotted-fence-post
- ↑ Mike Garcia. Licensed Landscape Contractor. Expert Interview. 20 November 2020.
- ↑ https://www.thisoldhouse.com/how-to/how-to-replace-rotted-fence-post
- ↑ Mike Garcia. Licensed Landscape Contractor. Expert Interview. 20 November 2020.
- ↑ https://precast.org/2010/05/cement-burns/
- ↑ https://precast.org/2010/05/cement-burns/
- ↑ https://www.familyhandyman.com/garden-structures/fences/how-to-set-fence-posts-that-won-t-rot/view-all/
- ↑ https://www.familyhandyman.com/garden-structures/fences/how-to-set-fence-posts-that-won-t-rot/view-all/
- ↑ https://www.thisoldhouse.com/how-to/how-to-replace-rotted-fence-post
About This Article
To remove a fence post secured by concrete, start by disconnecting the post from the fence itself. Then, dig a hole around at least 1 side of the post, exposing the concrete and giving it some wiggle room. If the post is loose, you may be able to simply lift it up by hand. If it is stuck, try connecting the post to a jack via a thick chain, then slowly pump the device until it pops out. Before replacing the post with another one, make sure to clear the hole of any remaining concrete or debris. For tips on setting a new fence post in concrete, read on!
