This article was co-authored by wikiHow Staff. Our trained team of editors and researchers validate articles for accuracy and comprehensiveness. wikiHow's Content Management Team carefully monitors the work from our editorial staff to ensure that each article is backed by trusted research and meets our high quality standards.
This article has been viewed 46,632 times.
Learn more...
Like any other instrument, the first step in learning to play the trombone is understanding how to hold it. To get a good grip, press the thumb of your left hand into the brace at the bottom of the bell tube, then wrap your bottom three fingers around the perpendicular brace on the slide assembly. Support the full weight of the instrument in your left hand so that your right hand will be free to work the slide.
Steps
Taking the Proper Grip
-
1Set the trombone upside down on the ground in front of you. Placing the instrument on the ground will help steady it so you can focus on getting your hand position just right. Make sure the bell is facing away from you, with the opening resting flat against the floor and the slide pulled all the way back.[1]
- Hold onto the thick shaft of the bell tube while you negotiate your grip. This will keep the trombone from tipping over or coming out of alignment.
-
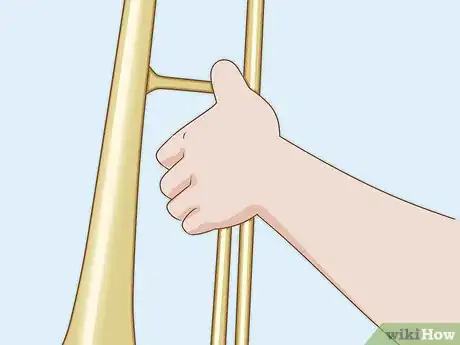
2Wrap your left thumb around the thick brace near the bell tube. Keep the palm of your hand pointed towards you. The rest of your fingers should be on the bell side of the brace. You’ll be using this brace and the one beside it to maintain tension from two separate points.[2]
- A standard trombone is designed with a right-handed player in mind. The majority of left-handed players also use their left hand to grip the instrument and their right hand to work the slide.
Advertisement -
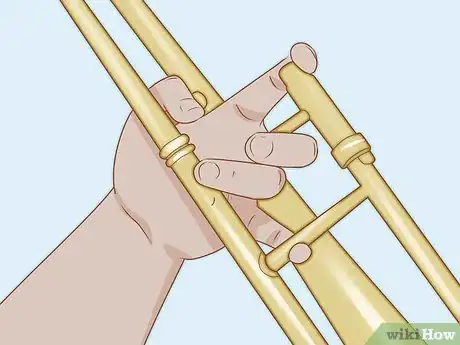
3Curl the bottom three fingers of your left hand around the vertical brace. Slide your middle, ring, and pinky fingers around the second perpendicular brace, squeezing it just below your first knuckle. Rest your index finger against the lead pipe of the slide where the mouthpiece goes.[3]
- This brace will form a 90-degree angle with the one you have your thumb on.
Tip: To get a better sense of how your hand positioning should look, imagine that you’re making a “gun” shape with your left hand.
-
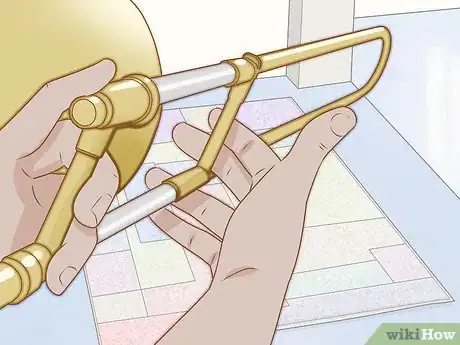
4Grip the slide with the first four fingers of your right hand. Keep your pinky finger tucked so it doesn’t get in the way while you’re playing. As you guide the slide forward and back, it will move toward and away from the three fingers of your left hand closest to the bell.[4]
- If it’s more comfortable for you, you can also use just your thumb, index, and middle fingers to move the slide.
-
5Raise the trombone up onto your left shoulder. Once you’ve got your grip worked out, you’ll support the entire weight of the instrument with your left arm. Let the back end of the bell tube rest against your shoulder to take some of the weight off.[5]
- If you need to make adjustments to any part of the instrument, do it with your right hand so you won’t have to release your grip.
- Try to hold your trombone up at face level for several minutes at a time to get used to playing longer pieces of music.
Assembling a Trombone
-
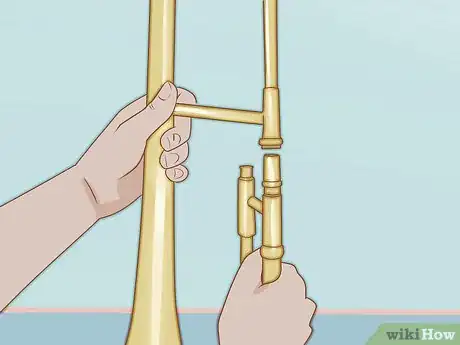
1Fit the slide assembly into the bell tube assembly. Line up the shaft at the end of the slide with the flared opening at the bottom of the bell tube, then press the two pieces together gently until they stop moving. It may help to hold the components vertically to keep them from coming apart.[6]
- Trombones are made up of only two main parts—the bell tube and the slide. This simple design makes them pretty easy to put together.
- If possible, assemble your trombone on a flat, raised surface. That way, you won’t have to worry about damaging either piece if you accidentally drop one.
-
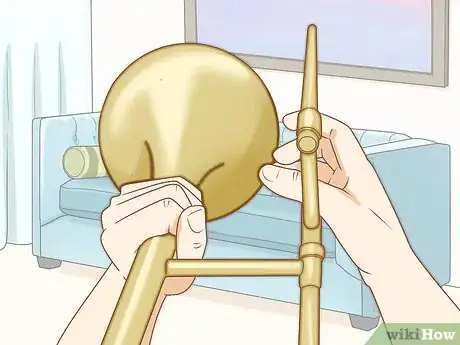
2Adjust the slide so that it sits at a 90-degree angle to the bell tube. Rotate the slide assembly on the bell tube so that the two pieces fit together perpendicularly. The trombone should resemble a backwards “L” when you hold it up to play it.[7]
Warning: Assembling your trombone at the wrong angle could make it hard to play, or even result in a dented slide.
-
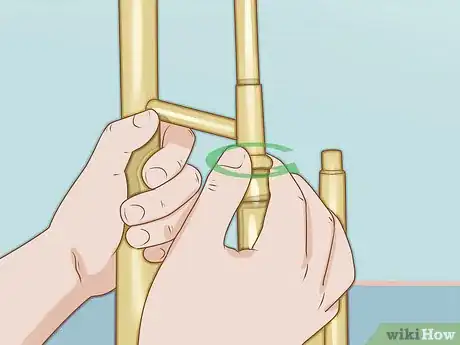
3Turn the lock nut on the slide clockwise to hold the two pieces in place. Jiggle the two pieces a couple times to test the connection and make sure it’s secure. At this point, it will be safe to hold your trombone in one hand.[8]
- With enough practice, you’ll be able to assemble and disassemble your trombone in no time.
- When you’re ready to disassemble your trombone, just unscrew the lock nut and slide the two pieces apart.
-
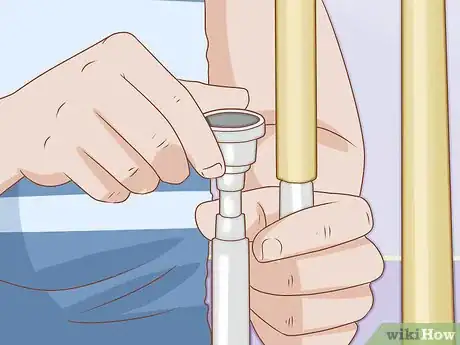
4Insert the mouthpiece into the small receiver on the slide assembly. Just push it in and turn it until it’s tight. Now that you’ve got your trombone put together, you’re ready to make some sweet music!
- Leave the mouthpiece in your case until you’re ready to begin playing to keep it from getting dirty.
References
- ↑ https://www.youtube.com/watch?v=IuulotT18Jk&feature=youtu.be&t=35
- ↑ http://www.tsmp.org/band/trombone/scott_basics.html
- ↑ https://www.youtube.com/watch?v=Gu9fALekykY&feature=youtu.be&t=43
- ↑ https://www.yamaha.com/en/musical_instrument_guide/trombone/play/
- ↑ https://www.yamaha.com/en/musical_instrument_guide/trombone/play/
- ↑ http://www.tsmp.org/band/trombone/scott_basics.html
- ↑ https://www.youtube.com/watch?v=IuulotT18Jk&feature=youtu.be&t=40
- ↑ https://www.youtube.com/watch?v=FvYf1QjQ90c
About This Article
To hold a trombone, start by setting the instrument upside down on the ground in front of you. With the trombone still on the ground, wrap your left thumb around the thick brace near the bell tube. Once your thumb is in place, curl your bottom 3 fingers of your left hand around the vertical brace. After your left hand is set, grip the slide with the first 4 fingers of your right hand. Then, with both hands positioned, raise the trombone up onto your left shoulder. If you need to make any adjustments to any part of your instrument, do it with your right hand so you won’t have to release your grip. To learn how to assemble your trombone, keep reading!






-Step-17-Version-4.webp)

