This article was co-authored by wikiHow staff writer, Glenn Carreau. Glenn Carreau is a wikiHow Staff Writer, currently based in Los Angeles. With over four years of experience writing for several online publications, she has covered topics ranging from world history to the entertainment industry. Glenn graduated with honors from Columbia College Chicago, earning a B.A. in Interactive Arts and Media and a minor in Professional Writing. Today, Glenn continues to feed her lifelong love of learning while serving wikiHow's many readers.
This article has been viewed 4,718 times.
Learn more...
Are you a tie-dye enthusiast looking to create unique, vibrant designs using the ice dyeing technique? Look no further! Ice dyeing is easy to do and a fun DIY way to add a little color to your wardrobe. Read on for a complete guide to ice dyeing fabric, including different methods for creating dye patterns and controlling the color intensity of your designs.
Things You Should Know
- Prepare the fabric by washing and soaking it with soda ash (unless you’re using Tulip 1-step dye).
- Dye the fabric by scrunching it up, spreading ice across it, and applying tie-dye powder to the ice, so it melts onto the fabric.
- Give your fabric a more intense color by filling muted spots with more ice dye or softening vibrant spots with pure melting ice.
Steps
Preparing the Fabric
-
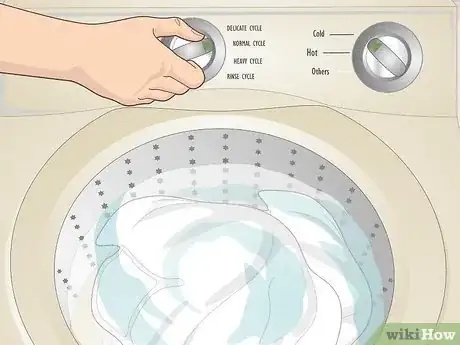
1Pre-wash all the fabric items you plan to ice dye. Pre-washing removes any chemicals in the fabric that might interfere with the dye when you apply it later on. There’s no need to do anything special for this: just look at the clothing tags to see what kind of washer and dryer settings each piece needs, and wash all of the fabric accordingly.[1]
- When picking fabrics for ice-dyeing, stick to 100% all-natural fibers like cotton, rayon, linen, silk, and wool. Synthetic fabrics like polyester don’t take well to dye unless it’s very hot.
-
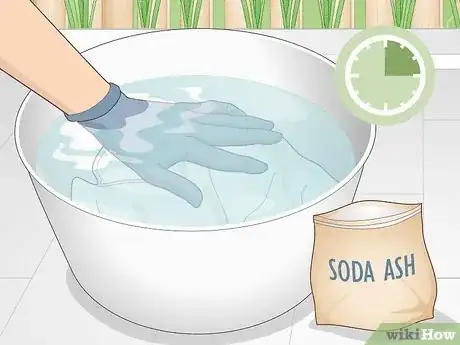
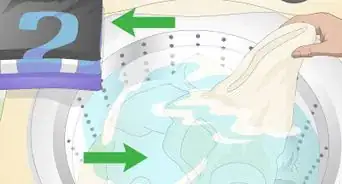
2Soak your fabric for 15 minutes in a mixture of soda ash and water. Combine 1 cup (240 mL) of soda ash and 1 gallon (3.8 L) of water in a bucket or tub, stirring it thoroughly with your hands while wearing rubber gloves. Let the soda ash dissolve before placing each piece of fabric into the mixture and letting them soak for 15 minutes. Then, remove them and wring out the water by hand.[2]
- If you're using the Tulip-brand 1-step dye kit, you don't need to do this. Just pre-wash the fabric, set up your ice-dyeing station, and get to work!
Advertisement -
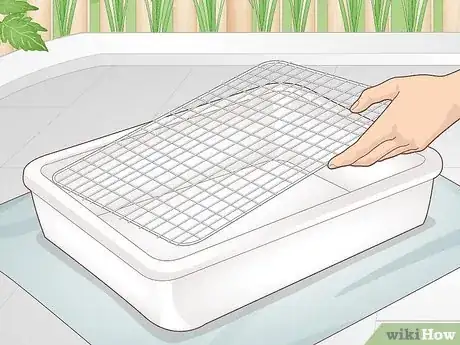
3Set up a tie-dye rack using a tarp, plastic tub, and cooling rack. First, lay out a tarp (or a garbage bag, if that’s easier) on a flat surface. place a plastic tub on the tarp and cover it with a cooling rack (which is typically used for baking). The cooling rack drains away extra water as the ice melts and dyes your fabric, which the tub catches.
- Use a cooling rack that fits inside the tub if possible. It’s easier to pack ice on top of the fabric with the tub’s walls holding it in place.
- If the rack sits close to the bottom of the tub, prop it up with wood blocks or something similar.
-
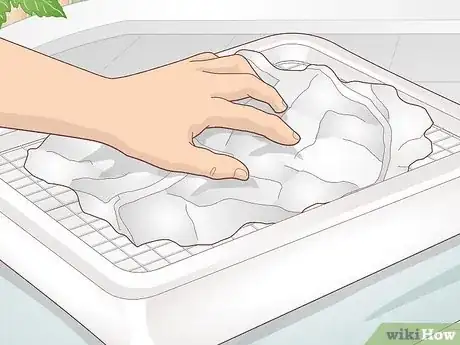
4Scrunch up your fabric and place it on the tie-dye rack. There’s no set way to crumple your fabric, and you can get a wide variety of colorful results by doing it differently each time! Twist it, ball it up, or play around and scrunch it a few different ways, or use any of the traditional tie-dye folding techniques if you want to create a specific pattern.[3] For example:
- Twist the fabric into a spiral-shaped bundle and rubber-band it into place to get a basic spiral tie-dye pattern.
- Create a striped patters by rolling your fabric into a long tube and fastening it at even intervals with rubber bands.
- Try the rosette pattern by pulling up small sections of fabric into a cone shape and then rubber-banding them together. Then, gather the remaining fabric and fasten it periodically with rubber bands.
Applying the Ice and Dye Powder
-
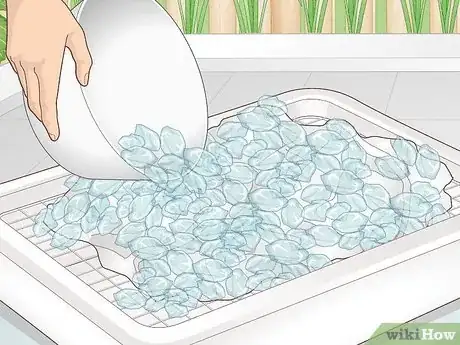
1Add a layer of small-to-medium-sized ice chips over the fabric. Buy a bag of ice cubes, use ice from your freezer, or even crumble up the ice slightly in your blender before using it. Ice cubes with mismatched sizes can actually change the dye pattern since the ice makes different shapes on the fabric as it melts.[4]
- You can add a lot of ice to completely cover the fabric or pile on a little ice at first and add more later. There are many ways to arrange the ice, and none of them are wrong!
-
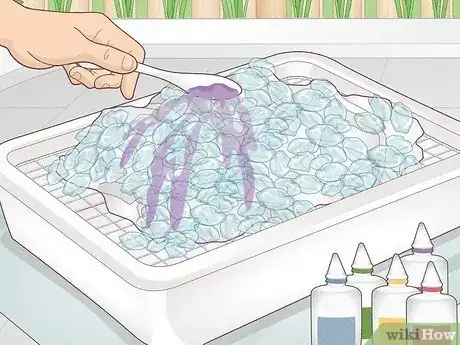
2Apply one of your dye powders directly to the ice with a plastic spoon. Gently pour some tie-dye powder onto your spoon, then sprinkle it over the ice like you would if you were salting some food. Sprinkle on the powder randomly or make a pattern with the colors, but don’t get too heavy-handed and dump a bunch of powder onto the ice in a pile—the color can be intense![5]
- Be sure to wear your rubber gloves when handling dye.
-
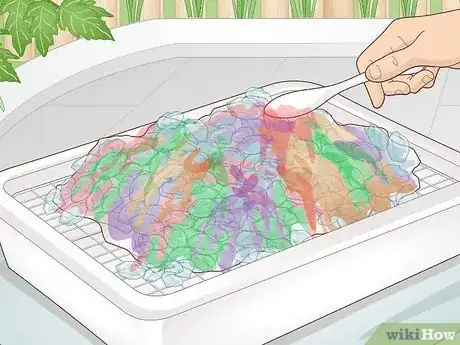
3Add colors one at a time. Sprinkle different colors over each area of the ice, adding heavier amounts of dye in some places and lighter amounts in others for a more dynamic dye design. Overlap colors if you like, but be careful not to mix a pair of colors that turn brown when combined (unless that’s your goal).[6]
- Feel free to experiment with different color combinations and amounts of ice and dye. You’ll get plenty of different designs by playing around and trying new things!
- Ice dyeing is typically more abstract than tie-dyeing; traditional tie-dye patterns work, but most ice-dyed fabric is made by freely sprinkling on dye and seeing what gorgeous watercolor designs you get.
-
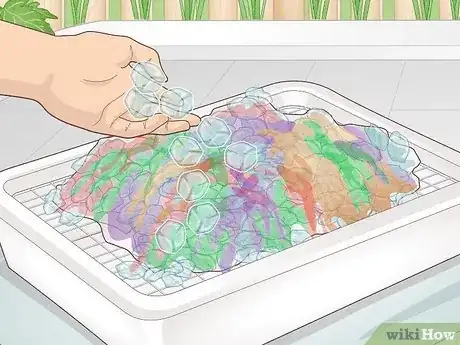
4Re-dye sections to intensify the color or melt plain ice cubes to mute color. After the first round of dye is applied to your fabric, take a look at it and see if there are any adjustments you want to make. Cover up blank spots by ice-dyeing each individual patch or tone down patches that are too vibrant by letting a few ice cubes (with no dye) melt over them.[7]
- You can still intensify the colors on your fabric even if there aren’t any white spots. Re-dyeing a few of the more muted patches can really bring out their color and make your whole shirt look vibrant.
- Conversely, melting regular ice over brighter patches dilutes the dye, making the colors there look a little softer.
Setting and Rinsing the Dye
-
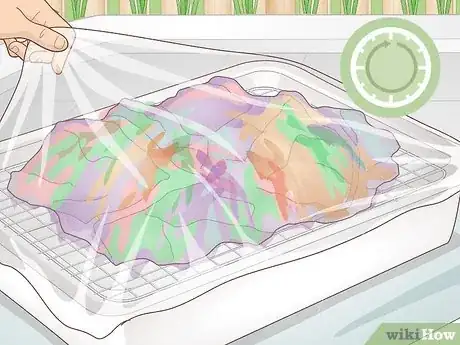
1Cover up the fabric with plastic wrap and let the dye set for 24 hours. Leave the fabric right on the cooling rack and return to it the next day. Waiting 24 hours gives the dye enough time to set into the fabric properly (so future washes won’t change the ice dye design). You can wait as little as 8 hours if you’re in a hurry, but it’s best to give the fabric a full day to set.[8]
- Check periodically to ensure the water level in the plastic tub never reaches the fabric, as that can mess with the colors. If it’s getting close, drain the water out of the tub.
-
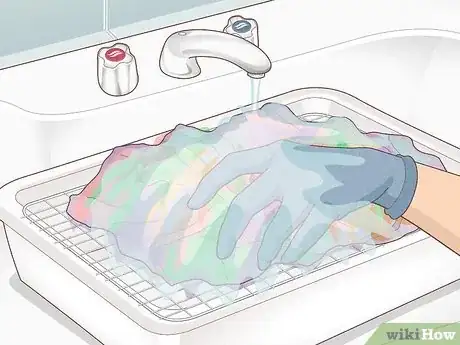
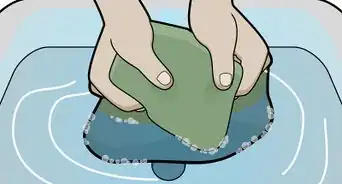
2Rinse out your fabric with warm water. Take off the plastic wrap cover and bring your dyed fabric over to the sink. While running warm water, wash the excess dye out of the fabric. There’s no correct amount of time to do this; just keep rinsing until the water that runs from the fabric is almost clear. It’s okay if a little bit of dye is still on the shirt; it’ll come out in the washing machine.
- Keep wearing your gloves when you collect the fabric after 24 hours and rinse it off.
-
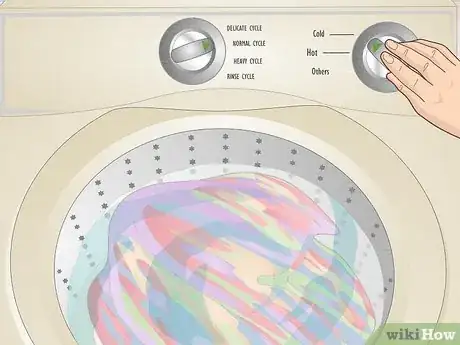
3Wash your items on a cold water cycle. Put the items in your washing machine with a small amount of washing detergent and set the machine to a cold water cycle. Once they go through the washing machine (and dry out), your items will be ready for use![9]
- Running your fabric through the washing machine sets the dye permanently.
- Only wash items with the same colors in the same load. If you have 2 different ice-dyed items and one is red and orange while the other is blue and purple, wash them in separate loads.
- Continue washing ice-dyed items separated from the rest of your clothing for the next couple of washes to ensure no remaining dye stains the other items.
-
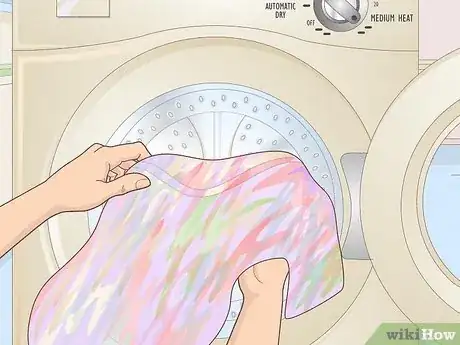
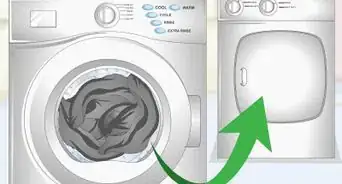
4Dry items of the same color together without a dryer sheet. Finally, toss your fabric in the dryer and run it on the settings you’d normally use—there are no special requirements here unless the tag on the clothing item specifies any. Once the fabric is dry, it’s ready for wearing![10]
- Single items can sometimes stick to the walls of the dryer. If you’re just drying one thing, try tossing a clean tennis ball into the dryer with it to ensure the fabric fully dries.
Things You’ll Need
- Ice cubes
- Tie-dye powder
- Soda ash
- Plastic spoons
- Cooling rack
- Plastic tub
- Rubber gloves
- Tarp
- Paper cups (optional)
- Rubber bands (optional)
References
- ↑ https://elizabethmadethis.com/how-to-ice-dye-fabric/
- ↑ https://elizabethmadethis.com/how-to-ice-dye-fabric/
- ↑ https://elizabethmadethis.com/how-to-ice-dye-fabric/2/
- ↑ https://elizabethmadethis.com/how-to-ice-dye-fabric/2/
- ↑ https://www.thegracemuseum.org/online-learning-blog/2020/6/26/how-to-ice-dye
- ↑ https://www.fiberartsy.com/how-to-ice-dye-cotton/
- ↑ https://www.fiberartsy.com/how-to-ice-dye-cotton/
- ↑ https://www.thegracemuseum.org/online-learning-blog/2020/6/26/how-to-ice-dye
- ↑ https://pineapplepaperco.com/how-to-ice-dye/
