X
wikiHow is a “wiki,” similar to Wikipedia, which means that many of our articles are co-written by multiple authors. To create this article, volunteer authors worked to edit and improve it over time.
This article has been viewed 44,897 times.
Learn more...
Colorbond fence Installation when done correctly can revive the look of your property and add overall value. Colorbond fence is strong and durable when installed properly and looked after.
Steps
-
1Consult with neighbor and come to agreement that the fence requires replacing.
-
2Get contractors to quote for the work if you don't plan on doing it yourself.Advertisement
-
3If you do think you can erect your own fence:
-
4Inspect the site were the fence will be installed. Things like - Length, Height required, Slope,Trees, roots, Ground, and consider colour. You may need to have the boundary surveyed.
-
5Purchase the materials. There are many suppliers and prices vary. Also, not all metal fencing is Colorbond steel. Some is imported.
-
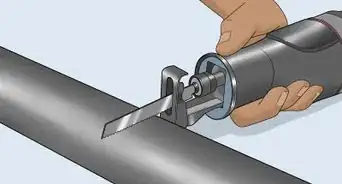
6Ensure you have the tools. See list below.
-
7Remove the old fence and clear and level the fence line.
-
8Run a string line at about 150mm above the ground along the fence line.
-
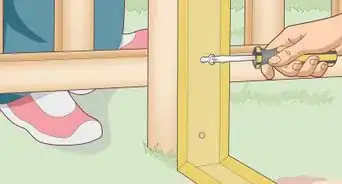
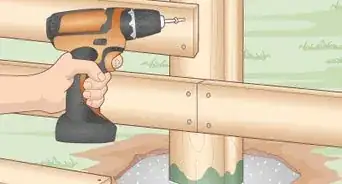
9Screw the colorbond posts together. make sure you leave two apart for the end posts.
-
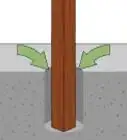
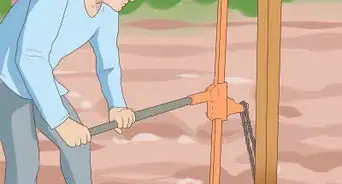
10Dig a hole approx 600mm deep x 200mm x 200mm at one end.
-
11Drop an end post in.
-
12Push a bottom rail into the end post and dig your next hole.
-
13Drop in the next post.
-
14Repeat all the way to the other end. (You may need to cut a rail to adjust the length).
-
15You now should have a post in each hole. No concrete yet. And the fence bottom rails should all be in.
-
16Using dry Rapid Set or Kwik set concrete half fill each end hole to steady the end posts.
-
17Support the end posts with a top rail pushed into each end post at a 45 deg with one end in on the ground. This supports the post when you run the top string.
-
18run a string from each end post across the top centre of each end post. Make it real tight.
-
19Measure 1820 mm approx down from the string to the ground.
-
20Adjust the end posts as required. Up and down until the top string clears the ground by 1820 mm for the full length of the fence. (To check your level if it is a dead straight fence - stand back about 4 meters and line the string up on the brickwork of a close house with your eye, this works well).
-
21All holes will have 2 x 20kg bags of Rapid set.Add water as you fill the holes with concrete.
-
22Now fully concrete the end posts.
-
23Make your way along the fence concreting each post. Line up close to final position before adding concrete. They will start lower than the top string. Lift them up after you tip in some concrete. The centre top of the post should just touch the string.
-
24Now all the posts are done screw the top rails on for the full length.
-
25Now screw the bottom rails at 1810 mm or 1800 mm depending on your sheet length.
-
26Unscrew one end of each rail.
-
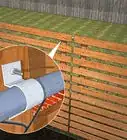
27Insert sheets one by one. Pop in your first sheet and drop the rail down on it. Slide it all the way into the post. lift the top rail enough to get the next sheet in and then move the top rail down again until the last sheet just fits in were it will overlap. Insert the last sheet and push the top rail back down so the screw can be re-installed.
-
28Continue for the full length.
-
29Fit screws to other side if required. (strong wind area)
-
30Finished. Clean up.


Advertisement
Warnings
- Look up as there may be electrical wires⧼thumbs_response⧽
- Cement dust is not good for you. Read on packet.⧼thumbs_response⧽
- Be careful when drilling into buildings - electrical, gas and water.⧼thumbs_response⧽
- Asbestos fencing may be dangerous to your health. Get advice.⧼thumbs_response⧽
- Be aware of underground services⧼thumbs_response⧽
- Colorbond can be sharp. Wear gloves.⧼thumbs_response⧽
Advertisement
Things You'll Need
- Shovel
- Level
- string
- Drill driver
- hose


About This Article
Advertisement