This article was co-authored by James Hornof. James Hornof is a Master Electrician and the Owner and President of B & W Electric based in Denver, Colorado. With over two decades of experience in the electrical construction industry, James specializes in field installation, management, estimating, and design. He graduated top of his class in electrical trade school and studied Business Management at The Community College of Denver. James holds a Master Electrician license in Colorado, Wyoming, and Texas.
This article has been viewed 139,276 times.
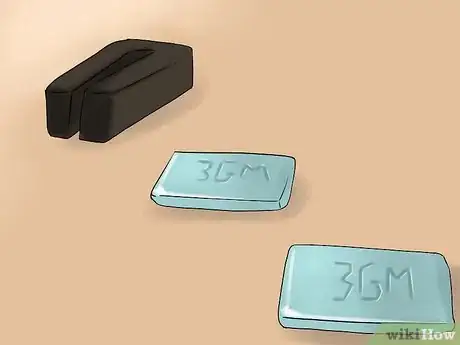
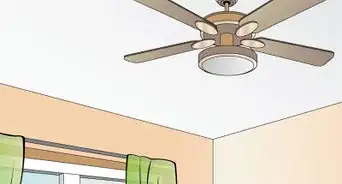
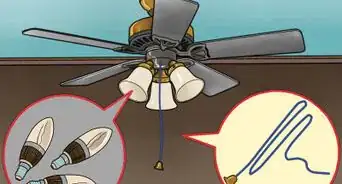
Many of the Hampton Bay ceiling fans use a Quick-Install System and use Aero-Breeze™ Technology which can move up to 25% More Air. Here are the steps of how to install one.
Steps
Install the Ceiling Fan Mounting
-
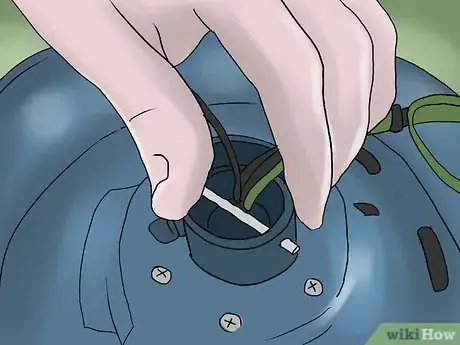
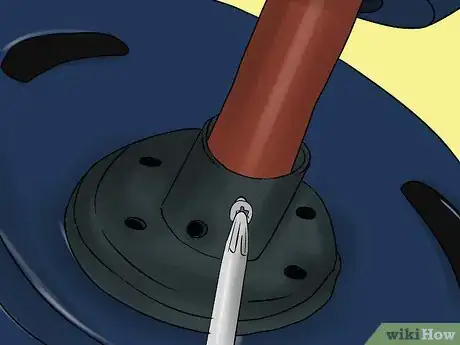
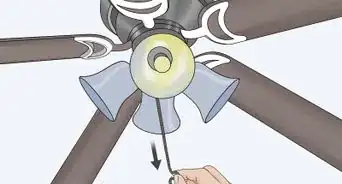
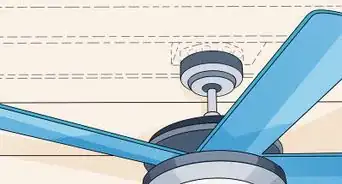
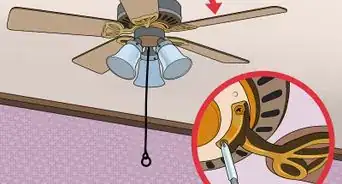
1Loosen the two screws in the collar on top of the motor assembly.[1]
-
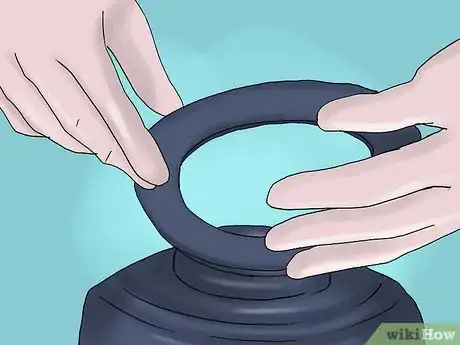
2Remove the canopy ring from the canopy by turning the ring to the right until it unlocks.Advertisement
-
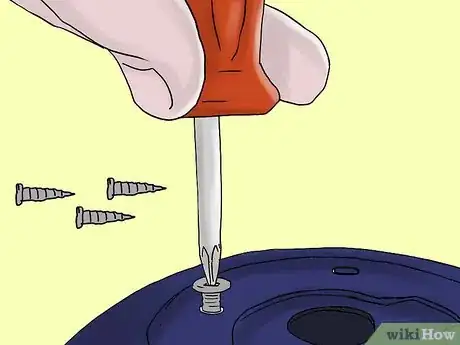
3Remove the mounting plate from the canopy by loosening the four screws on the top of the canopy. Remove the two non-slotted screws and loosen the slotted screws. This will enable you to remove the mounting plate.
-
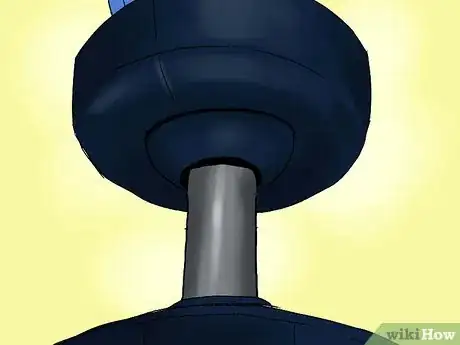
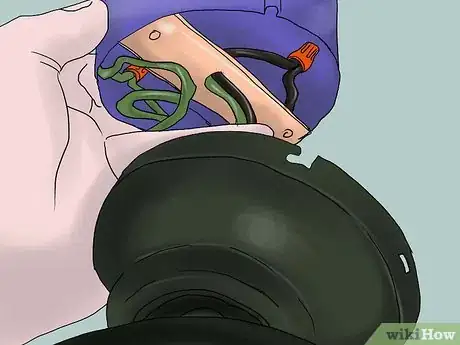
4Route the wires exiting the top of the fan motor through the canopy ring. Make sure the slot openings are on top. Route the wires through the canopy and then through the ball/downrod assembly.[2]
-
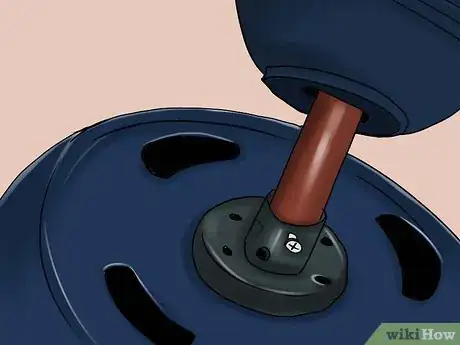
5Align the holes at the bottom of the down-rod with the holes in the collar on top of the motor housing.
-
6Insert the bolt through the holes in the collar and downrod. Be careful not to jam against the wiring inside the downrod. Insert clevis pin and bend to ensure security.
-
7Tighten the two screws on the collar on top of the motor housing.
Install the Fan to the Outlet Box
-
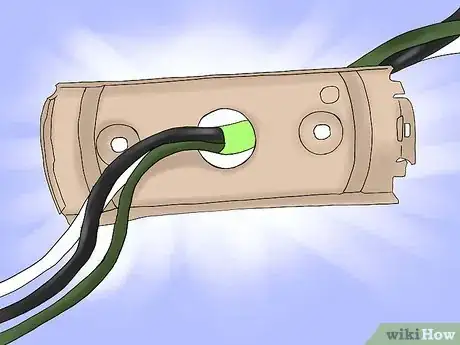
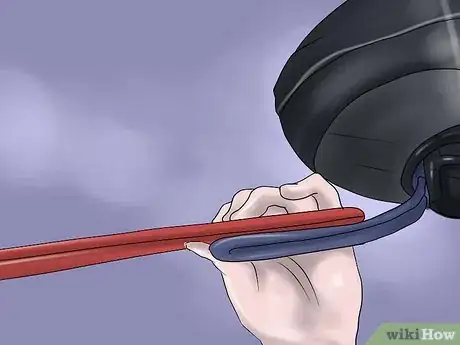
1Pass the 120-volt supply wires through the center hole in the ceiling mounting plate.[3]
-
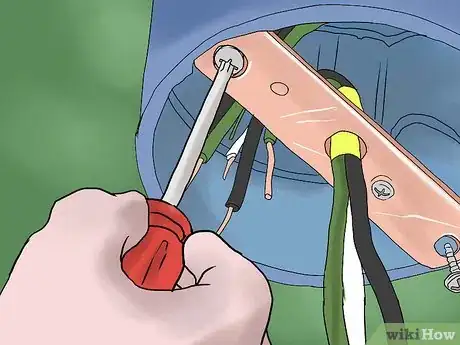
2Install the ceiling mounting plate on the outlet box. Slide the mounting plate over the two screws provided with the outlet box. When using close-to-ceiling mounting, it is important that the mounting plate be level. If necessary, use leveling washers (not included) between the mounting plate and the outlet box. Note that the flat side of the mounting plate is toward the outlet box.[4]
-
3Tighten the two mounting screws securely.
-
4Lift the assembly up to the ceiling mounting plate carefully. If you are using close-to-ceiling mounting, hang the fan on the hook provided by utilizing one of the holes at the outer rim of the ceiling canopy. If using standard mounting, seat
-
5Make sure the tab on the mounting plate socket is properly seated in the groove in the hanger ball.
Make the Electrical Connections
-
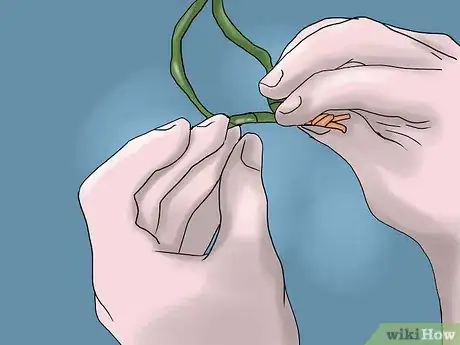
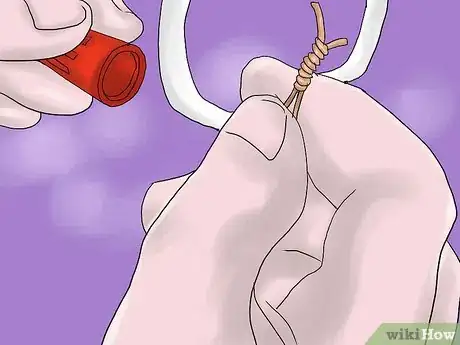
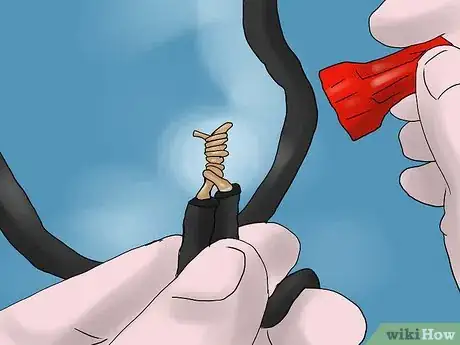
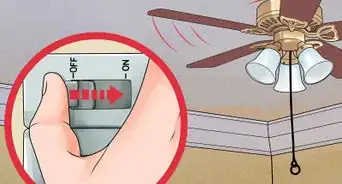
1Disconnect the power. If you feel you do not have enough electrical wiring knowledge or experience, have your fan installed by a licensed electrician. Follow the steps below to connect the fan to your household wiring. Use the wire connecting nuts supplied with your fan. Secure the connectors with electrical tape. Make sure there are no loose strands or connections.[5]
-
2Connect the ground conductor of the 120v supply (this may be a bare wire or a wire with green insulation) to the green ground lead(s) of the fan. When using standard ceiling mounting, there are two green grounding leads: one from the ceiling mounting plate and one from the ball/down-rod assembly. When using Close-to-Ceiling mounting, there is only one green ground lead from the mounting plate since the ball/downrod assembly is not used.
-
3Connect the fan motor white wire to the supply white (neutral) wire using a wire nut.[6]
-
4Connect the fan motor black wire to the sup-ply black (hot) wire using a wire nut.
-
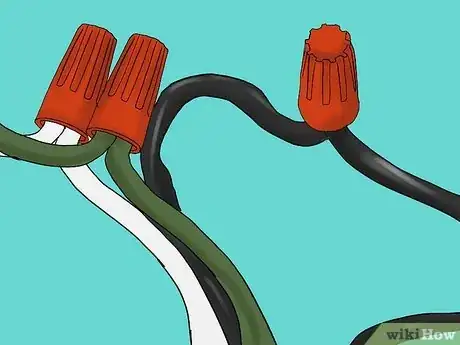
5Spread the wires apart. The green and white wires are on one side of the outlet box and the black wire is on the other side.
-
6Turn the wire connecting nuts upward and push into the outlet box
Attach the Fan Blades
-
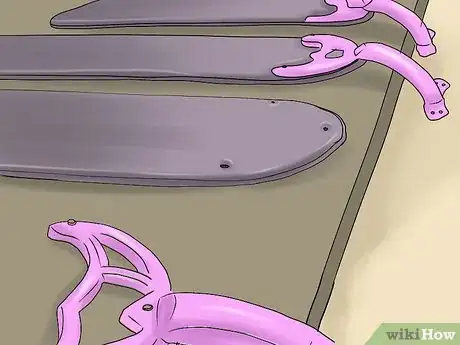
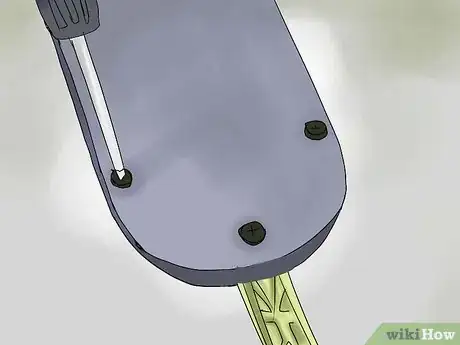
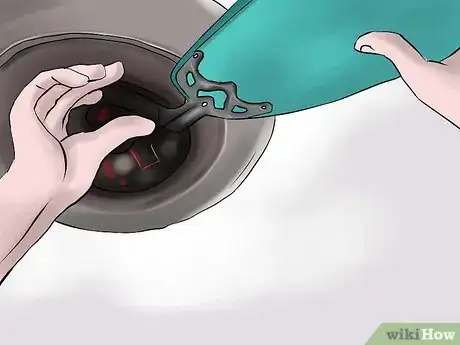
1Mount the fan blades to the pre-installed blade brackets by aligning the three key-slot holes in the blade with the three posts on top of the blade bracket.[7]
-
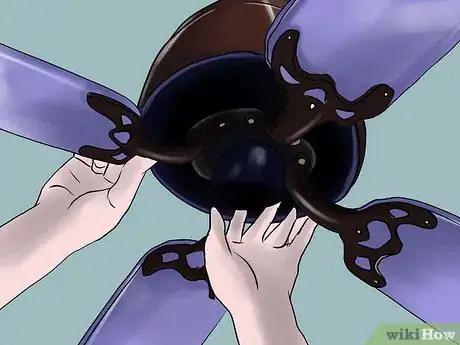
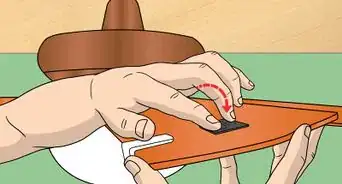
2Hold the blade with both hands close to the blade arm and press the blade down firmly. Ensure the key-slot holes are properly seated on the blade bracket posts.
-
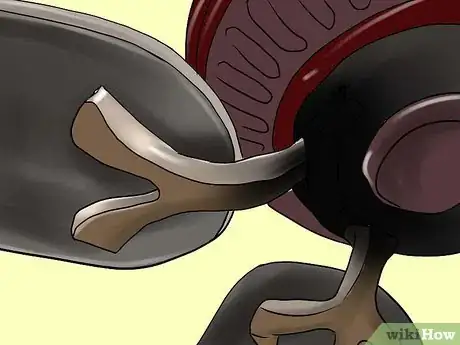
3While still holding the blade down with both hands, firmly slide the blade away from the motor housing until the blade engages in the locking mechanism. Make sure the steel locking mechanism at the rear of the blade bracket springs upward and butts against the edge of the blade indicating a secure connection.[8]
-
4Visually insect the top of the blade bracket 4 to ensure that the locking mechanism is securely in place.
-
5Repeat for the remaining blades.
Balance the Blades
-
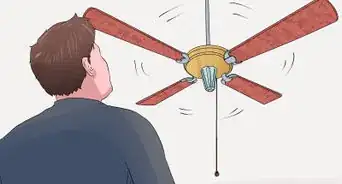
1Know that all blades groups by weight. Because natural woods vary in density, the fan may wobble even though the blades are weight matched. The following procedure should correct most fan wobble. Check after each step.
-
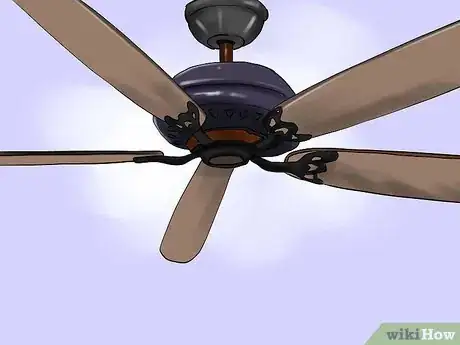
2Check that all blades are securely mounted 1. to the blade brackets with the locking mechanisms engaged.[9]
-
3Make sure the blade brackets are not bent 2. out of position and ensure the blade tips are even. Use the enclosed blade balancing kit if the blade wobble is still noticeable by carefully following the instructions included with the kit.[10]
Community Q&A
-
QuestionWhat does the blue wire connect to?
 Community AnswerBlue is usually for the light kit if you have one. It connects to the red in the outlet box if you have a separate wall switch for the light. If you are only using the pull chain to activate the light, it connects to black.
 -
QuestionWhat if the chain to turn on the fan will not pull down, yet the light chain works fine?
 Community AnswerIt is on a separate switch, this switch may be broken or worn out. Turn off power to this fan at the breaker, remove the switch cover and examine this switch. It's possible the switch is just dry and stuck, a little 3-in-1 oil may help, or some part might need replacing. This switch is located inside the housing where the blade arms come together, the light and fan switches are both under this cover.
 -
QuestionHow can I connect two green wires from the fan to the ceiling wire?
 Community AnswerGreen wire is the safety ground. To connect to your fans junction-box with the paper-jacket wire into the metal box with a screw. If the box is plastic, just connect the two wires, green of fan to paper-jacket of feed wire w/ a wire nut.
References
- ↑ https://www.youtube.com/watch?v=D4rLZlSVfw4
- ↑ https://www.thisoldhouse.com/how-to/how-to-install-ceiling-fan
- ↑ https://www.thisoldhouse.com/how-to/how-to-install-ceiling-fan
- ↑ https://www.youtube.com/watch?v=D4rLZlSVfw4
- ↑ https://www.dummies.com/home-garden/home-improvement/electrical-wiring/how-to-install-a-ceiling-fan/
- ↑ https://www.dummies.com/home-garden/home-improvement/electrical-wiring/how-to-install-a-ceiling-fan/
- ↑ https://www.youtube.com/watch?v=VzjW9-xn0Ms
- ↑ https://www.youtube.com/watch?v=VzjW9-xn0Ms
- ↑ https://www.energystar.gov/products/lighting_fans/ceiling_fans/installation_usage_tips
