This article was co-authored by Alberto DeJesus and by wikiHow staff writer, Luke Smith, MFA. Alberto DeJesus is a Construction Specialist and the CEO of DeJesus Industries. With more than four years of experience, he specializes in high-end real estate development and construction. Alberto and DeJesus Industries have been featured on NBC News and have worked with numerous well-known companies, including Mazda, Amazon, and CVS. Alberto holds a Bachelor’s degree from Boston University.
There are 27 references cited in this article, which can be found at the bottom of the page.
This article has been viewed 2,717 times.
Sheet-metal buildings like garages or warehouses are easy to construct, but not as easy to keep warm or cool as the seasons change. Thankfully, there are a number of common ways you can insulate these structures, and among them are foil bubble insulation, spray foam insulation, and batt and roll insulation. We’ve got a handy, simple guide to help you choose and install the right insulation for a metal building.
Things You Should Know
- Insulate a metal building with either foil bubble insulation, spray foam insulation, or batt and roll insulation.
- Install foil bubble insulation and batt and roll insulation in between furring strips affixed between the building’s studs.
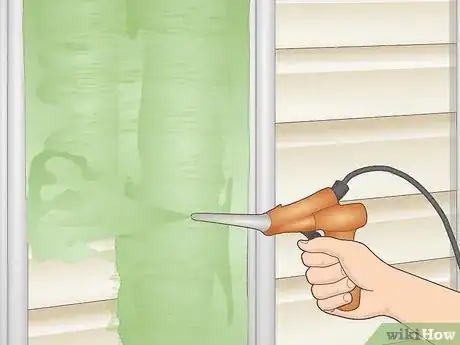
- Install spray foam insulation directly onto the walls of a metal building using the included spray gun.
- Erect furring strips alongside a building’s studs before you roll batt and roll insulation between them.
Steps
What are the best insulation types for metal buildings?
-
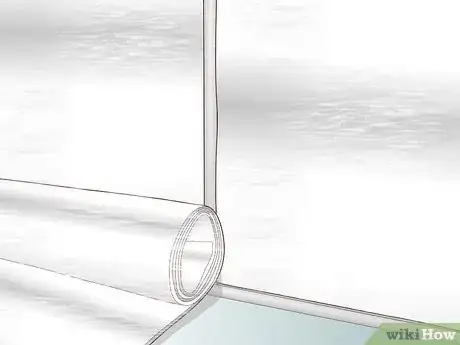
1Foil bubble insulation. This insulation is relatively cheap and easy to install. It offers an R-value of about R-1 when installed on its own, and up to R-6 when installed with a ¾-inch pocket of air between it and a wall.[1] It’s a good choice for unfinished walls and ceilings, such as those found in metal buildings and garages.[2]
- “R-values” are the measurement unit for thermal resistance of insulation types. The higher the value, the more effective the insulation
- The silver, reflective barrier on foil bubble insulation is great for reflecting heat and keeping a space cool.
- This type of insulation is generally less effective than the other two, with a lower overall R-rating.
-
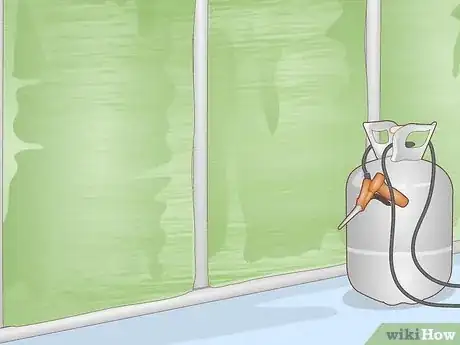
2Spray foam insulation. Spray foam is ideal for providing full coverage to irregularly shaped areas.[3] It’s relatively easy to apply after some preparation and practice, and has generally high R-values, though these will vary based on the type of foam you purchase.[4] T
- Though spray foam is relatively easy to apply, it does require a good deal of familiarization with the technique and process involved.
- Spray foam insulation is also generally pricier than the other two options included in this guide.[5]
- This insulation is generally effective for structures that don’t have heating or air conditioning.
Advertisement -
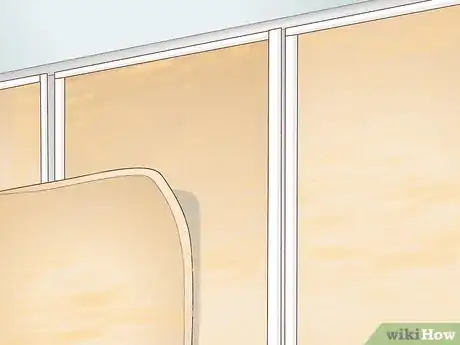
3Batt and roll insulation. This type is great for unfinished spaces with few obstructions, and is installed between studs or other beams. It’s relatively easy to install yourself, and typically has an R-value of about R-14, sometimes up to R-21. It comes in many material types, like fiberglass or mineral wool.[6]
- Batt and roll insulation provides greater R-values than foil insulation, but has a similar installation process.
- This insulation type can be trickier in structures with irregularly shaped walls or many obstructions.[7]
Installing Foil Bubble Insulation
-
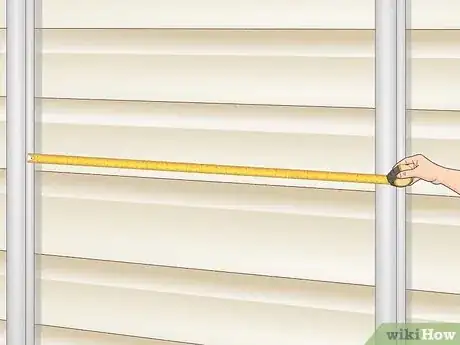
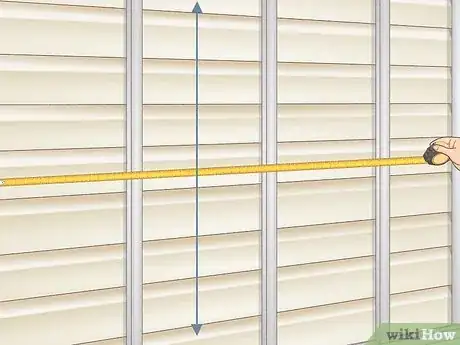
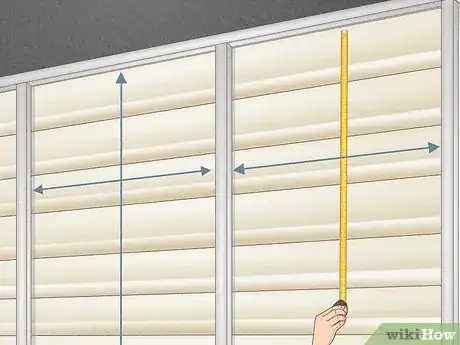
1Measure the studs of the building. The studs are the metal beams that comprise the framework of the building, found along the walls and the ceiling.[8] With a measuring tape, measure of each of these, and write down your measurements.
- In order to measure the studs running along the roof of the building, use scaffolding or a stable ladder.[9]
- Rather than measuring the studs running along the ceiling, you can measure the lower crossbeams, if these are present in the building.#* You don’t need to insulate interior walls (walls that don’t share a side with the outdoors), so you can skip measuring the studs on these.[10]
-
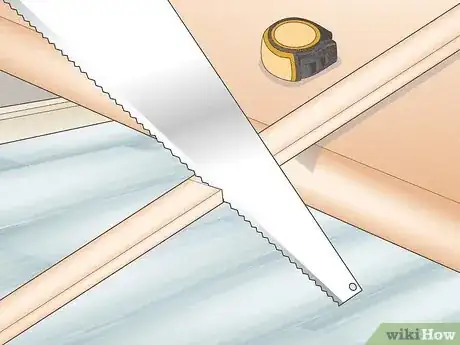
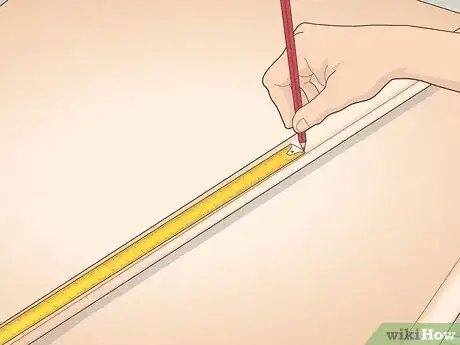
2Measure and cut furring strips. Furring strips are thin planks of wood that are attached to walls, ceilings, or floors in order to create a true plane.[11] With a handsaw, cut two furring strips to the length of each stud you measured, except for the studs or crossbeams on the ceiling. This means you should have two furring strips to correspond to each vertical metal stud in the building.
- Furring strips will also create a layer of air between the metal walls and the insulation sheets, which provides further, natural insulation.[12]
-
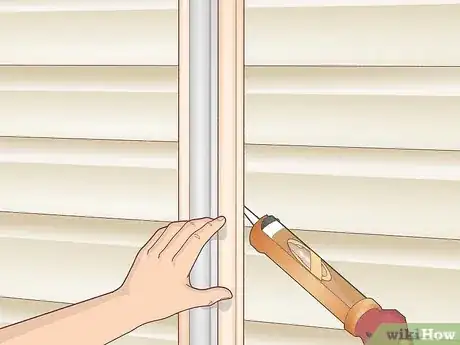
3Install furring strips on both sides of each stud. Trace a curving line of construction adhesive onto one face of a furring strip, then press that strip vertically onto the wall next to its corresponding stud, then do the same for the furring strip that goes on the other side of the stud. Repeat this process for every stud in the building.[13] Let the adhesive dry for 24 hours before you proceed.[14]
- Use clamps to hold each furring strip next to the stud as the adhesive dries.
-
4Apply double-sided foam tape to the furring strips and ceiling studs. Instead of installing furring strips on the ceiling, run double-sided foam tape along the underside of each ceiling stud or crossbeam. Then apply the tape to the inward-facing planes of each furring strip you installed.
-
5Use a ladder to hang bubble foil insulation between the studs. Hang lengths of double bubble foil insulation between each stud, pressing the edges into the the double-sided tape you applied to the furring strips. Orient the insulation sheets with the silver side facing the wall.[15]
- Use clamps to keep the insulation sheets in place if the process becomes unwieldy.
- Use scaffolding or a sturdy ladder to hang insulation strips along the ceiling studs or crossbeams.
-
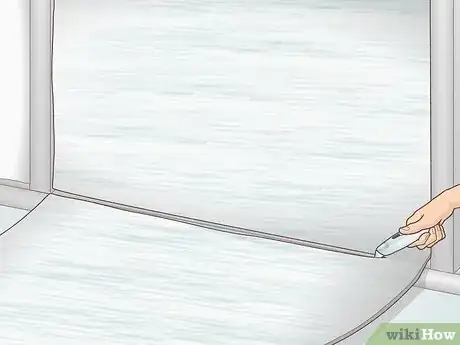
6Cut the insulation to size with a boxcutter. Using a boxcutter or other sharp knife, cut away any excess double bubble insulation that extends past the double-sided tape.[16] You can keep these excess strips for future projects.
Installing Spray Foam Insulation
-
1Measure the surface area of the building’s interior walls. Using a measuring tape, calculate the surface area of the building’s interior, including the walls and ceiling. To calculate surface area, multiply the length of each wall by its height.[17]
- You don’t need to insulate interior walls that don’t share a face with the outdoors, so you can skip these when calculating the surface area.
-
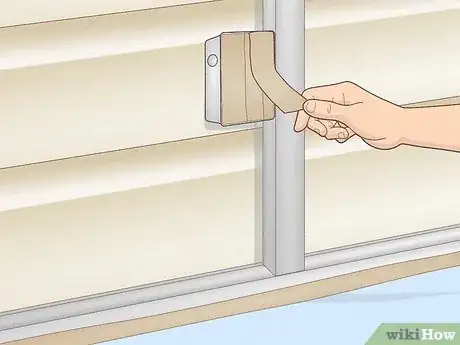
2Cover the floor and any electrical outlets. To avoid extra mess, cover the floor with a protective layer of newspaper or tarp. Then, Wrap a plastic bag around the fixtures and seal it with electrical tape. Covering these protects them from the expanding spray foam and ensures they remain functional after the process.[18]
- You can also use flattened plastic bags, old sheets, or cardboard. Thick plastic drop cloths are also acceptable.[19]
- There’s no need to protect any wiring that runs across the wall. Just be sure you’re fine with that wiring being sealed away under a layer of insulation.
-
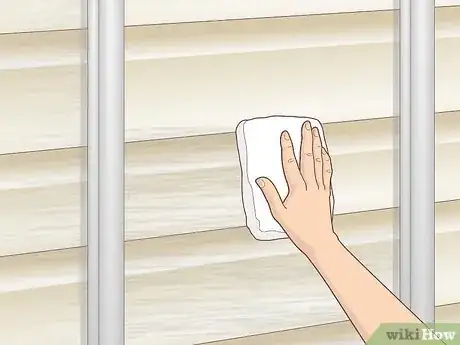
3Wipe dust and debris from the walls with a dry rag. To ensure the spray foam adheres properly, clean up the walls beforehand. Additionally, don’t spray onto a frosted surface, or one with condensation present.[20] For best results, spray onto surfaces that are between 65-8565–85 °F (18–29 °C) degrees.[21]
-
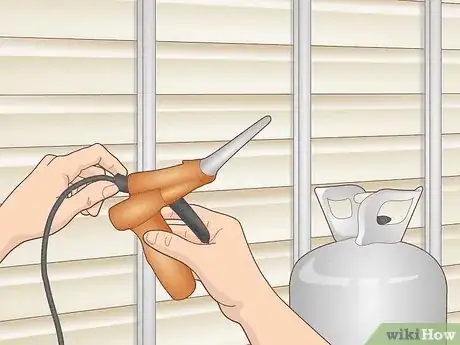
4Assemble the spray foam kit. Many kits will come preassembled. If your kit is not already assembled, follow the kit’s instructions to attach the two hoses to the spray gun, and then attach the other ends to the tanks. Then, follow the kit’s instructions to attach a nozzle to the spray gun.[22]
- Purchase a spray foam kit that has enough foam to coat the entire surface area you measured. It should indicate this on the box–also sometimes described as “yield”.
- Spray foam also comes in small, individual canisters, but these won’t be adequate to insulate entire walls or structures.[23]
-
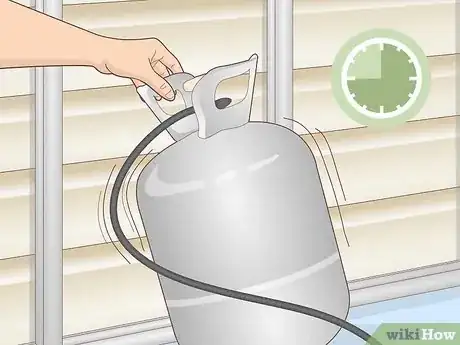
5Agitate the spray tanks for 45 seconds and open the nozzles. Gently rocking the tanks will mix the solutions and prepare them for dispensing. Then, open the nozzles on both tanks and let the solutions flow through the hoses to the spray gun.[24]
- Before you get spraying, put on disposable coveralls, sturdy shoes, eye coverings, rubber gloves, and a respirator mask. These will keep you safe from any chemical contact during the process.
-
6Spray the foam in a single layer directly onto the walls and ceiling. Position the spray gun about 6-8 inches away from the wall, and spray vertically at a controlled speed.[25] Cover the entire area between the vertical metal studs.
- When spraying the ceiling, position yourself away from directly beneath the area you’re coating.[26] Use scaffolding or a ladder to reach higher-up places.
-
7Cut away excess foam after letting it dry for 24 hours. During this time the foam will expand and harden in a process known “curing.” Once the foam is completely hardened, cut away any excess foam that may have expanded over the metal building studs with a hacksaw.[27]
- You can do additional cleaning and polishing with sandpaper, if you prefer a smooth surface.
Installing Batts and Roll Insulation
-
1Measure the studs of the building. The studs are the metal pipes that make up the building’s frame, found along the walls and the ceiling.[28] Measure of each of these with a measuring tape, and write down your measurements.
-
2Measure and cut furring strips. Furring strips are thin planks of wood that are attached to walls, ceilings, or floors in order to create a new, flat plane.[31] Cut two furring strips to the length of each stud you measured. This means you should have two furring strips to correspond to each vertical metal stud in the building.
- Furring strips will also create a layer of air between the metal walls and the insulation sheets, which provides further, natural insulation.[32]
-
3Install furring strips on both sides of each stud. Trace a curving line of construction adhesive onto one face of a furring strip, then press that strip vertically onto the wall next to its corresponding stud, then do the same for the furring strip that goes on the other side of the stud. Repeat this process for every stud in the building.[33] Let the adhesive dry for 24 hours before you proceed.[34]
- Use clamps to hold each furring strip next to the stud as the adhesive dries.
-
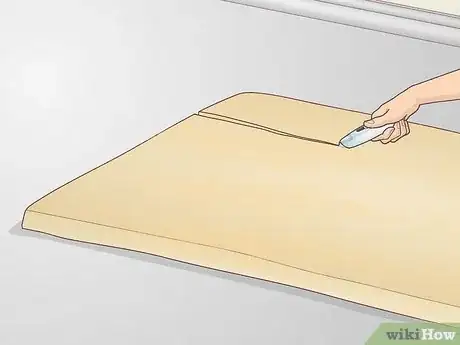
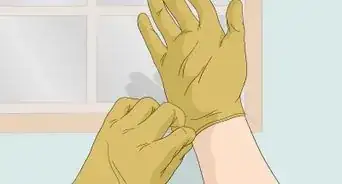
4Measure and cut your batt and roll insulation. While wearing thick work gloves, measure out lengths of insulation to correspond to the areas between the metal studs of the building. Cut these lengths with a boxcutter, with the unfaced side facing you.[35]
- The “unfaced side” is the exposed side of the roll of insulation. The “faced” side is the side with a paper layer, which helps to control moisture.[36]
-
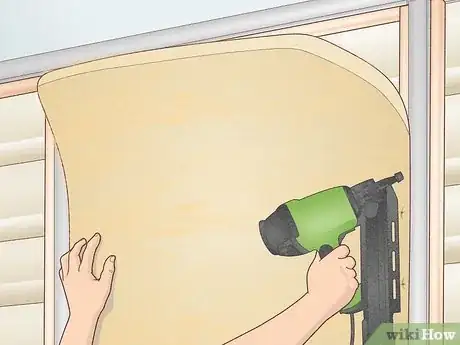
5Position the insulation against the wall and nail the edges into the furring strips. Hold the insulation by the edges and place it flush against the wall, with the faced side towards you. Then, nail the edges into the furring strip being it. Do the same for the other edge, and repeat for all lengths of the insulation, including on the ceiling.[37]
- You may need a second person to hold the insulation against the wall while you secure it with nails.
- Tuck the insulation behind obtrusions like electrical fixtures, ductwork, or plumbing, or cut away portions of it that may cover things like windows and doors.
-
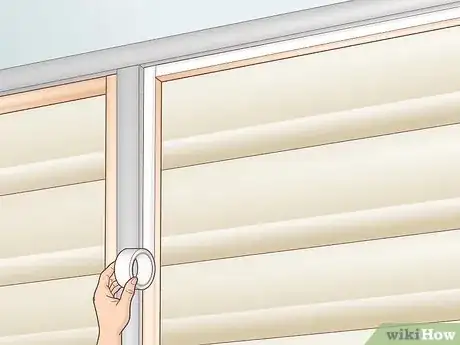
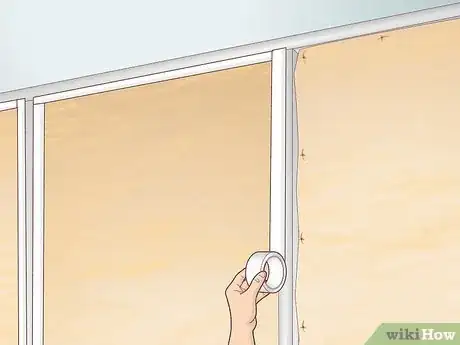
6Tape over the seams with white vinyl patch tape. To finish the insulation and provide complete coverage, tape over where the lengths of insulation meet each other, as well as where they meet the metal studs.[38]
Expert Q&A
-
QuestionHow do you protect yourself when installing fiberglass insulation?
 Kevin SchlosserKevin Schlosser is a Home Improvement Specialist and the Owner of Home Tech Handyman Ltd. With over 20 years of experience, Kevin specializes in age-in-place installations, flooring, roofing, and general remodeling handyman services. Kevin holds a blend of construction and in-home technology-related certifications including NAHB Certified Age-in-Place Specialist, CEDIA membership and certifications, and a Certification from the Association of Certified Handyman Professionals. Also, he is in training to receive certifications in Construction, Project Management, and other CEDIA qualified system integrator certifications. He is fully-insured in the state of Colorado.
Home Improvement Specialist Put talcum powder or baby powder on your forearms and hands before interacting with the insulation. This will prevent the fiberglass from accessing your pores. Once you get the powder off after you're done, you won't be itchy at all!
Things You’ll Need
- Foil bubble insulation
- Spray foam kit
- Bat and roll insulation rolls
- Thick work gloves
- Boxcutter
- Double-sided foam tape
- Handsaw
- 2x4s
- Furring strips
- Eye covering
- Ventilation mask
- Ladder or scaffolding
- Construction adhesive
- Tarp or other floor covering
References
- ↑ https://utahenergycode.com/1590-2/
- ↑ https://www.energy.gov/energysaver/types-insulation
- ↑ https://www.energy.gov/energysaver/types-insulation
- ↑ https://www.energy.gov/energysaver/types-insulation#sprayedfoam
- ↑ https://mondohomz.com/mondoblog/3-best-ways-to-insulate-a-metal-building
- ↑ https://www.energy.gov/energysaver/types-insulation#batts
- ↑ https://www.energy.gov/energysaver/types-insulation
- ↑ https://www.youtube.com/watch?v=IFHLiK6NoWM&t=206s
- ↑ https://www.youtube.com/watch?v=IFHLiK6NoWM&t=299s
- ↑ https://www.youtube.com/watch?v=IFHLiK6NoWM&t=551s
- ↑ https://homerepairgeek.com/define/furring.html
- ↑ https://www.youtube.com/watch?v=IFHLiK6NoWM&t=226s
- ↑ https://www.youtube.com/watch?v=IFHLiK6NoWM&t=203s
- ↑ https://weekendbuilds.com/how-long-does-liquid-nails-take-to-dry/
- ↑ https://www.youtube.com/watch?v=IFHLiK6NoWM&t=333s
- ↑ https://www.youtube.com/watch?v=IFHLiK6NoWM&t=297s
- ↑ https://www.calculator.net/surface-area-calculator.html
- ↑ https://www.youtube.com/watch?v=6-xPIgRLuBE&t=552s
- ↑ https://www.thisoldhouse.com/21097206/how-to-choose-a-drop-cloth
- ↑ https://www.youtube.com/watch?v=6-xPIgRLuBE&t=329s
- ↑ https://foamitgreen.com/metal-buildings-spray-foam-project-guide/
- ↑ https://www.youtube.com/watch?v=6-xPIgRLuBE&t=194s
- ↑ https://www.youtube.com/watch?v=FRfiYdvunbw
- ↑ https://www.youtube.com/watch?v=6-xPIgRLuBE&t=362s
- ↑ https://www.youtube.com/watch?v=6-xPIgRLuBE&t=516s
- ↑ https://www.youtube.com/watch?v=sZeEyys_D1w&t=242s
- ↑ https://hvacseer.com/how-long-does-expanding-foam-take-to-dry/
- ↑ https://www.youtube.com/watch?v=IFHLiK6NoWM&t=206s
- ↑ https://www.youtube.com/watch?v=IFHLiK6NoWM&t=299s
- ↑ https://www.youtube.com/watch?v=IFHLiK6NoWM&t=551s
- ↑ https://homerepairgeek.com/define/furring.html
- ↑ https://www.youtube.com/watch?v=IFHLiK6NoWM&t=226s
- ↑ https://www.youtube.com/watch?v=IFHLiK6NoWM&t=203s
- ↑ https://weekendbuilds.com/how-long-does-liquid-nails-take-to-dry/
- ↑ http://pdf.lowes.com/productdocuments/f0950205-49a0-4eb2-b87f-ab4e1d32c260/48448425.pdf
- ↑ https://todayshomeowner.com/radio/when-to-use-faced-or-unfaced-insulation/
- ↑ http://pdf.lowes.com/productdocuments/f0950205-49a0-4eb2-b87f-ab4e1d32c260/48448425.pdf
- ↑ http://pdf.lowes.com/productdocuments/f0950205-49a0-4eb2-b87f-ab4e1d32c260/48448425.pdf
