This article was co-authored by Sam Hubbard. Sam Hubbard is a Professional Carpenter and the Owner of Hubbard Carpentry and Remodeling. He has over 19 years of experience in the industry. Sam specializes in kitchen remodels, home woodworking, cabinetry, and handyman services.
There are 12 references cited in this article, which can be found at the bottom of the page.
This article has been viewed 313,573 times.
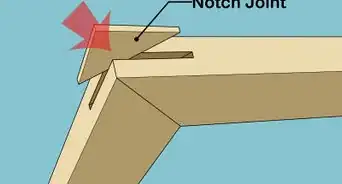
From edge joints to complex dovetails, there are dozens of techniques for joining wood. If you need to join boards side-by-side to make a larger plane, an edge joint is your best bet. Arrange the boards so they’re visually pleasing, then use woodworking glue and clamps to bond the boards. If you need to make corner joints, such as a miter corner or simple butt joint, using glue alone isn’t your strongest option. Instead, drill pocket holes and use screws to strengthen your joint. Fortunately, a pocket hole jig is fairly inexpensive and makes the job quick and easy.
Steps
Making an Edge Joint
-
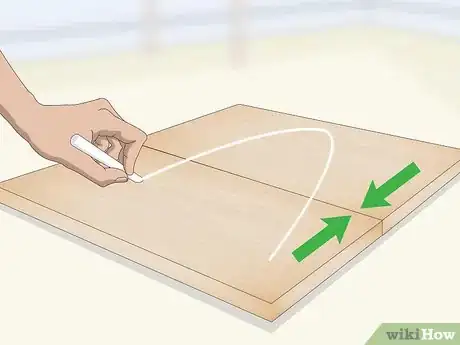
1Arrange your boards and mark them with chalk. Arrange the boards so the best looking side of each will be most visible in your final project. Shift the boards around until you’ve aligned their grains in an attractive natural pattern. When you’re satisfied with their alignment, make a big V-shape across them with chalk or a lumber crayon.[1]
- For instance, if you’re making a table, you’ll want to use the most attractive sides of your boards or planks for the tabletop. You’ll also want their grains and colors to line up so they don’t look mismatched or obviously joined.
- The lines of your V don't have to be perfectly straight. You just need to make the shape across all of the boards. That way, the V is legible only when the boards are correctly aligned.
-
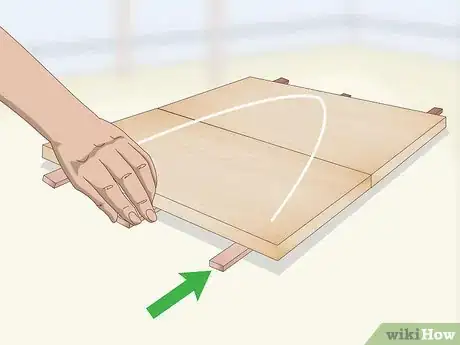
2Lay the boards across strips of scrap wood. Set thin, evenly sized strips of wood under both ends of your boards to raise them off of your work surface. When you glue and clamp your boards, excess glue will seep out from the joints. Raising the boards will keep your work surface clean.
- Add a strip of scrap wood in the middle if your planks or boards are long and you’re concerned about bowing.
Advertisement -
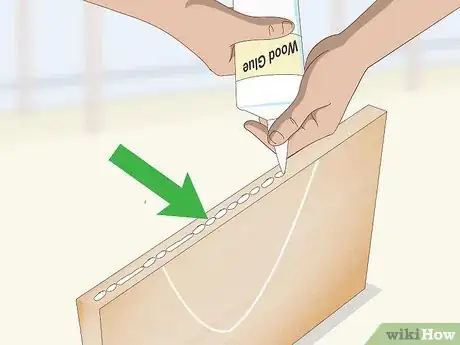
3Apply an even bead of glue along the edge of a board. To spread an even bead of woodworking glue, hold the bottle with one hand and the nozzle with the other. Move the nozzle across the edge quickly and steadily.[2]
- Don’t apply glue to both edges that you’re joining. Too much glue will just cause more of a mess. Make sure you slightly shift the pieces back and forth to ensure an even coat of glue and get rid of air pockets.[3]
- Carpenter's glue is great for woodwork, but if you plan on gluing wood to another material, you'll probably need to work with a different glue.[4]
-
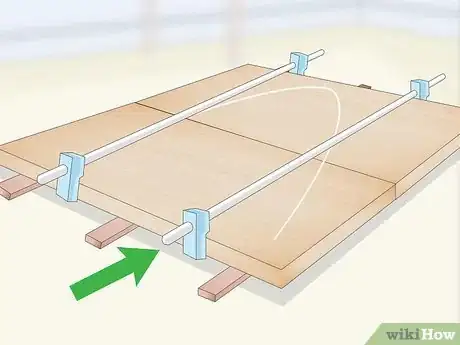
4Clamp the boards and ensure they’re flush. Press the edges together and secure them with clamps. Add a clamp at each end and, depending on your boards’ length, additional clamps in the middle. Try to get your boards perfectly flush so you won’t have to sand away imperfections after the glue has cured.[5]
-
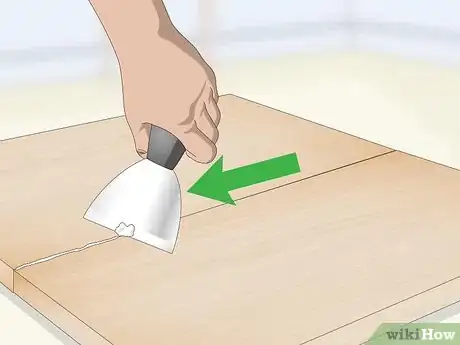
5Wipe away excess glue after 20 minutes. To make cleanup easier, you can wipe excess glue off the top surface with a damp cloth immediately. After 20 minutes, remove the clamps so you can carefully flip over the boards and clean the bottom side. Use a putty knife to scrape excess glue from this side.[6]
- The glue still needs several hours to cure, so handle the joined boards gently.
- In humid conditions, you’ll have to wait an hour or longer to remove the clamps.
-
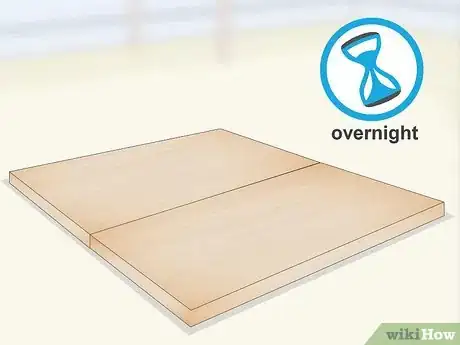
6Allow the glue to cure overnight. While you can safely remove the clamps after a short time, the glue won’t reach maximum strength for several hours. Let it dry overnight before you do any further work on the boards.
Drilling Pocket Holes at Corner Joints
-
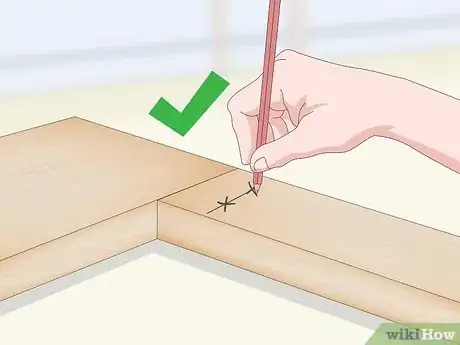
1Plan your work before you drill. Lay out the boards you’ll be joining as you want them to appear in your final project. Use a pencil to mark the places where you want to drill pocket holes. Make sure you’ll be drilling into face or edge grain, as drilling into end grain makes for a weaker joint.[7]
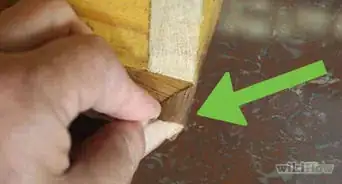
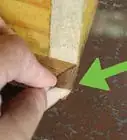
- You can tell the end grain from the face and edge grains by checking the texture of the surface and arrangement of the growth rings. The end grain is the rougher, more porous side of a board. In addition, the exposed radii of a tree’s growth rings are only visible at the end grain. They look like a neatly arranged set of several curved lines.[8]
- To complete the process, you'll drill pilot holes into a board, align it with another board, then drive screws through the first board's pilot holes and into the second board. If you’ve never drilled pocket holes before, it’s wise to practice on scrap wood so you can get a feel for the process.
-
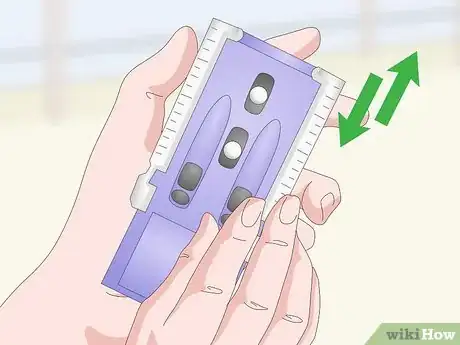
2Set the depth of the jig to your wood’s thickness. A good quality pocket hole jig has a graduated alignment guide. The alignment guide is built into the shaft where the guide holes are located, and you can adjust it by pulling it in and out of the jig’s body. Find the line on the alignment guide marked with your wood’s depth to set the jig.[9]
- Go for a jig with a built-in alignment guide and clamp. While they’re cheaper, products that lack these features are less precise and more difficult to use.[10]
-
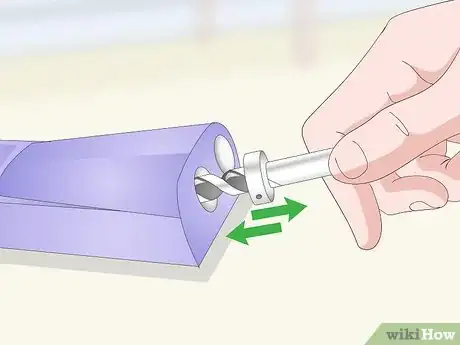
3Insert the bit into the jig’s guide hole to adjust the bit collar. A pocket hole drill bit has a collar that you use to control the hole's depth. Use an Allen wrench (which should be included with your bit) to loosen the collar from the bit. Insert the bit into one of the jig’s guide holes until the tip is about 1⁄8 inch (0.32 cm) from touching the base of the jig. Place the collar over the top end of the bit so it sits flush on the jig, then tighten the collar.[11]
-
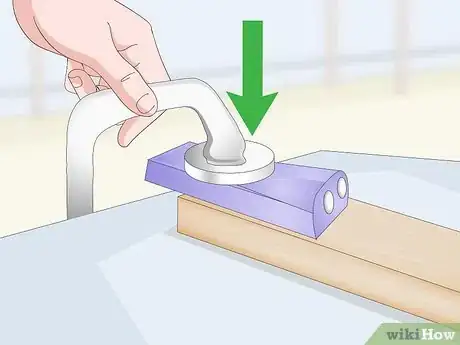
4Clamp your board into the jig. Place your board into the jig so the marks you made are aligned with the jig’s guide holes, then tighten the clamp to lock it into place. You’ll be drilling into the side of the board that faces the jig’s guide holes, so make sure that side won’t be visible in your final project.[12]
- For example, if you’re making a frame, make sure you’re drilling into the back side of the board instead of what will be the front side of your final project.
- If you’ve cut a 45 degree angle into your board to make a miter joint, lay the board so the angle sits flat against the base of the jig.
-
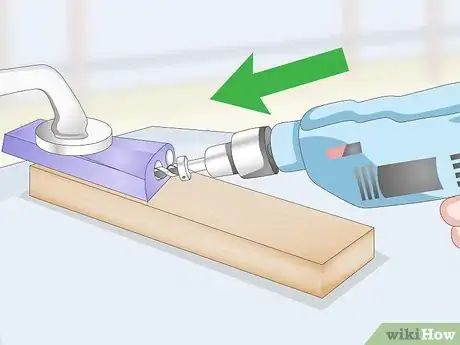
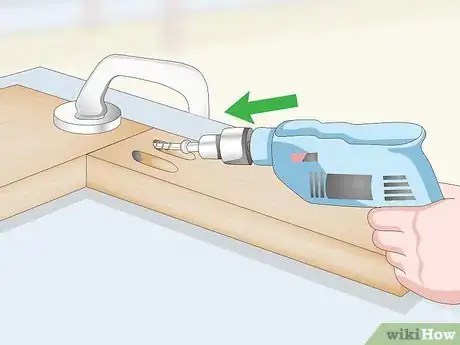
5Drill the pilot holes at high speed. Lock the bit into your power drill and set the drill to its highest speed setting to create cleaner holes. Insert the bit into one of the jig’s guide holes, drill to the midpoint between the end of the bit and the collar, then pull out the bit to clear out shavings.[13]
- After stopping halfway to eject the shavings, insert the bit back into the guide hole and continue drilling until the collar prevents you from drilling any deeper.[14]
- Insert your bit into the guide hole lined up with the other side of the board and repeat the process.
-
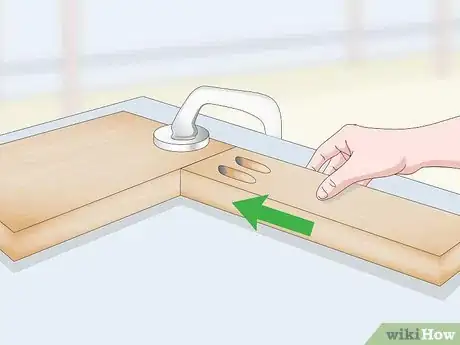
6Arrange your boards and clamp them at the joint. Line up your boards to double check you drilled your pilot holes in the right direction. Apply an even bead of glue to an edge of the boards you’re joining, press the edges together, then tighten a clamp over the joint to lock the boards in place.[15]
- If you drive screws without clamping the boards, your joint won’t be flush.
- While using screws alone creates a strong joint, using woodworking glue will help keep the joint flush during seasonal shrinking and swelling.[16]
-
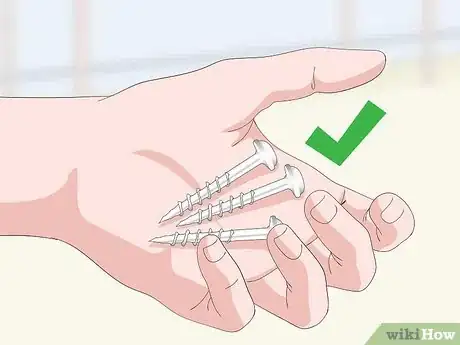
7Choose the right screws for your project. Use fine-thread pocket hole screws for hardwood lumber, and coarse-thread screws for softwoods, like pine.[17] The right screw length depends on your wood’s thickness. For example, 3⁄4 in (1.9 cm) boards require a 1 1⁄4 in (3.2 cm) screw.
- Pocket hole screw packaging often includes a guide chart. You can also find size guides online.[18]
- Use pocket hole screws only. They have a built-in washer that sits flush with the flat edge created by the pocket hole drill bit.
-
8Drive screws through the pilot holes slowly. Place the screw in your drill and carefully drive it through the pilot hole until it’s tight. Then drive the next screw into the other pilot hole you drilled. Remove the clamp when you’ve finished driving your screws.[19]
-
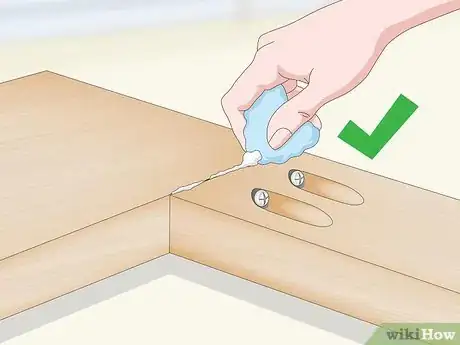
9Wipe or scrape away excess glue. If glue seeped out from the joint, wipe it away with a damp cloth. If it’s started to set and become jelly-like, scrape it with a putty knife.
Our Most Loved Articles & Quizzes
Things You’ll Need
Edge Joint
- Chalk, pencil, or lumber crayon
- Woodworking glue
- Clamps
- Putty knife
- Damp cloth
Drilling Pocket Holes
- Chalk, pencil, or lumber crayon,
- Pocket hole jig
- Pocket hole drill bit
- Allen wrench
- Power drill
- Clamps
- Pocket hole screws
- Woodworking glue
References
- ↑ https://www.familyhandyman.com/woodworking/wood-joints/edge-gluing-boards/view-all/
- ↑ https://www.familyhandyman.com/woodworking/wood-joints/edge-gluing-boards/view-all/
- ↑ https://www.loctiteproducts.com/en/know-how/fix-stuff/wood-glue.html
- ↑ https://www.bobvila.com/articles/1213-how-to-clamp-a-glue-joint/
- ↑ https://www.familyhandyman.com/woodworking/wood-joints/edge-gluing-boards/view-all/
- ↑ https://www.familyhandyman.com/woodworking/wood-joints/edge-gluing-boards/view-all/
- ↑ http://www.woodmagazine.com/woodworking-tips/techniques/joinery/pocket-hole
- ↑ http://www.woodmagazine.com/materials-guide/lumber/understanding-wood-grain
- ↑ https://www.youtube.com/watch?v=mvO6zaIUO18&feature=youtu.be&t=180
- ↑ https://www.familyhandyman.com/tools/how-to-use-pocket-screws/view-all/
- ↑ https://www.youtube.com/watch?v=mvO6zaIUO18&feature=youtu.be&t=196
- ↑ https://www.youtube.com/watch?v=mvO6zaIUO18&feature=youtu.be&t=214
- ↑ http://www.woodmagazine.com/woodworking-tips/techniques/joinery/pocket-hole
- ↑ https://www.youtube.com/watch?v=mvO6zaIUO18&feature=youtu.be&t=229
- ↑ https://www.youtube.com/watch?v=mvO6zaIUO18&feature=youtu.be&t=328
- ↑ http://www.woodmagazine.com/woodworking-tips/techniques/joinery/pocket-hole
- ↑ https://www.familyhandyman.com/tools/how-to-use-pocket-screws/view-all/
- ↑ http://www.woodmagazine.com/woodworking-tips/techniques/joinery/pocket-hole
- ↑ https://www.youtube.com/watch?v=mvO6zaIUO18&feature=youtu.be&t=338
About This Article
To join 2 pieces of wood with an edge joint, start by arranging the boards so the best looking sides will be visible in your finished project. Then, lay the boards across strips of thin scrap wood to make sure excess glue doesn’t get on your work surface. From there, apply an even bead of woodworking glue along the edge of 1 board and clamp the 2 pieces together. After 20 minutes, remove the clamps and carefully flip the boards so you can use a putty knife to scrape off any excess glue. While the glue might be dry already, let it sit overnight to reach its maximum strength. For more advice, including how to join 2 pieces of wood using pocket holes, scroll down.
