This article was co-authored by Jen Webber. Jen Webber is a Knitting Specialist and the Manager of The Quarter Stitch, a crafting store based in the French Quarter of New Orleans, Louisiana. With over 17 years of knitting and crafting experience, Jen helps educate customers and the public on best knitting practices for their DIY projects.
wikiHow marks an article as reader-approved once it receives enough positive feedback. In this case, 100% of readers who voted found the article helpful, earning it our reader-approved status.
This article has been viewed 369,581 times.
I-cord is a simple knitting technique that creates a very narrow tube of knitting that looks a bit like French knitting. This is a stitch used for creating knitting bag handles, adding as edging on a project or applying as a specific cord in various craft projects. Following these simple steps will result in knitting an I-cord.
Steps
Double Pointed Needles
-
1
-
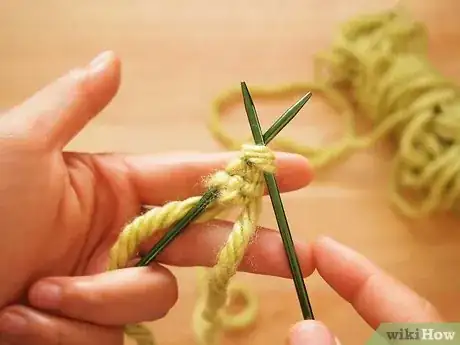
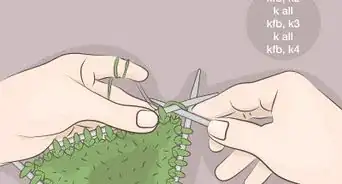
2Knit one row. Do not turn the work.Advertisement
-
3Slide the stitches to the other end of the needle.[2]
-
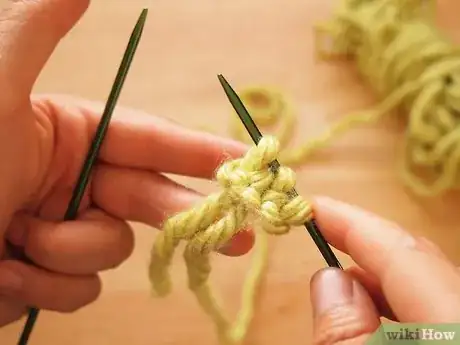
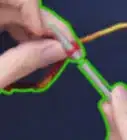
4Knit a second row by bringing the yarn behind the work and starting with the first stitch. Tug the work from the bottom after each first stitch to help it to take shape and to even out the tension.
-
5Repeat steps 3 and 4 until desired length is achieved. It'll start to take shape after 3/4 rows.
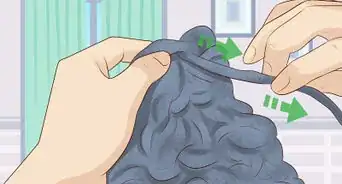
- Double pointed needles can cause laddering because there can be a little space in between the needles.
- If you pull it a little tight as you switch needles, it can help get rid of that.
- When you pick them up, check if you are knitting on the right side and not backward or from the inside.
Single Pointed Needles
The above method can be easily adapted if you don't have double-pointed needles.
-
1Cast on three to five stitches depending on the thickness of i-cord you want.
-
2Knit one row. Do not turn your work.[3]
-
3Slide the stitches from the tip of the needle directly onto the tip of the other needle. (If you are a right handed knitter, you will slip the stitches off the right needle and onto the left needle.)[4]
-
4Repeat step two until the i-cord is the desired length.
-
5Cast off.
Circular Needle
I-cords can also be created with a circular needle.
-
1Cast on three to five stitches depending on the thickness of i-cord you want.
-
2Knit one row.[5]
-
3Like in the double-pointed method, slide the stitches from one end of the circular needle to the other. Instead of using a second double pointed needle to create your stitches, you'll simply use the other end of your circular needle.[6]
-
4Repeat step two until the i-cord is the desired length.
-
5Cast off.
Expert Q&A
-
QuestionWhat are the benefits of using acrylic yarn for knitting?
 Jen WebberJen Webber is a Knitting Specialist and the Manager of The Quarter Stitch, a crafting store based in the French Quarter of New Orleans, Louisiana. With over 17 years of knitting and crafting experience, Jen helps educate customers and the public on best knitting practices for their DIY projects.
Knitting Specialist Acrylic yarn is great because it's inexpensive, can last for a long time, and hold up to being in the washing machine.
 -
QuestionWhat should you do to finish a knitting project?
 Jen WebberJen Webber is a Knitting Specialist and the Manager of The Quarter Stitch, a crafting store based in the French Quarter of New Orleans, Louisiana. With over 17 years of knitting and crafting experience, Jen helps educate customers and the public on best knitting practices for their DIY projects.
Knitting Specialist You should block your project. Blocking involves soaking or steaming the knitting and drying it to get the fibers to even out. Besides this, do not sew the knitted pieces together too tight or too loose. The sewing should match the tension of the knitting.
 -
QuestionIs the standard pattern 3 to 5 cast on sts or can the sts be increased?
 LibraryMouseCommunity AnswerYou can cast on more stitches, but it might not work as well.
Warnings
-
⧼thumbs_response⧽
Things You'll Need
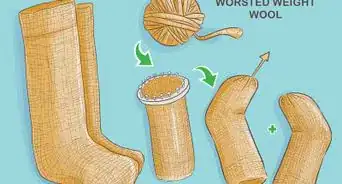
- Two double pointed needles
- Yarn
References
- ↑ https://blog.loveknitting.com/mastering-the-i-cord/
- ↑ https://blog.loveknitting.com/mastering-the-i-cord/
- ↑ http://www.sapphiresnpurls.com/2011/12/i-cord-on-straight-needles-single.html
- ↑ http://www.sapphiresnpurls.com/2011/12/i-cord-on-straight-needles-single.html
- ↑ https://www.youtube.com/watch?v=IBq8HhyEv-g
- ↑ https://www.youtube.com/watch?v=IBq8HhyEv-g
About This Article
To knit an I-cord, start by casting on between 3 and 5 stitches to your double-pointed needles, depending on what your pattern calls for. Next, knit one row and slide the stitches to the other end of the needle. Then, knit another row by bringing the yarn behind your work and pulling it through from back to front. Finally, repeat stitching rows from the front and back until the cord is as long as you’d like. For tips on how to knit an I-cord if you don’t have double-pointed needles, read on!
