wikiHow is a “wiki,” similar to Wikipedia, which means that many of our articles are co-written by multiple authors. To create this article, volunteer authors worked to edit and improve it over time.
This article has been viewed 247,124 times.
Learn more...
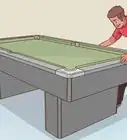
A pool table must be level for the balls to roll evenly across the felt. An uneven pool table will prevent accuracy in players' shots, and will allow the balls to roll to one side or area of the table. With a few items from a home improvement or hardware store, such as a carpenter's tool and some shims, you can level your pool table. Use these tips to level a pool table.
Steps
Measuring for Level
-
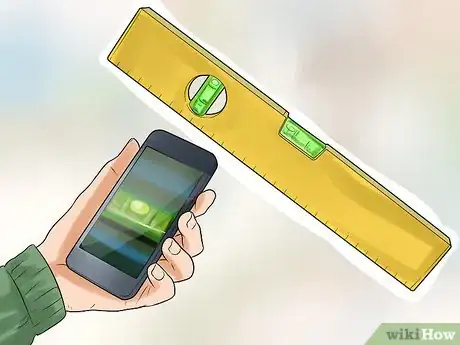
1Use a carpenter's level. If you've noticed your billiard balls making strange curves, measure your pool table for level. The best way to do this is with a basic carpenter's level. Analog or digital levels both work fine.
- Analog carpenter levels usually have bubbles that will orient between two lines when the surface is level, and will skew to one side when the surface is crooked. These are great for telling not only whether or not your table is crooked, but by how much, and to what direction. [1]
- If you don't have one, there are free or very cheap apps you can get on most smart phones with quite accurate level-functions. Use one of these instead, and just lay your phone on the surface you want to check for level.
-
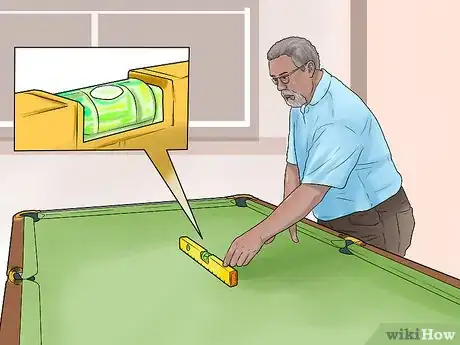
2Measure the mid-line of the pool table. Set the carpenter's level in the middle of the pool table, oriented long-ways. If the pool table is balanced from end to end, the bubbles in the carpenter's level will be situated between the two lines in the middle of the glass tubes.[2]
- If the bubbles in the glass tubes are above or below the middle lines, you will need to raise or lower one of the shorter ends of the pool table.
Advertisement -
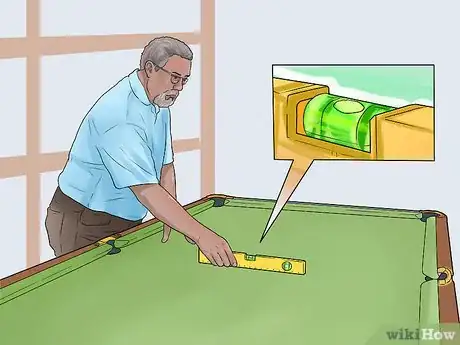
3Measure the shorter mid-line of the pool table. Turn the level the opposite direction in the middle as well, perpendicular to the long sides of the rectangle and even with the shorter sides. This will help you measure the side-to-side level of the table.
- Take a measurement. If the bubbles are above or below, you'll also need to adjust the legs in that direction to make the table flat.[3]
-
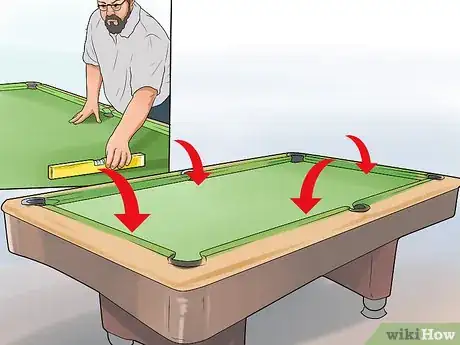
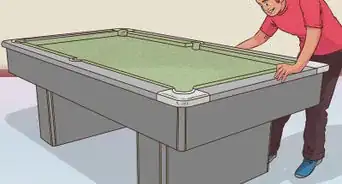
4Set the carpenter's level on each of the sides of the pool table. Most of the time, the problem with pool tables is that one leg, or multiple legs, is lower than the other three legs on the table. To find it, put the level close to the edge of each of the four sides of the pool table to get a more accurate reading.
- Move to each side and each corner of the pool table, checking with the level for the severity of the lean. The corner with the most lean is the one you're looking for.
- In some cases, you'll get weird readings because the floor of the house may be less than level. If that's the case, you can still make adjustments in the same basic way, it'll just take a little more troubleshooting to get it right.
-
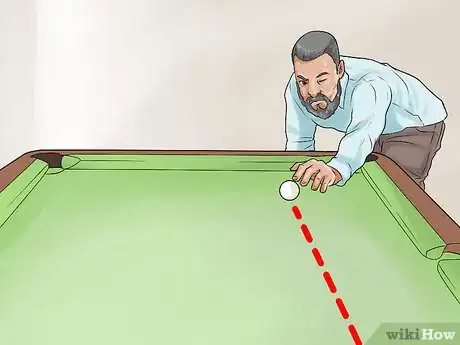
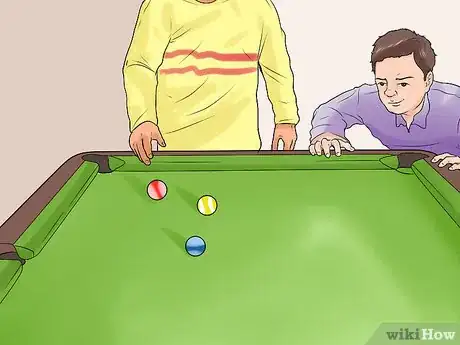
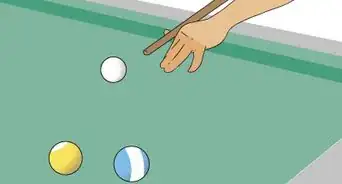
5Use a ball to check for practical balance. Roll the cue ball over a section of the table, as straight as possible. Move your eye even with the plane of the table, to look along the path of the ball. See whether the ball rolls off course towards one particular side of the table, or if it moves true.
- Repeat the process on a few sections of the table. Adjust the table if the ball is rolling off course towards a particular side, if necessary.
- This method requires that you move the ball extremely straight, which is somewhat difficult and less accurate than a level. If you try this, check your results against a carpenter level to be sure.
-
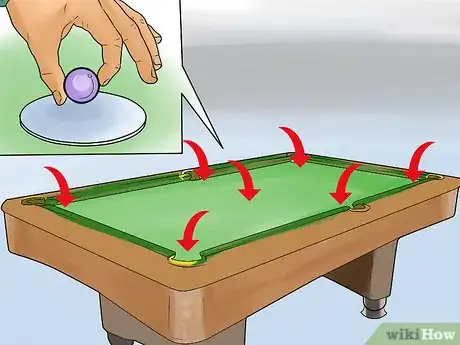
6Use a flat piece of glass and a marble to calculate balance. Another way of checking for level that doesn't involve a level is to set a piece of glass in the middle of the pool table, and let a marble roll across it.
- Place a marble on the middle of the piece of glass. The ball should stay in place if the pool table is level. Adjust the table if the ball rolls off of the glass towards a particular area of the table.
- Repeat the process on every side of the table. Place the glass and marble 2 to 3 inches (5 to 7.6 cm) from every pocket on the pool table.
-
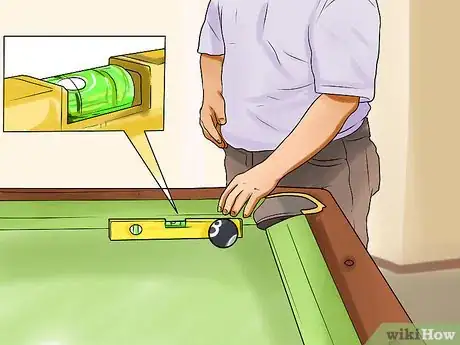
7Find the lowest corner. The level should dip, or the ball should move in the same direction at both corners on the same side. If the level dips in one more than the other, that's the corner you need to adjust.
- If the level doesn't, turn it the other way and check for level on the perpendicular side.
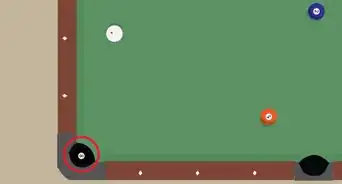
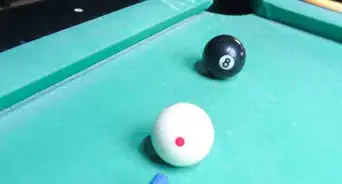
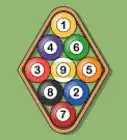
- When you locate the lowest corner, put the 8-ball in that pocket, so you'll be able to remember which one it is.
Adjusting the Height
-
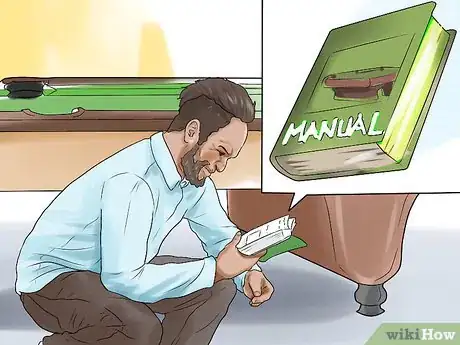
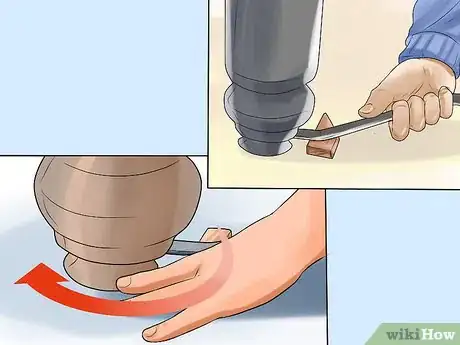
1Consult your owner's manual, if you have it. Most pool tables are made to be adjustable, so you can make them level, regardless of what surface they're on. Some pool tables may have metal plates, which can be added or removed to raise or lower the sides. Other pool tables have adjustable legs, with feet that can be screwed clockwise or counterclockwise, to raise or lower that side. Your owner's manual will provide specific information about your pool table.
- If you don't have the manual, just look at the legs to see how they're put together, and whether or not they have adjustable components. If your pool table does not, you can still use shims and other tiny adjustments to level the table.
- If the table features screw-in feet or legs, they'll usually be raised by turning them to the right and lowered by turning them to the left. But always defer to the owner manual to be sure.
-
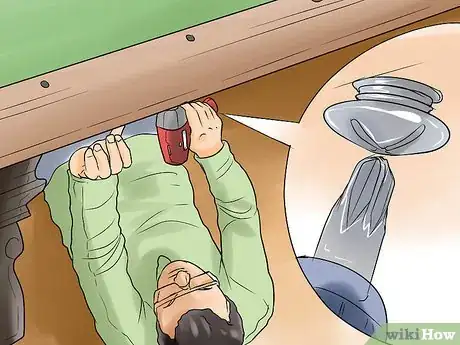
2Tighten all attachment screws under the table. Sometimes, the bolts and screws used to assemble a pool table can loosen slightly over time, resulting in the table becoming off-level. If you tighten up all the attachment screws, you can sometimes level out the table without even adjusting the height.
- Pool tables involve any number of different screws and screwdrivers to tighten. Look at the screws themselves to figure out what you need, or consult the owner's manual.
-
3Raise the lowest table leg one degree. If your pool table is adjustable, raise the lowest corner of the pool table by one degree, the least it can be adjusted. Leave the carpenter's level on the pool table, and check for the change.
- If that was too much, and the table has been unleveled in the wrong direction, lower it back to where it was and use shims to make smaller adjustments. More on this in the next section.
-
4Adjust the other table legs, if necessary. Sometimes, you'll have to make lots of little tweaks on different sides to get the top of the table completely level. It's partially a trial-and-error process, so don't get discouraged. Leave the level on the top of the table and check for level after every adjustment.
- You can also leave the over adjusted leg as it is, and use shims on the over levels, if you'd rather. It's partially a trial-and-error process.
-
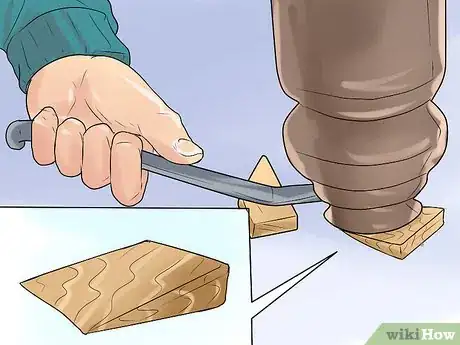
5Use shims to fine-tune the level. Shims are small, tapered shards of wood that you can use to fill gaps and adjust the height of things like pool tables. They're commonly sold in the carpentry sections of any hardware or home goods store, usually in packages with variable sizes.[4]
- You can trim the shims to fit underneath the feet of the table if necessary, to make sure that they don't show. If the feet are big enough, though, you may not need to worry about it.
-
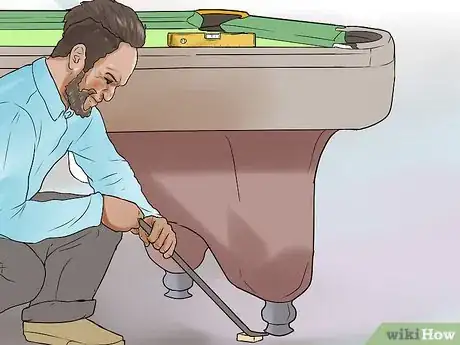
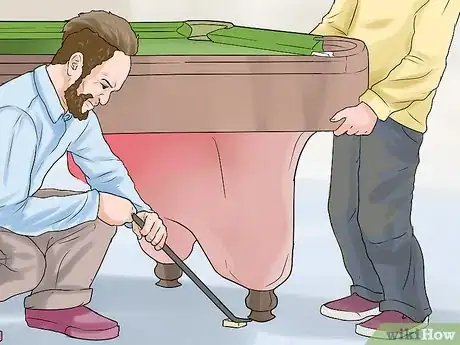
6Get a few helpers if you need to add shims. Have one or more assistants lift the corner of the table that needs to be raised. Carefully, place a shim underneath the leg, lowering the foot onto it gently.
- Use the carpenter's level to check the balance of the pool table. See how the shim has affected the level of the top.
- Continue to add shims underneath the legs until the pool table is balanced. Move to other corners if necessary, to make other adjustments.
-
7Quit while you're ahead. Pool tables don't need to be absolutely flat for them to work well enough to play on. If you can get it close enough, but not totally perfect, don't keep adding and removing the same shim over and over.
- Roll a couple balls to see how true they move. If it looks good to you, go with it.
- Do the marble-and-glass test again. If it sits still, you've got a playable table.
Community Q&A
-
QuestionI got a table but it seems to have a low spot in the middle that leveling doesn't take away. How do I get the center up?
 Community AnswerThere is a wooden plank that runs the width of mine to support the slate. I shimmed that board from underneath and leveled it nicely. Hopefully you can do the same!
Things You'll Need
- Pool table
- Carpenter's level
- Metal plates
- 1 or more assistants
- Shims
- Cue ball
- Flat piece of glass
- Marble
References
About This Article
To level a pool table, start by inspecting the legs to see if they have adjustable components, like metal plates or feet that can be raised and lowered. If the table has screw-in feet or legs, try turning them to the right or left to raise or lower them until the table is level. If the legs aren't adjustable, try inserting wooden shims under some of the legs to level the table. As you're working, keep a level on top of the table so you can check it after each adjustment you make. To learn how to figure out what's causing your pool table to not be level, keep reading!
