This article was co-authored by Alberto DeJesus. Alberto DeJesus is a Construction Specialist and the CEO of DeJesus Industries. With more than four years of experience, he specializes in high-end real estate development and construction. Alberto and DeJesus Industries have been featured on NBC News and have worked with numerous well-known companies, including Mazda, Amazon, and CVS. Alberto holds a Bachelor’s degree from Boston University.
This article has been viewed 44,266 times.
It's easy to make your own crown molding, especially if you just need a small piece to fill a gap. All you need is some gypsum, also known as plaster of Paris, and some clay for making a mold. Our how-to guide will show you how to turn these simple materials into realistic-looking fake plaster molding!
Steps
-
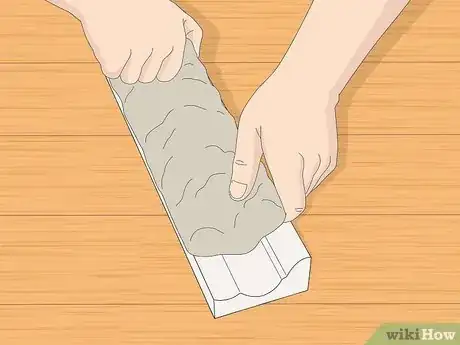
1Roll out a thick piece of clay and press it onto a piece of crown moulding. Thickness adds strength which is needed later when pouring the plaster.
-
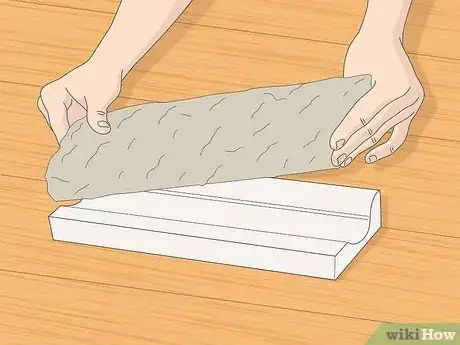
2Peel the clay off and straighten out minor bends. The clay should be an exact reverse replica of the crown moulding.Advertisement
-
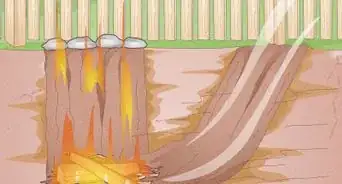
3Reinforce walls with wood pieces and/or strong plastic. Seal edges to contain the poured plaster.
-
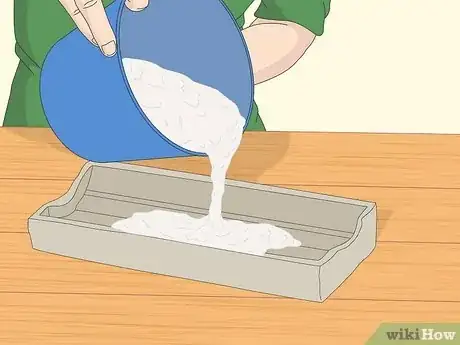
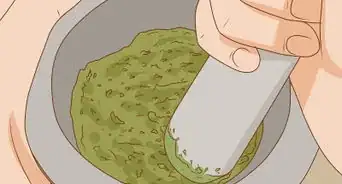
4Mix plaster of Paris and pour a little in the mould. Ensure that the nooks and crannies are filled before pouring enough plaster to fill the mould. Your fill line will be the thickness of the crown moulding.
-
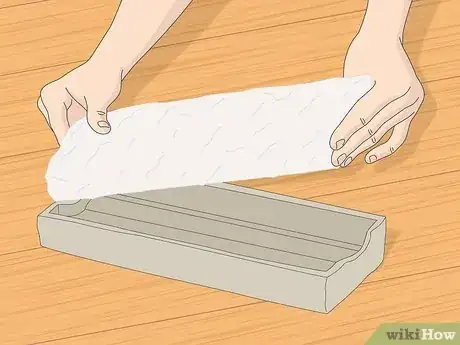
5Discard the clay and let the plaster dry until it feels dry to the touch.
-
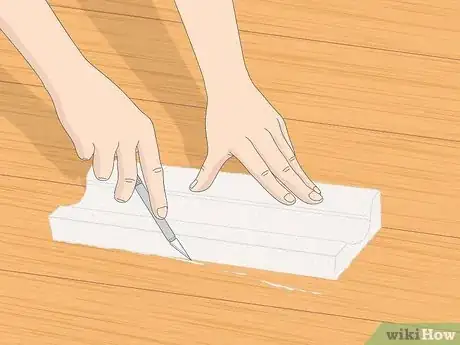
6Trim as needed. Handle the dry plaster moulding carefully to prevent chipping.
-
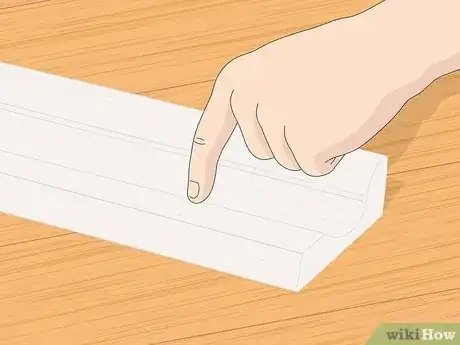
7Ignore any tiny air pockets for now.
-
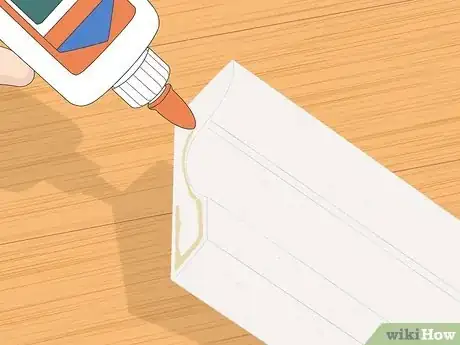
8Spread a thin layer of glue on all contact points.
-
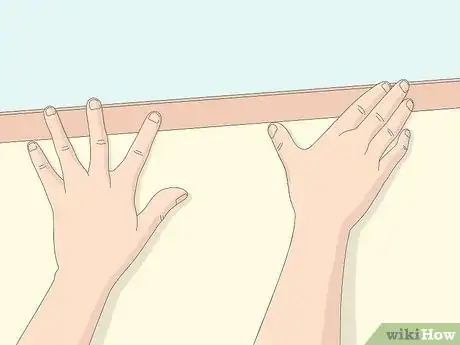
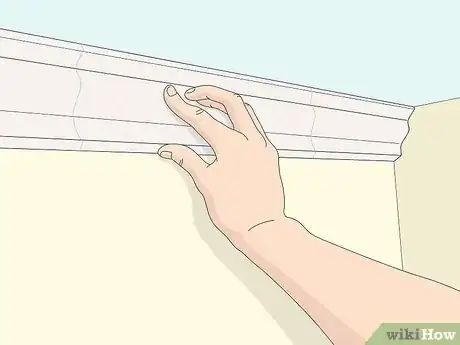
9Insert the plaster moulding into the gap without force. It should fit snugly.
-
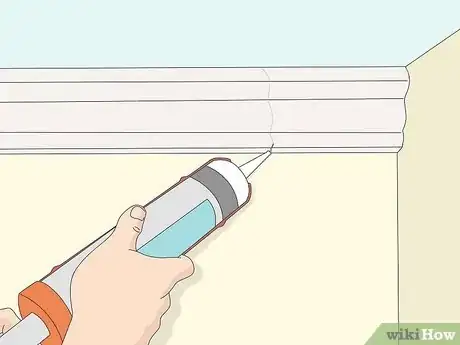
10Once the glue is dry, fill any air bubbles and gaps with caulking. Wipe off excess caulking with a slightly damp and smooth cloth.
-
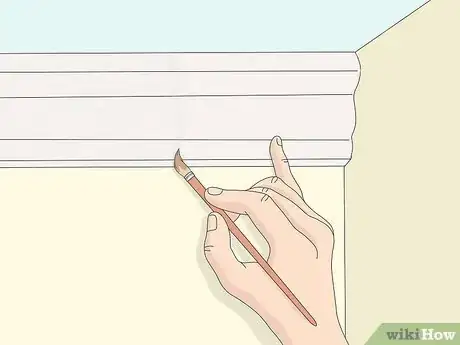
11Once you're satisfied that the gaps and surface are seamless, prime and paint as needed.
Expert Q&A
-
QuestionWhat are the two angles for cutting crown molding?
 Alberto DeJesusAlberto DeJesus is a Construction Specialist and the CEO of DeJesus Industries. With more than four years of experience, he specializes in high-end real estate development and construction. Alberto and DeJesus Industries have been featured on NBC News and have worked with numerous well-known companies, including Mazda, Amazon, and CVS. Alberto holds a Bachelor’s degree from Boston University.
Construction Specialist My recommendation is to cut them in a 45 degree angle for corners. After cutting, make sure to seal it with white caulk at the top and the bottom.
Warnings
- Keep the clay you use to make the plaster mould completely separate from clay used to make pottery. Plaster bits don't shrink when fired in a kiln. Since clay shrinks when fired, pottery would break around the plaster.⧼thumbs_response⧽
Things You'll Need
- Potter's clay
- Plaster of Paris
- Pieces of wood/plastic
- Whittling knife & X-Acto knife
- Ultra fine sandpaper, cut into manageable pieces for smoothing
- White glue
- Paintable acrylic latex caulking
