wikiHow is a “wiki,” similar to Wikipedia, which means that many of our articles are co-written by multiple authors. To create this article, 12 people, some anonymous, worked to edit and improve it over time.
This article has been viewed 59,508 times.
Learn more...
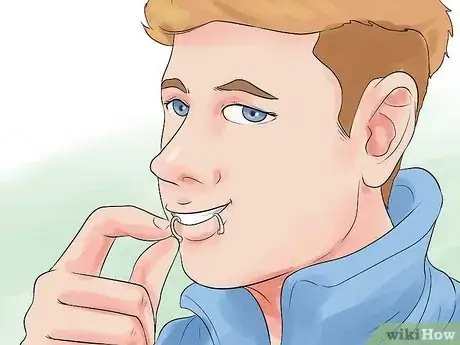
Snake bites are lip piercings that are evenly spaced on the lower lip, below the wearer's canines.[1] These piercings accentuate your lips, making them a great accessory for dates, concerts, or whatever.[2] Snake bite piercings are cool looking but there are some potential disadvantages of having them. Wearers may suffer from permanent gum damage and irritation as a result of the jewelry rubbing against one's gums. Furthermore, getting two piercings at once is a painful process that some people might prefer to avoid. Fortunately, it is easy to make fake snake bite piercings using easy to find or buy items. If you're thinking about getting snake bite piercings but you want to try them out before you commit, read on!
Steps
Making Fake Snake Bites with a Spiral Notebook
-
1Unwind a bit of the wire spiral binding from the notebook. Try not to straighten the wire too much as you unwind it, but don't worry if you do because you can always use a pen or marker to reshape the wire into ring shapes.
-
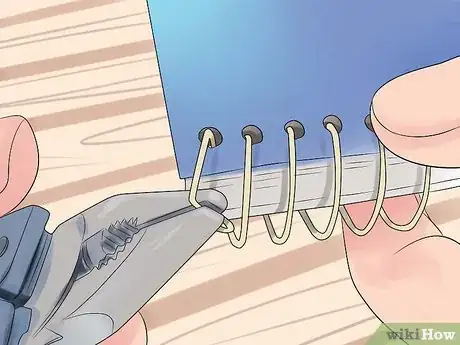
2Cut two rings from the exposed wire.[3] Ideally, the two ends should overlap slightly so that you will have room to bend the wires back. Try to make sure that the rings are roughly the same size and shape, but don’t worry if they are not identical.Advertisement
-
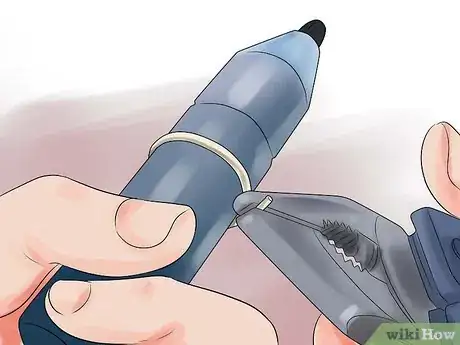
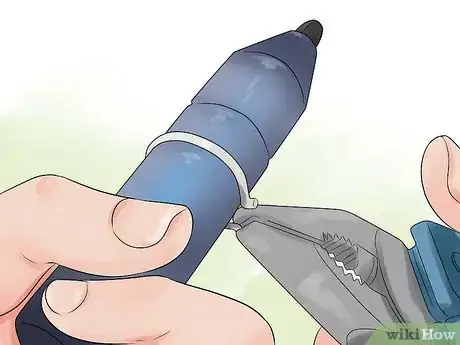
3Shape the rings. Grip one of the rings using the pliers and use the other pair of pliers to help shape the ring so that it is more circular. If you are having trouble getting the wire into a nice round shape, wrap the wire around a pen or marker and use the pliers to tighten the wire.
-
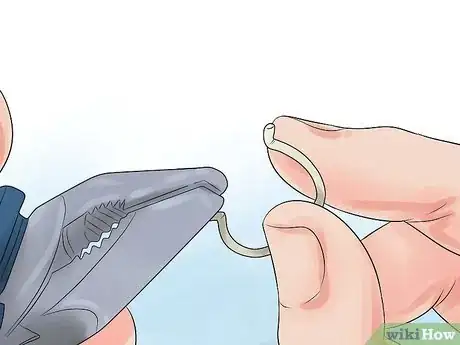
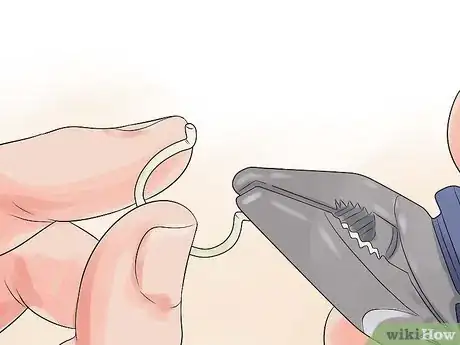
4Bend back the ends of each ring with the pliers. Use the pliers to bend back about 1/4" of wire on each end and fold it so that it is aligned with the ring wire. Bending back the wire will redirect the pointed ends of the wire so that they are not pressing against your inner and outer lip. When you bend back the wires, make sure that the ring opening is wide enough to easily slide over your lip. This space should be about 1/4" wide, but you may want it narrower or wider depending on the thickness of your lower lip. [4]
-
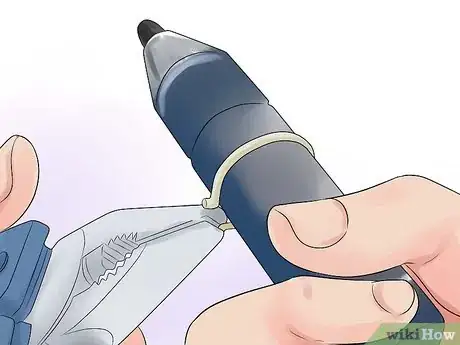
5Reshape the rings. Use the pliers and a pen or marker to reshape the rings after you have bent back the ends. Make sure that they look exactly how you want them to look.
-
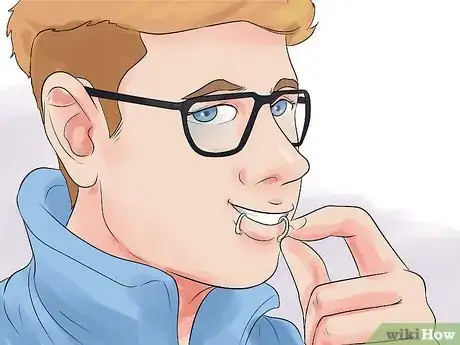
6Try on your snake bites to see how they fit! Simply slide each of the rings onto your lower lip and adjust their placement so that they are spaced equally on your lower lip. The two rings should be closely aligned with your canine teeth. If they are too loose or too tight, gently squeeze or pull on the rings to adjust the fit.[5]
Making Fake Snake Bites with a Paperclip
-
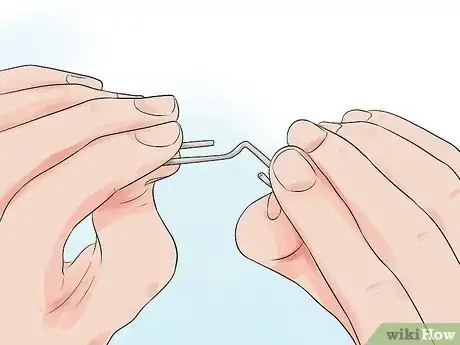
1Unfold the paperclip. First, pull apart the paperclip so that it resembles the letter S and then straighten out the paper clip wire entirely. Use the pliers to help you straighten the wire if it is too difficult to straighten with your fingertips. The wire does not have to be completely straight like a pin. It can be a bit wavy as long as it is no longer in the shape of a paperclip.
-
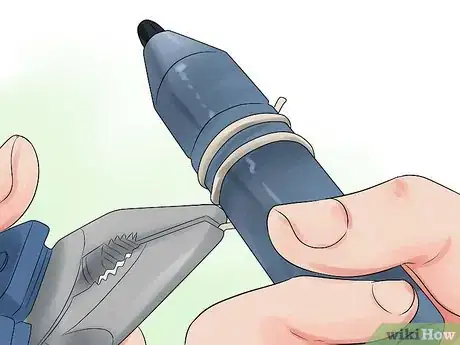
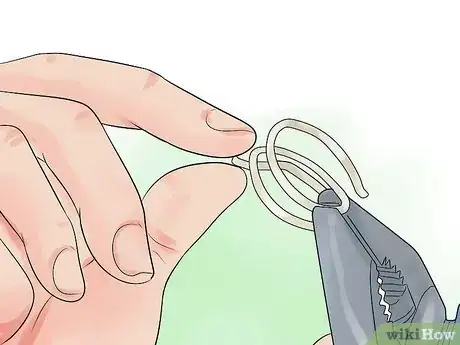
2Shape the wire. Grip one end of the paperclip wire using the pliers and begin wrapping the wire around the pen or marker. Use the other pair of pliers to grip the other end of the wire and continue wrapping the paperclip wire around the pen until you have made two full rings.
-
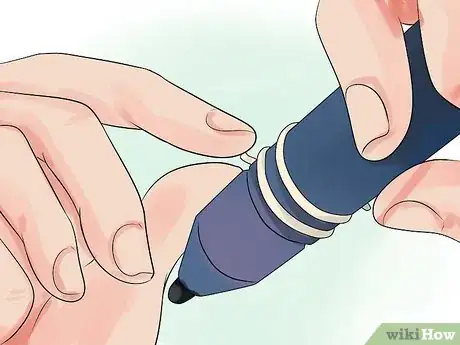
3Slide the coiled wire off of the pen. Try not to bend or unfurl the coil too much or you may need to redo the previous step.
-
4Cut two rings from the paperclip wire.[6] Ideally, the two ends should overlap slightly so that you will have room to bend the wires back. Try to make sure that the rings are roughly the same size and shape, but don’t worry if they are not identical.
-
5Bend back the ends of each ring with the pliers. Use the pliers to bend back about 1/4" of wire on each end and fold it so that it is aligned with the ring wire. Bending back the wire will redirect the pointed ends of the wire so that they are not pressing against your inner and outer lip. When you bend back the wires, make sure that the ring opening is wide enough to easily slide over your lip. This space should be about 1/4" wide, but you may want it narrower or wider depending on the thickness of your lower lip.
-
6Reshape the rings. Use the pliers to reshape the rings after you have bent back the ends. Make sure that they look exactly how you want them to look.
-
7Try on your snake bites to see how they fit! Simply slide each of the rings onto your lower lip and adjust their placement so that they are spaced equally on your lower lip. The two rings should be closely aligned with your canine teeth. If they are too loose or too tight, gently squeeze or pull on the rings to adjust the fit.[7]
Making Fake Snake Bites with Captive Bead Rings
-
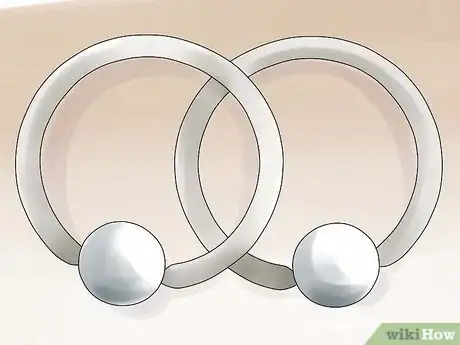
1Purchase two captive bead rings in a jewelry store. You can buy these in a variety of sizes and materials. Choose ones that appeal to you. Don’t worry about the bead’s color or design since you will be removing it.[8]
-
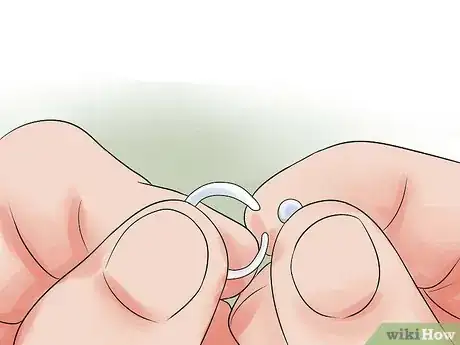
2Remove the captive beads. Remove the captive beads from the rings by gently pulling the two sides of the ring apart and letting the bead drop out. You do not need to keep the beads unless you think you might want to use the captive bead ring as an actual piercing at some point.[9]
-
3Try on your snake bites to see how they fit! Simply slide each of the rings onto your lower lip and adjust their placement so that they are spaced equally on your lower lip. The two rings should be closely aligned with your canine teeth. If they are too loose or too tight, gently squeeze or pull on the rings to adjust the fit.[10]
Warnings
- Even though they are fake, these rings can pinch a bit when putting them on and taking them off. Be careful when putting them on, taking them off, and while wearing them.⧼thumbs_response⧽
- If you notice any skin irritation from wearing your snake bites, stop wearing them! If the irritation persists, see a doctor or dermatologist.⧼thumbs_response⧽
- Since these rings are not securely attached, they may come loose. Take them out before you go to bed and before you eat or drink anything to avoid accidentally inhaling, biting, or swallowing them![11]⧼thumbs_response⧽
Things You'll Need
Method 1
- an old spiral notebook
- a pair of sharp scissors
- two pairs of needle or chain nose pliers
- a pen or marker
Method 2
- one paper clip (large ones work better, but you can use a small one if you prefer a thinner ring)
- a pair of sharp scissors
- two pairs of needle or chain nose pliers
- a pen or marker
Method 3
- two captive bead rings
References
- ↑ http://www.urbandictionary.com/define.php?term=snake+bites
- ↑ http://www.piercing-ideas.net/35-great-snake-bites-piercing-ideas/
- ↑ http://www.cutoutandkeep.net/projects/diy-lipring
- ↑ http://www.cutoutandkeep.net/projects/diy-lipring
- ↑ http://www.cutoutandkeep.net/projects/diy-lipring
- ↑ http://www.cutoutandkeep.net/projects/diy-lipring
- ↑ http://www.cutoutandkeep.net/projects/diy-lipring
- ↑ https://www.painfulpleasures.com/community/help-center/information-center/lip-piercing-faqs/
- ↑ https://www.painfulpleasures.com/community/help-center/information-center/lip-piercing-faqs/
