This article was co-authored by wikiHow Staff. Our trained team of editors and researchers validate articles for accuracy and comprehensiveness. wikiHow's Content Management Team carefully monitors the work from our editorial staff to ensure that each article is backed by trusted research and meets our high quality standards.
There are 8 references cited in this article, which can be found at the bottom of the page.
This article has been viewed 30,256 times.
Learn more...
Freezing water without a freezer can be a tricky undertaking. The easiest solution, if you live somewhere with cold weather, is to use below-freezing temperatures to make ice cubes outside. Just make sure to cover up your ice cube trays so that nothing falls in them. If you have a reliable power source, you can also use a portable ice maker to make ice cubes. For a fun science experiment, you can use a vacuum pump and bell jar to freeze water with physics.
Steps
Freezing Water Outside in Winter
-
1Wait until temperatures are below freezing. Most freezers are set to 0 °F (−18 °C) and it usually takes around 3-4 hours to make ice cubes at this temperature. However, as long as temperatures are below 32 °F (0 °C), water will eventually freeze.
- Boiling water freezes faster than cold water.
-
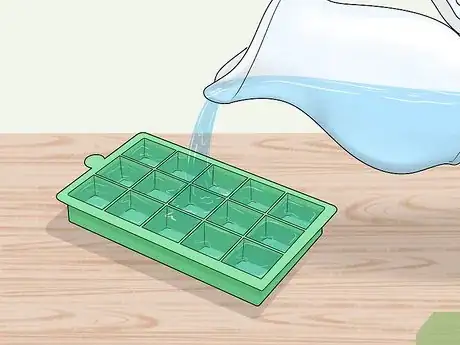
2Fill ice cube trays with water. Use filtered water that is safe to drink. The smaller your ice cubes, the faster they will freeze.[1]
- Alternatively, you can fill up a resealable plastic bag with water to freeze ice in a large chunk, or an egg carton to make large, round ice cubes.
Advertisement -
3Place the ice cube trays in a resealable plastic bag. The plastic bag will keep the ice protected from wildlife and keep anything from falling into your ice cubes. Make sure that it is well-sealed.[2]
- You can also cover the ice cube tray with
-
4Put the ice cube tray in a dark spot outside. Placing your water in the sun, no matter how cold it is outside, will make it freeze more slowly. If you have a private, shady backyard, this is an ideal place to freeze water.[3]
-
5Wait for the ice to freeze. The amount of time it will take for the water to freeze will depend on how cold it is outside and how big your ice cubes are. Check on the ice cubes every hour or so until they are ready.[4]
Using a Portable Ice Maker
-
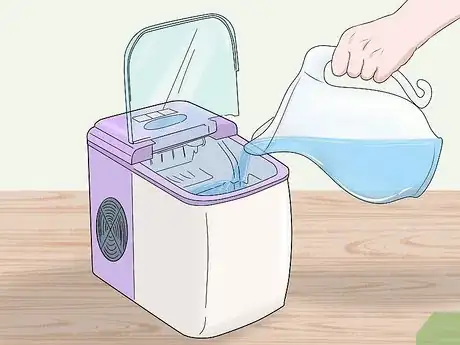
1Fill the ice maker's reservoir up with water. Portable ice makers don't connect to a water line, so you have to manually fill it each time you want to make ice. Use water that is safe to drink to make ice cubes.[5]
- Make sure you only add water to the maximum fill line marked on the reservoir.
-
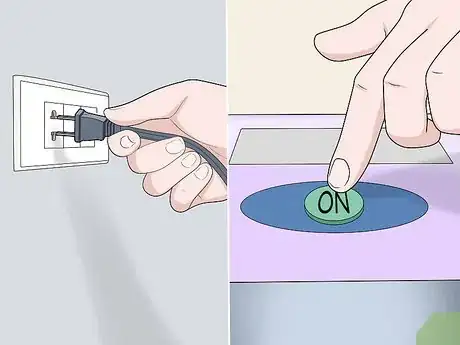
2Plug in the ice maker and turn it on. You will need a reliable power source while the ice maker is running. Some brands of ice makers will immediately start to make ice as soon as you turn them on, while others might require you to press another button or choose an ice size.[6]
- Some ice machines also come with a timer function.
-
3Wait for the ice to form. The amount of time it will take for the ice to form will depend on the brand of your ice maker and how much ice you need. With most machines, you should have enough ice for 2 drinks in around 5-15 minutes.[7]
- Some machines will also allow you to choose what size ice cubes you want to make.
- Most brands take around 1-2 hours to completely fill the tray with ice.
-
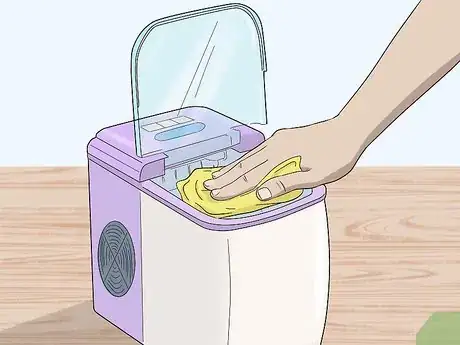
4Clean the ice maker when you're done using it. Unplug the ice maker and remove the ice tray. Wipe down the interior of the ice machine as well as the ice tray with a dry towel. To disinfect it, fill the reservoir with a 10 to 1 solution of water and lemon juice or white vinegar and run one cycle. Throw out the ice and wipe down the machine.[8]
- Ice makers are prone to mold and slime because when they are not in use, they become warm, wet, and dark.
Using a Bell Jar and Vacuum Pump
-
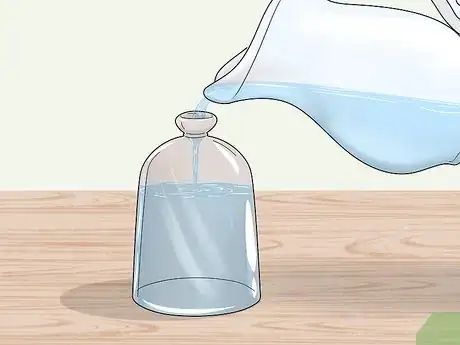
1Fill a glass with water. Fill a glass around 3/4 full of water, since the water will expand as it freezes. Use filtered drinking water if you want to put the ice in a drink when you're done.[9]
- A solution that is 50% water and 50% acetone will freeze faster.
-
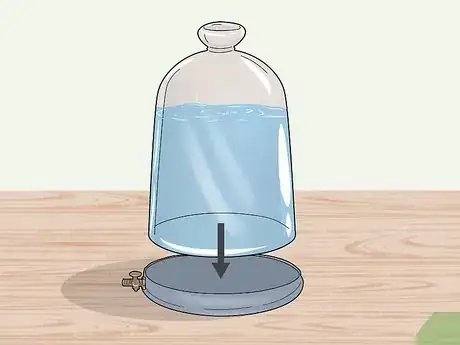
2Place the cup underneath a bell jar. Use a scientific bell jar with an opening on the top. You can find bell jars from science supply stores as well as some school supply stores.[10]
- You could also perform this experiment in a school lab that has all of the materials already.
-
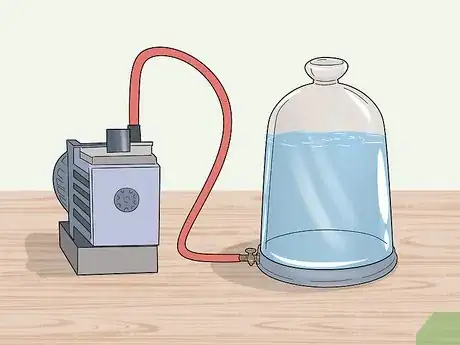
3Attach a vacuum pump to the bell jar and turn it on. Attach the vacuum pump to the opening of the bell jar. Turn the vacuum on to start freezing the water.[11]
- Make sure the attachment fits snugly into the opening of the bell jar so that it creates a strong seal.
- A simple vacuum pump with one setting will work fine for this experiment.
-
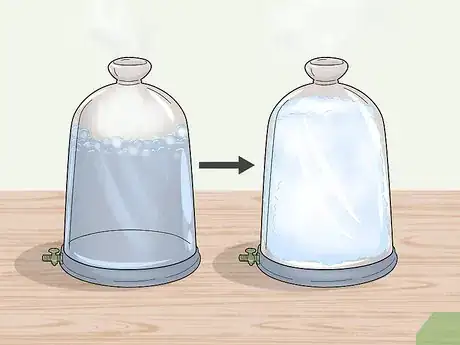
4Watch the water boil, then turn to ice. The water will bubble first. Then, the warm molecules will rise up into the vacuum pump and the cold molecules will remain behind and freeze the water.[12]
Things You'll Need
Freezing Water Outside in Winter
- Ice trays
- Resealable plastic baggies
- Water
Using a Portable Ice Maker
- Water
- Ice maker
- Towel
- Vinegar
Using a Bell Jar and Vacuum Pump
- Water
- Glass
- Bell jar
- Vacuum pump
References
- ↑ https://icemakershub.com/how-to-make-ice-cubes-without-using-a-tray/
- ↑ https://www.atcoblueflamekitchen.com/en-ca/how-to/storing-frozen-food-outside-winter.html
- ↑ https://www.atcoblueflamekitchen.com/en-ca/how-to/storing-frozen-food-outside-winter.html
- ↑ https://www.atcoblueflamekitchen.com/en-ca/how-to/storing-frozen-food-outside-winter.html
- ↑ https://thewirecutter.com/reviews/best-portable-ice-maker/
- ↑ https://thewirecutter.com/reviews/best-portable-ice-maker/
- ↑ https://www.foodsharkmarfa.com/best-portable-ice-maker/
- ↑ https://thewirecutter.com/reviews/best-portable-ice-maker/
- ↑ https://youtu.be/x5DRuPuzqKI?t=19

