wikiHow is a “wiki,” similar to Wikipedia, which means that many of our articles are co-written by multiple authors. To create this article, 12 people, some anonymous, worked to edit and improve it over time.
This article has been viewed 155,099 times.
Learn more...
A truss is a type of built-up structural member that can be used in place of a single girder or beam. Trusses are made from multiple straight members (generally made from wood or metal) arranged in triangles. This design allows a truss to span a very long distance without intermediate support; they are preferable to large, heavy girders because of their low cost and easy implementation. For large construction projects, the design and fabrication of roof trusses should be handled by licensed engineers. However, for smaller projects, you can make roof trusses yourself in accordance with your project's needs.
Steps
-
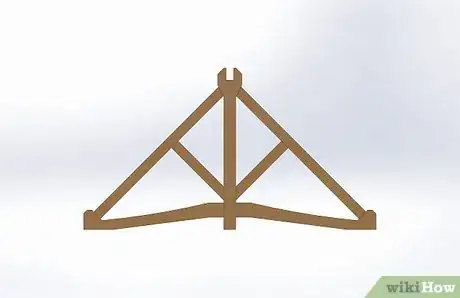
1Design your roof truss. As with any structural member, a faulty design will undermine even the most professional of installations. Your roof truss will need to be able to handle the expected dead loads and live loads on your structure's roof. The truss will also need to be supported adequately at its ends.
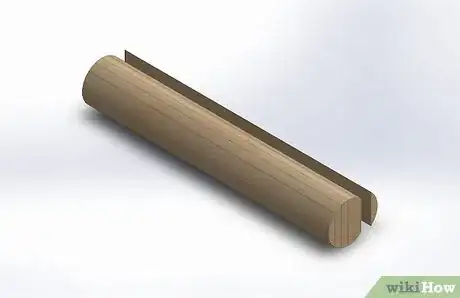
- The best material for building trusses on a small scale project is sawn lumber. Dimension lumber and engineered woods like plywood are not available in the sizes and lengths necessary to build a solid truss.
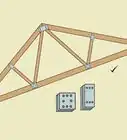
- The roof truss will have a horizontal lower chord, and 2 angled upper chords that follow the roof line. These chords will be connected by "web" members, which will be oriented to form triangles. Your design should call for the same size lumber for each member.
-
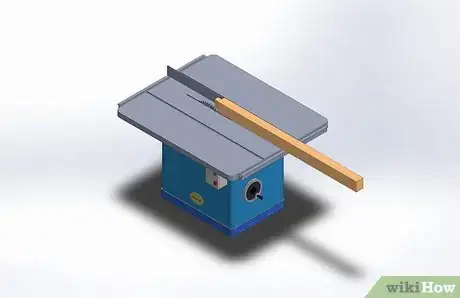
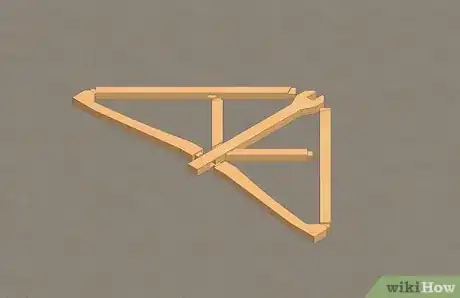
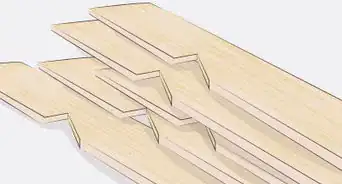
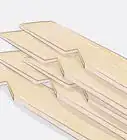
2Saw the truss members to size. After designing the truss, saw each member to its required length. You will likely need to use more than 1 length of lumber to make the lower chord, so plan on joining the 2 pieces at the midspan of the truss. You will have stronger joints if you angle each cut so that it fits flush against the other members.Advertisement
-
3Lay the truss members out on the ground. Once all the chord and web members are cut to size, arrange them flat on the ground in the shape of the truss. Make sure that all the connections fit snugly, sawing off additional length if necessary.
-
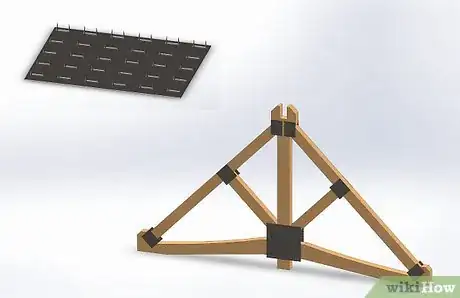
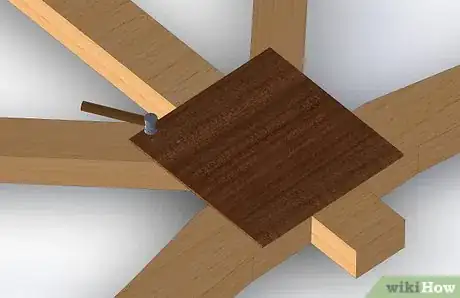
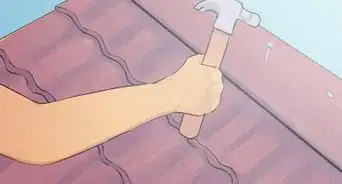
4Secure the joints with metal gusset plates. Lay out toothed gusset plates (often called "nail plates") so that they cover each joint, making sure that the plates cover each member equally. Hammer each gusset plate into the wood until the teeth are fully driven in and the plate sits flush against the lumber. Turn the entire truss over and repeat this process on the other side.
- As an alternative, you can make your own gusset plates out of plywood. Lay pieces of plywood over each joint, covering about a foot (30 cm) of each truss member's length. Glue the plywood to the joint, and then nail it to each member to fully secure it. Repeat this process on the reverse side of the truss.
-
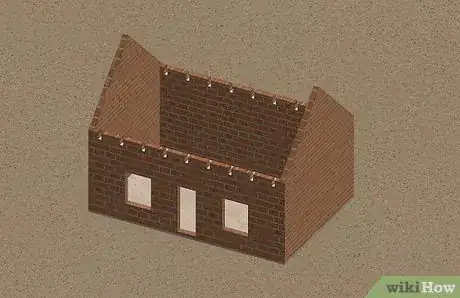
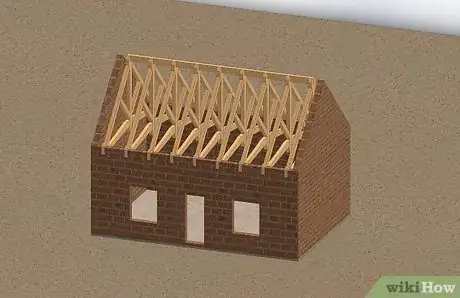
5Install the roof trusses. Once the trusses are constructed, lift them into place and set them onto the top plates of the exterior walls just as you would a beam or joist. Toe-nail them into the top plate to secure them, and then make sure they are braced laterally using blocking or long purlins.
How Can You Measure A Roof’s Dimensions?
Community Q&A
-
QuestionWhat size 2x4s is needed to span a 12ft space for the roof?
 Community AnswerAssuming you leave 2' each side and use an inclination of 6:12, you'll need 2 profiles of 8' (both used below), 1 of 4' (internal vertical), 2 of 3' (internal diagonals) and 2 of 9' (external diagonals).
 -
QuestionHow many workers are required to erect a one roof truss and how long would it take?
 Community AnswerIt depends on the size of the truss. Assuming it's a 12' truss, you'll need 2 to 4 people. A trained team can erect over 10 trusses in one day.
 -
QuestionWhat materials are used to make roof trusses?
 Community AnswerYou typically will use either 2x4 or 2x6 Lumber, 16d nails, truss plates, gussets(1/2 or 7/16 plywood or OSB sheeting), a framing gun, air compressor, hammer, rafter protractor, level, pencil, nail apron, safety glasses and a ladder.
Things You'll Need
- Pencil
- Paper
- Sawn lumber
- Tape measure
- Circular saw
- Hammer
- Gusset plates
- Nails
