wikiHow is a “wiki,” similar to Wikipedia, which means that many of our articles are co-written by multiple authors. To create this article, 12 people, some anonymous, worked to edit and improve it over time.
There are 12 references cited in this article, which can be found at the bottom of the page.
This article has been viewed 254,782 times.
Learn more...
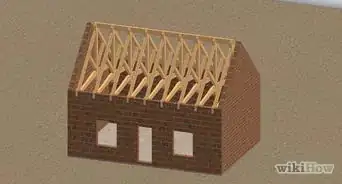
Framing a roof is the last step in framing new construction. While most home builders will outsource the construction of roofing trusses–the rafter supports of the roof itself–learning to frame a roof yourself is one of the true arts of carpentry, and a basic primer is covered below. The trusses themselves will vary depending upon the design and the style of roof you're building, but you can learn about selecting between the various styles, and the basic guidelines for cutting your own rafters and raising them.
Steps
Designing the Roof
-
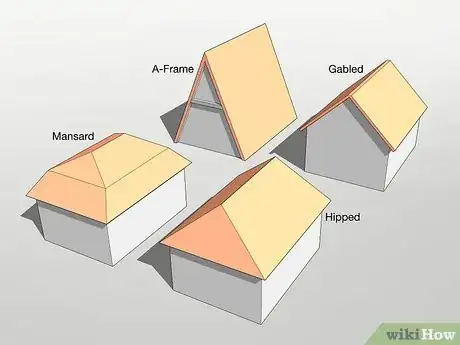
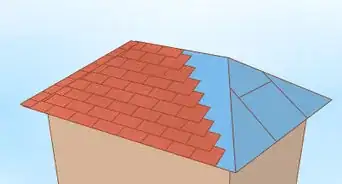
1Choose a style of roof.[1] If you want to frame a roof, you've got two important choices to make in terms of design before you get started: what kind of roof style you want, and what kind of truss you want to construct the roof from. There are many different roof styles, some relatively straight-forward and others more complex, depending on the shape of the home and other practical concerns. The way that you construct the roof and plan for its construction will depend most of all on how you want it to look. Some basic roof styles include:
- A-Frame roofs. A-frames are tall, symmetrical frames, requiring only one type of rafter to be constructed.
- Gabled roofs. A gable is an extended section of roof that extends from one wall, perpendicular to the roof.
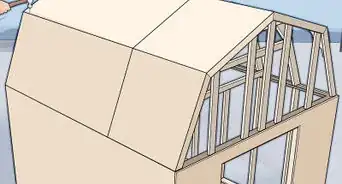
- Mansard roofs. By including an extra joint in each rafter, a mansard roof slopes in such a way as to allow for living space in the area of the roof.
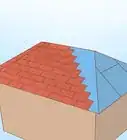
- Hipped roofs. These roofs slope on all sides, creating a dynamic effect for the home, but requiring a large number of rafters be constructed of variable sizes to account for the slope.
-
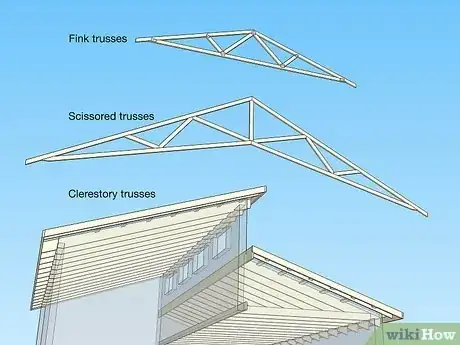
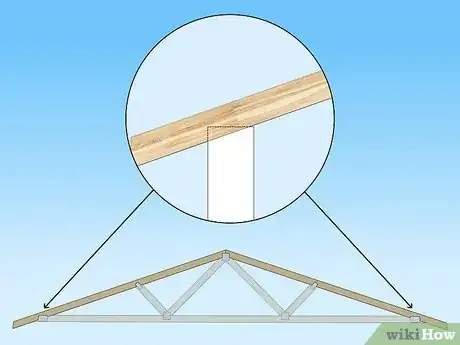
2Choose the design of the roofing trusses. The framing style of the roof refers to the actual components of each roofing truss and the design of the structural foundation of that roof. Partially, these will depend on the style of roof you've selected, but you'll also have some wiggle-room depending on the design elements of the house. There are dozens of truss designs, but some of the most common for home building are discussed below.[2]
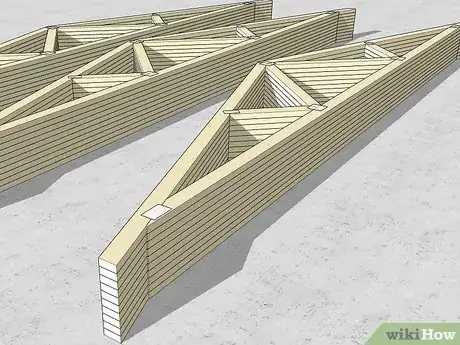
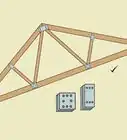
- Fink trusses are the most basic, consisting of a basic rafter, joists and jack supports. You can get these manufactured off-site or you can construct them yourself. You can also have them constructed with "room in attic" cut-aways to allow for livable space among the rafters.
- Scissored trusses are recessed slightly in the center of the rafter, allowing for a vaulted ceiling indoors.
- Clerestory trusses are a-symmetrical, with one joist extending beyond the rest of the rafter to allow for a windowed-wall along the roof.[3]
Advertisement -
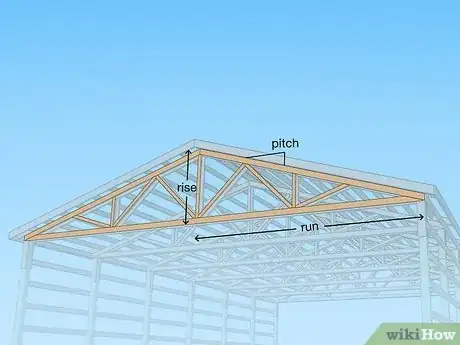
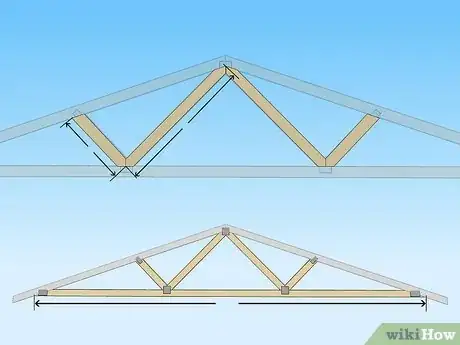
3Understand the different measurements you’ll need. If you're going to cut your own rafters, or hire out a contractor to do it, the most important step in the process is measuring them correctly and calculating the size of the rafters that will be necessary for the home that you're building.[4] Rafters are carefully constructed geometrical structures that require careful planning to pull off.[5] You need to calculate:
- Run of each rafter (in feet). This measurement refers to the total length of each segment of the rafter. Basically, each truss will be made of two rafters, making the width of the house the length of the run, times two.
- Rise (in feet). The rise refers to the height of each truss, measured from the bottom of the roof segments to the top-most point or peak of the roof. Think of this as the total height of the roof itself.
- Pitch (in inches). The pitch of the roof refers to the amount the roof slopes for every 12 inches it extends horizontally, and it usually given as a fraction. A pitch of 7/12, for example, would mean that the roof rises 7 inches every foot that it extends.
- Length of each rafter segment (in feet). After determining the previous measurements, you'll need to calculate the length of each individual segment of the trusses–the lumber for the run, for the diagonal, and for the sloping sections of each truss. This will depend on the design of each truss and the geometry of the previous measurements.
-
4Use a construction calculator to calculate the measurements of each rafter. A construction calculator is pre-programmed with the Pythagorean formula necessary for quickly calculating the angles of right triangles, so you can accurately measure the angles necessary for the seat cuts to build the trusses.[6] You can do it out by hand if you want, but roofers almost universally use construction calculators to do this quickly and accurately.[7]
- You should already have the run and the pitch measured out, but you'll need to calculate the "adjusted" run by subtracting the width of the ridge beam, the center beam in the roof segment that attaches both rafters and makes the truss segment.[8] Divide the adjusted run by two to get the actual length of each run (the longer of the two sides that make up the right angle of the triangle made by each rafter). On the construction calculator, you can press the "Run" button to program that number in for further calculations.
- Next, input the pitch of the roof, which you should have already calculated for your design. Upon inputting this information, the calculator will spit out all the info you need: the length of the diagonal segments, the interior measurement of the rise cuts, etc.
-
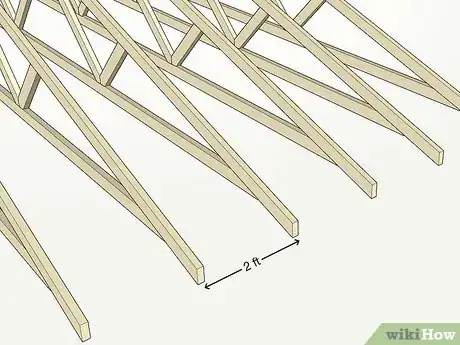
5Determine how many rafters you’ll need for the roof. For most load-bearing requirements, a roof truss will need to be placed every two feet along the walls. Depending on how wide the home is, you can divide the total length in feet by two to determine how many trusses will be needed. More complex roof designs will need to account for this accordingly.
-
6Consider ordering pre-fab trusses of the proper specifications. Most home builders attempting to frame a roof themselves will contract out the actual construction of the rafters by supplying the measurements necessary and having them delivered, or by supplying the architectural design plan and getting the trusses appropriate. Load bearing specs will vary from design-to-design, making it a complicated job for the DIY weekender. You'll still be able to raise the roof yourself, if you want, and save money on labor. If you want to take on the design and the construction of the rafter segments, the next section outlines the necessary cuts and construction.
- If you're hiring out the construction of your house, ordering pre-fab trusses also helps to keep the cost down, and material waste to a minimum. You won't have to pay for the time of the laborers constructing the trusses, as well as the materials that go into it. Nowadays, buying the trusses pre-made is nearly universal.
Cutting the Rafters
-
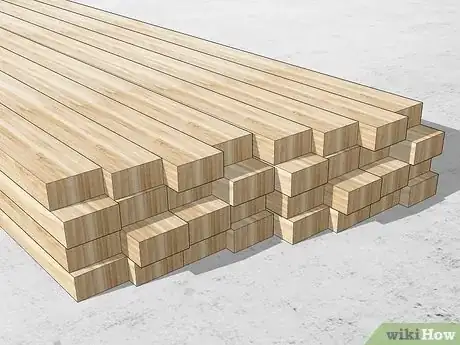
1Buy more lumber than you’ll need. In general, dense softwoods like yellow pine or fir are preferable to spruce or lodgepole pine, to account for the support necessary. You'll need a lot of it. After you've done the measurement described above, you should be able to calculate the rough amount of the lumber you'll need for the project, and order enough to account for waste and error.
- To keep the weight light, 2X4 inch (5cm x 10cm) nominal boards are suitable, as long as the bracing and the member connections you've calculated are accurate. For larger roofs or more complicated designs, denser lumber may be required.
- Though it will cost more, it's absolutely essential to get high-quality straight-grained boards that are very dense, well-seasoned, and straight as arrows. If you're building a roof for a home, the lumber must be top-notch. Avoid splitting, knots, and barked edges when selecting lumber.
-
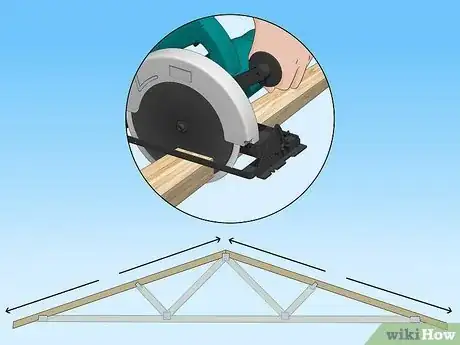
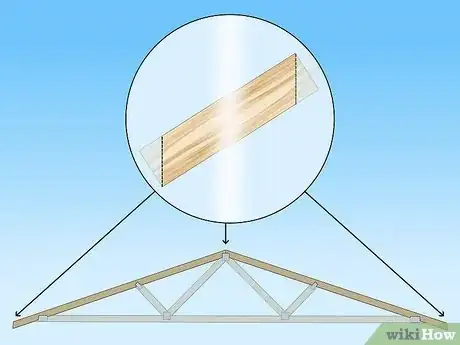
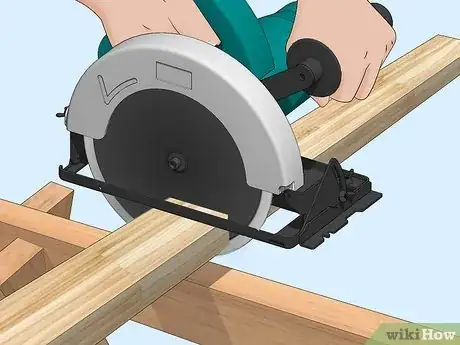
2Measure and cut each chord to size. Without worrying about marking your seat cuts, you can cut each chord that will go into the rafter to a workable size, if necessary, by leaving at least a foot (preferably two) of extra length on each end. Set up your lumber on saw-horses and measure out the individual sections of rafter, keeping them in separate piles, like by like. You can use a circular saw to make the cuts.[9] The ridge beam and the bottom chords can usually be cut to size.
- When cutting the ridge beam (the center board that conjoins both sides of the truss) make sure to measure the height-above-plate (HAP) and mark it on the ridge. When you're measuring the ridge joint, it's important that you account for the width of the wood from the diagonal chords of the rafter.
- If the lumber you purchased is already more or less cut to size, you don't need to worry about trimming it. Start by making the seat cuts to fit them together and trim them as necessary.
-
3Measure out each plumb cut. Plumb cuts are the angled cuts made on the pitch-end of each diagonal chord in the truss. The angle of the cuts made on the pitch-end of the rafters will depend upon the rise you've calculated. To measure out your cuts, you'll need a pencil, a framing square, and movable stair gauges to make accurate cuts.
- Input the pitch of the roof that you calculated above (we'll use 7/12 for reference, throughout) on the framing square. On the body of the square (the longer side) input the 12, and input the 7 on the "tongue" (the shorter side of the square) by lining up the stair gauges at the corresponding point on the square.
- Line up the square with the pitch-end of the chord and mark the line with a pencil. Some carpenters like to make this cut before moving on to making the seat cuts, because it gives the board a nice edge to grip the measuring tape onto. Other carpenters prefer to make all the measurements at the same time and all the cuts at the same time. It's up to your personal preference.
-
4Measure your seat cuts.[10] Seat cuts are made on the end of the diagonal rafter chords where they "seat" onto the wall. If you're working from scratch, seat cuts need to be made to fit the individual runs onto the wall caps, leaving some length on the end to extend past the wall and create an overhang.
- Start by marking the plumb line, the horizontal line that marks where the wall will meet the rafter. You should be able to calculate this quickly on the carpenter's calculator.
- Line up the square with the plumb line, then rotate it 180 degrees, realigning the square on the other side of the board, leaving at least 1.5 or 2 inches of bracing for the top edge above the seat cut, and at least 4 inches of width for the support on the top cut.
- While you're at it, some carpenters like to measure the rafter overhang, since you've got the square on that end of the board. Depending on the design, that usually will involve making two cuts to square up the end of the board, leaving usually about 6 inches or so of overhang beyond the seat cut.
-
5Measure your bracing joints accordingly. Depending on the design of the trusses you're making, any number of bracing joints will be necessary. A super-basic A-frame roof will require anywhere between 4 and 8, depending on the size of the rafters, with plumb cuts necessary for each angle in the brace.
- Very simple trusses work on a principle of thirds. You can divide the length of the entire bottom run by three, then measure out that distance across the run to determine where the braces need to go. You can mark the center point, then scribe your cuts along each bracing board, depending on the length. Again, this is a very basic method of bracing a simple truss. more complex trusses will require more complex bracing calculations.
-
6Make your cuts. After you've measured out the necessary cuts for the individual segments, make cuts on a circular saw or a table saw for the most accurate cuts. Clean up the ends with sanding paper and you're ready to fit the rafter joints together.
- Again, some carpenters prefer to make individual chords at a time, or work from rafter-to-rafter, making complete ones and moving on to the next. It's up to your personal preference and work flow.
-
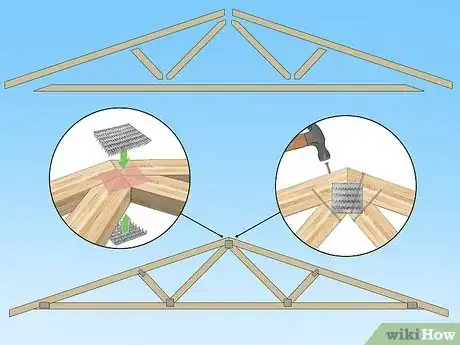
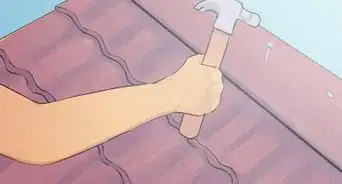
7Assemble and set each rafter. Nail the members of the individual trusses together with nails long enough to secure both sections of wood and short enough to not stick out the other side. Use metal bracing at each intersection to secure the joints. Gussets or truss-plates made specifically for joining rafters are also available to reinforce the rafters.[11]
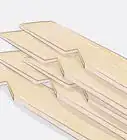
- It's a good idea to stack rafters on top of one another on a tarp to keep them level and out of the way. This process will likely take a couple of days, at least, making it important that you care for your rafters in the meantime, especially in wet conditions.
Raising the Rafters
-
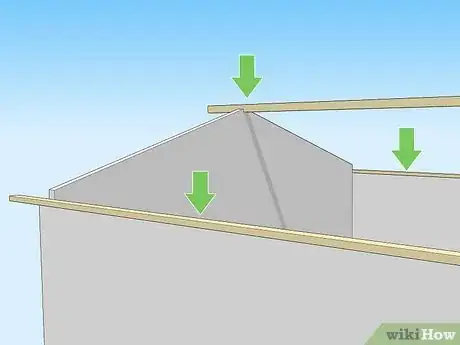
1Lift the ridge board into place and secure it, bracing it if necessary. Before you lift up the rafters and start installing them on the walls, it's important to install the ridge board into place across the width of the walls, to rest the center point of each truss onto. This is simply a long lumber assembly that will brace each rafter in the center. You might need to brace it underneath, as well. It may also be important to install supplementary ridge boards along the walls, to provide extra surface on which to secure the trusses.
-
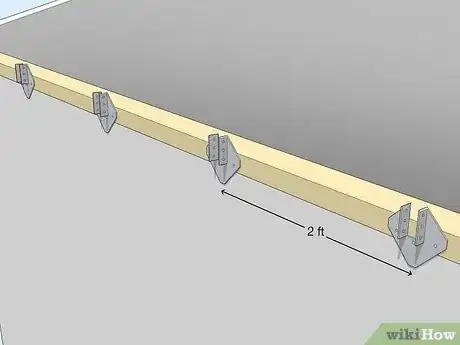
2Measure and mark cap plates for each rafter. In general, a rafter needs to be placed every two feet, at least, for maximum load-bearing support and security. Cap plates are little metal braces that will secure the trusses to the walls. If you've made seat cuts, you may not need to use caps, but it's always a good idea to use them. Secure them in place according to your measurements.
-
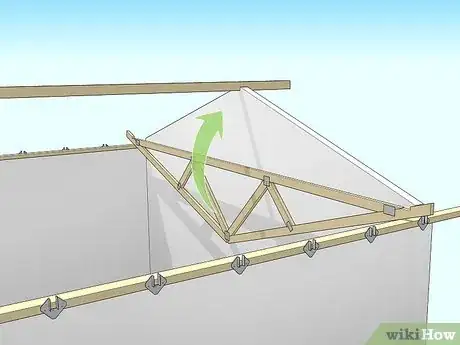
3Rest each rafter upside down on the wall plates, and swing up into place. When you're ready to place a rafter, secure each end upside down on the wall, using three or four helpers at least to support the weight on ladders. Swing each rafter up into place by attaching a rope to the pitch and pulling it up from the ground, swinging away from the rafters you've already set up. This is a delicate process, and requires the help of several other people to negotiate it correctly.
-
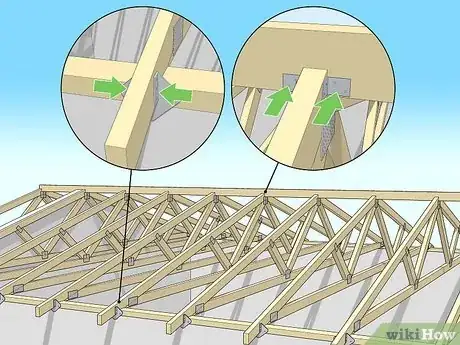
4Set and brace each rafter. Nail the run joists into the cap plates, checking the placement with a carpenter's level. Depending on the size of the roof you're making, bottom supports may be necessary, especially for larger or commercial construction projects. When you have a few trusses in place, nail your end braces over the second gable truss along the peak, securing it to the other trusses. This will help to keep everything level and plumb.
-
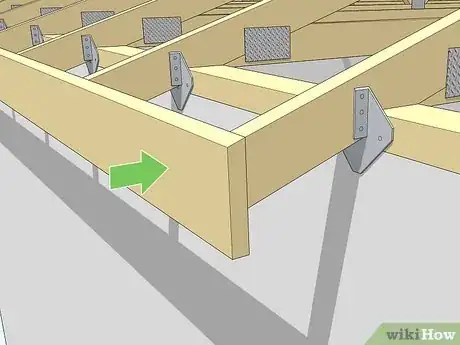
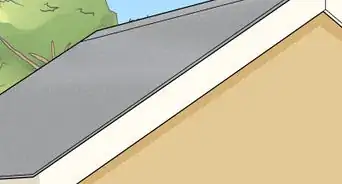
5Plumb out the rafters if necessary and install sub-fascia boards. Sub-fascia boards are used to connect the wall to the end of each rafter. While not strictly necessary, many carpenters will use these for aesthetic purposes and extra support.
- With a carpenter's level, draw a level line to the bottom of the first rafter tail, adjusting to the tail hits the end of the overhang. Put a mark there, make the same measurement on the last rafter tail, and draw a straight line connecting the two points, marking the bottom of all the rafter tails, trimming them with a circular saw, if you didn't do this when you were cutting the rafters originally. Cut and nail the sub-fascias plywood to the rafters, extending as is necessary at the ends to make up for the overhang.
-
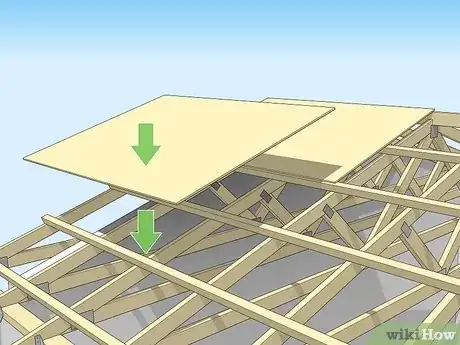
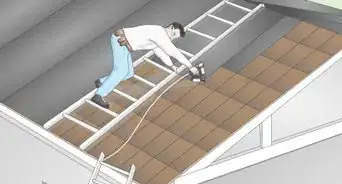
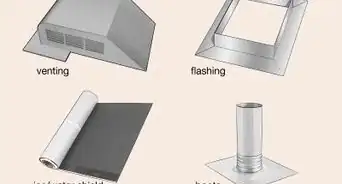
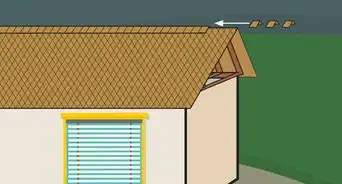
6Install the roof sheathing.[12] After you've braced and installed all the rafters, you're ready to start installing a layer of roof sheathing–basically just plywood, over which the weather stripping and shingles will be installed–nailing it to the outside of the rafters accordingly. Depending on the shape of the roof, the amount and the shape of the sheathing will vary.
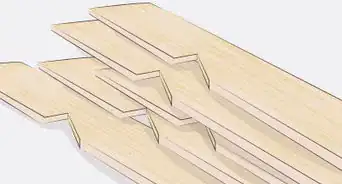
- Start the sheathing along the bottom of the trusses, setting the first pieces on either end, then moving to another side so the seams will be staggered and the roof will be strong.
Community Q&A
-
QuestionIs there a cheaper and durable alternative to metal?
 Community AnswerBamboo is a great alternative since it is cheap, flexible, and also durable.
 -
QuestionMy roof is made of rafters and trusses. Can I have some of the rafters removed to open the ceiling?
 Wildman5311Community AnswerConsult an architect for specifics, but you probably can't without other supports being constructed.
 -
QuestionHow many nails should I use when securing boards for a roof?
 Community AnswerCheck your town, county and state building codes; they should be able to provide you with a minimum number.
References
- ↑ https://www.bobvila.com/articles/35-how-to-choose-a-new-roof-for-your-house/
- ↑ http://www.cascade-mfg-co.com/media/a-builders-guide-to-trusses.pdf
- ↑ https://build.com.au/clerestory-roof
- ↑ http://roofgenius.com/roofpitch.htm
- ↑ https://www.carpentry-pro-framer.com/Roof-Framing.html
- ↑ https://sciencing.com/calculate-roof-truss-dimensions-7656383.html
- ↑ https://lifehacker.com/construction-calculators-to-use-or-not-to-use-1621801579
- ↑ http://www.thisiscarpentry.com/2012/11/09/common-rafter-framing/
- ↑ https://www.familyhandyman.com/tools/circular-saws/how-to-use-a-circular-saw/
About This Article
To frame a roof, start by choosing a roof style, like A-frame or gabled. Then, gather your measurements by calculating the run, rise, and length of each rafter segment in feet, and the pitch of your roof in inches. Next, use these calculations to determine how many rafters you’ll need for your roof and cut them to size. Assemble and set your rafters before lifting up and placing the ridge board, which will support your rafters. To raise a rafter, secure each end upside down on a wall and swing it into place by attaching a rope to the pitch and pulling it up. To learn how to measure seat and plumb cuts for your rafters, keep scrolling!
