This article was co-authored by wikiHow staff writer, Amber Crain. Amber Crain has been a member of wikiHow’s writing staff for the last six years. She graduated from the University of Houston where she majored in Classical Studies and minored in Painting. Before coming to wikiHow, she worked in a variety of industries including marketing, education, and music journalism. She's been a radio DJ for 10+ years and currently DJs a biweekly music program on the award-winning internet radio station DKFM. Her work at wikiHow supports her lifelong passion for learning and her belief that knowledge belongs to anyone who desires to seek it.
This article has been viewed 25,336 times.
Learn more...
Sake is an alcoholic beverage made from fermented rice that’s traditionally made in Japan. You can buy sake in most liquor stores these days, but you can also make your own at home if you're looking for an interesting home-brew project. The main ingredients you'll need to make sake are rice, water, yeast, and koji. You'll also need all the typical sanitization and brewing equipment needed for making alcohol at home. The whole process takes about 6 weeks.
Ingredients
- Wyeast 4134 Sake yeast (smack pack)
- 30 lb. (13.6 kg) polished sake rice or short grain table rice
- 7.5 lb. (3.4 kg) koji rice
- 11.5 mL 88% lactic acid
- 0.4 oz. (12 g) wine yeast nutrient
- 0.07 oz. (2 g) Epsom salt
- 0.74 oz. (21 g) Morton Salt Substitute
- 6 gallons (23 L) reverse osmosis or distilled water
Steps
Fermenting the Yeaster Starter
-
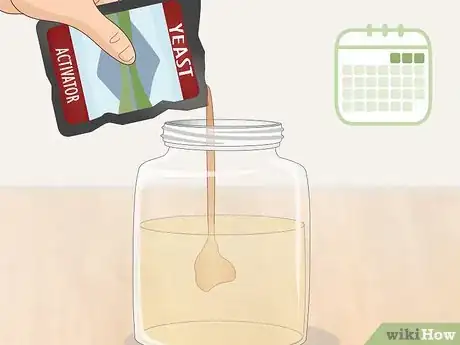
1Inoculate the smack pack of sake yeast on day 1. These yeast packages are called “smack packs” because you get them started by literally giving them a smack. Smacking them will start the inoculation process, and the yeast will expand in the package. Give your Wyeast 4134 yeast pack a good smack and set it aside.
-
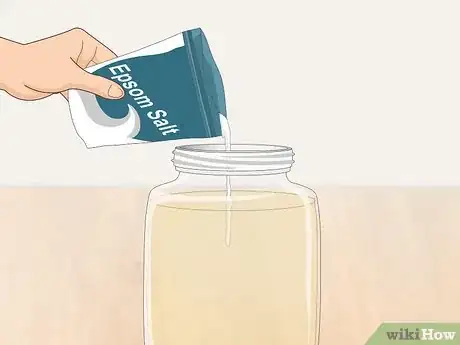
2Create your water mixture on day 2. Don’t start doing this until your smack pack is almost fully inflated, which is usually about 24 hours after smacking it. Mix 1,860 ml (7.9 c) water with the lactic acid, yeast nutrient, Epsom salt, and salt substitute. Stir until blended.Advertisement
-
3Remove 360 ml of the water mixture and freeze it. Measure out 360 ml of your water mixture into a separate bowl. Cover it tightly, then place it in your freezer overnight. This begins the fermentation process to build up your yeast starter.
-
4Keep the rest of the mixture out at room temperature overnight. After you separate the 360 ml for the freezer, cover the remaining 1,500 ml of the water mixture. Leave it out on your counter overnight at room temperature.
-
5Combine the 1,500 ml of prepared water with the smack pack on day 3. Uncover the water mixture that you left sitting out at room temperature overnight. Add the contents of your smack pack, which should be almost fully inflated at this point. Stir to combine the ingredients.
-
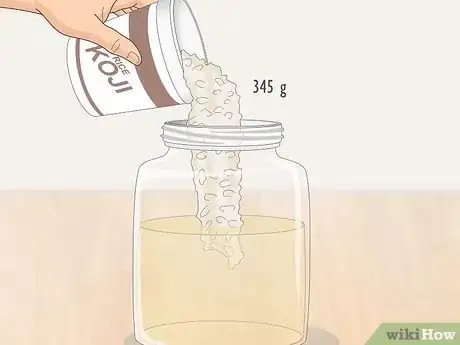
6Add 345 g koji to the yeast and water mixture. Measure out 345 g of koji, then dump that in the prepared yeast and water mixture. Give it a stir. Cover the bowl and let the mixture stand at room temperature while you move on to rice preparation.
Soaking and Steaming the Rice
-
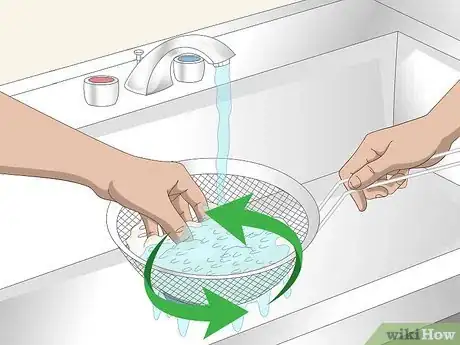
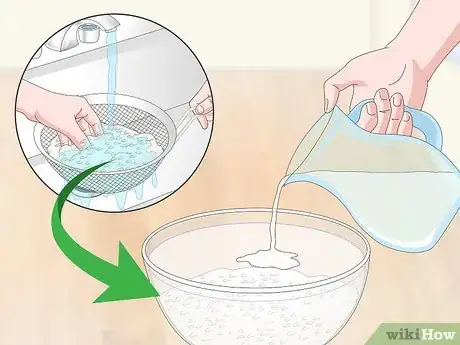
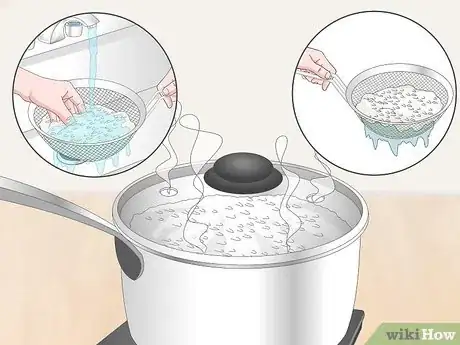
1Rinse 1,020 grams of rice 3 times. Transfer the uncooked rice to a large vat. Cover it with water, then run your hand through the rice to mix it up as you rinse. Drain the water, and then repeat this process 2 more times. The water should drain off clear by the third round of rinsing.
- Clean rice is key to quality sake.
-
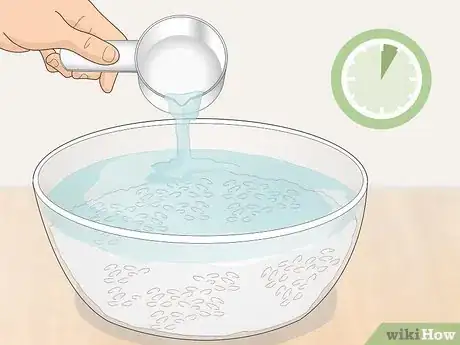
2Add the rice to a large bowl and soak it in water for 1 hour. Transfer the rice to a large bowl and cover it with several inches of fresh water. Leave the bowl uncovered and transfer the rice to the refrigerator. Let the rice soak for 1 hour.
-
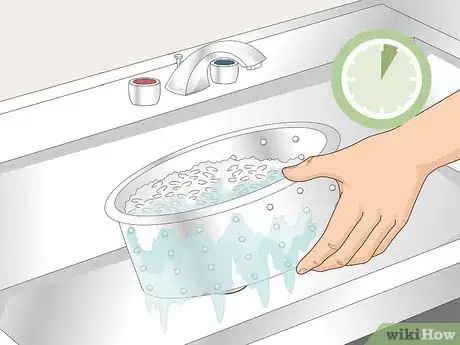
3Drain the water. Take the bowl of soaked rice out of your fridge. Transfer the rice to a colander and let the water drain for about an hour.
-
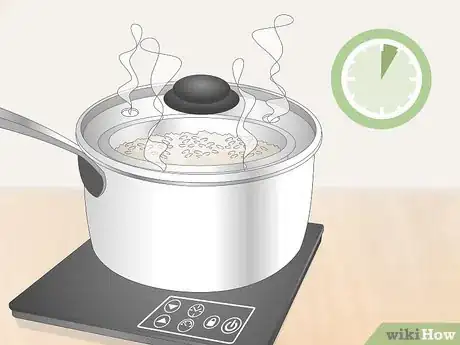
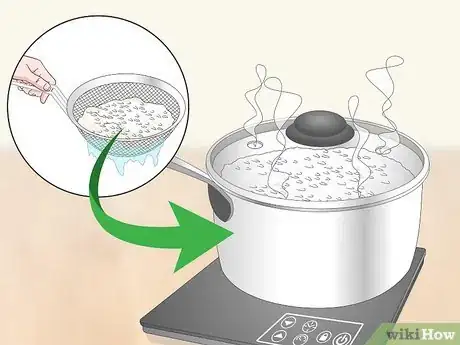
4Steam the rice for 1 hour. Transfer the drained rice to a steamer basket. Place the basket in the steamer and fill the steamer with water to the maximum fill line. Steam the rice for 1 hour, until it’s soft and cooked through.
Creating the Seed Mash
-
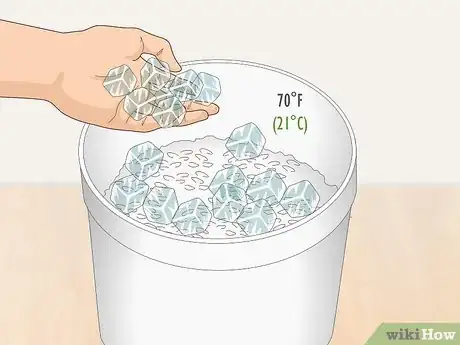
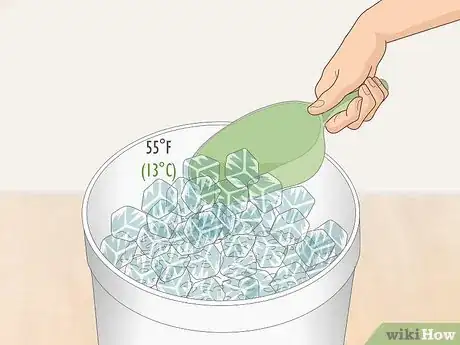
1Chill the steamed rice until it reaches 70° F (21° C). Clean a large mixing tray (it should be able to hold at least 23 gallons). Dump the steamed rice into the tray. Stir in 360 ml of ice and break up any chunks. Slip a thermometer into the ice and rice mixture and monitor it until it reaches 70° F (21° C). It should look to be of uniform consistency.
-
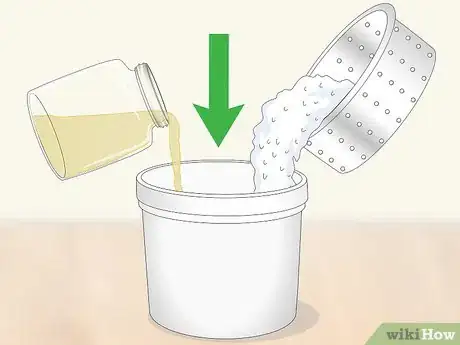
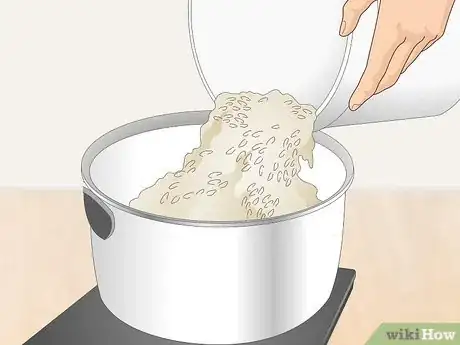
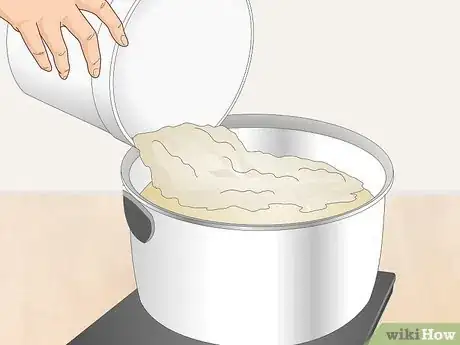
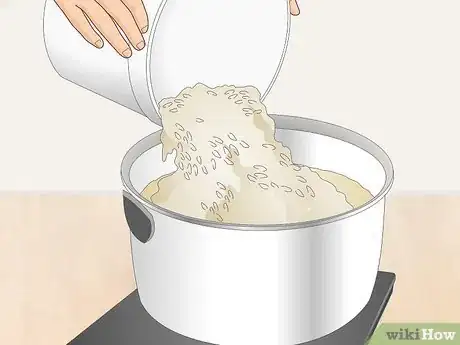
2Mix the cooled rice with your yeast starter mixture. Uncover the bowl of yeast, water, and koji mixture. Dump this mixture into a 30-gallon stockpot. Add the cooled rice to the stockpot and then cover the stockpot. Leave this mixture to soak at room temperature.
-
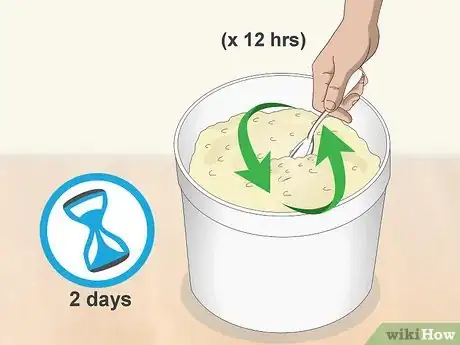
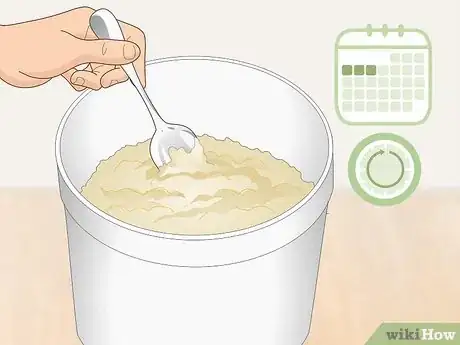
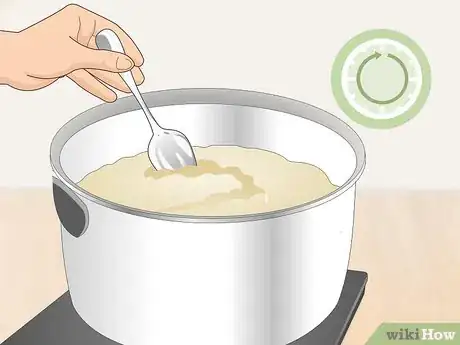
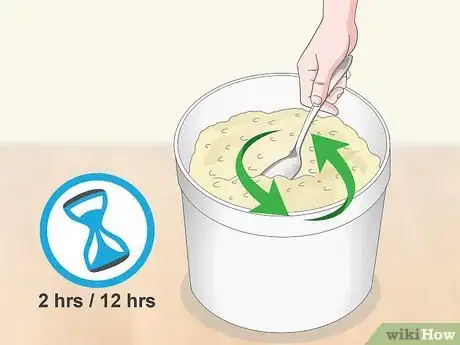
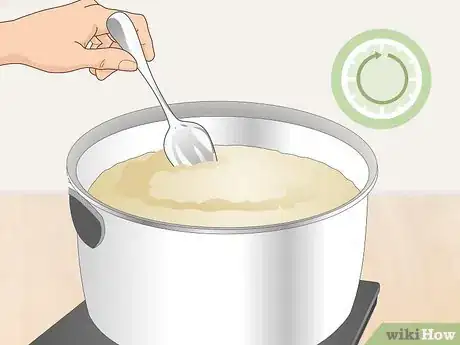
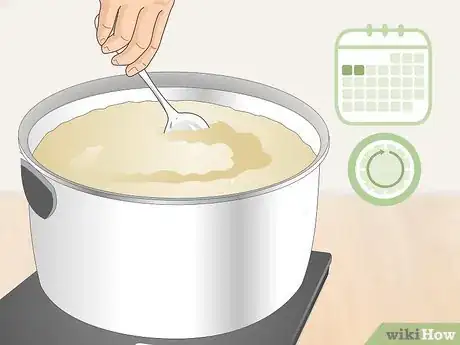
3Stir the mash 12 hours later. Remove the lid from the stockpot. Use a sanitized steel spoon to stir the mixture for about 5 minutes. Stir gently! Use a timer if you need to keep track of how much time has passed as you stir.
-
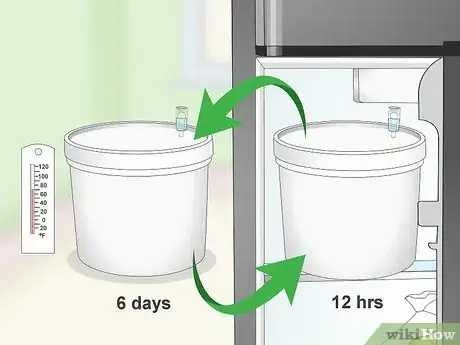
4Set the mixture aside for 3 days, stirring every 12 hours. Place the covered stockpot in a room where it won’t be disturbed. Leave it out at room temperature for 3 days. Monitor the temperature of the mixture – it should be kept around 70 °F (21 °C) during these 2 days. Use a clean spoon to stir the mixture twice a day during this time. Replace the lid after stirring.
- After 3 days, the rice will be almost liquid.
-
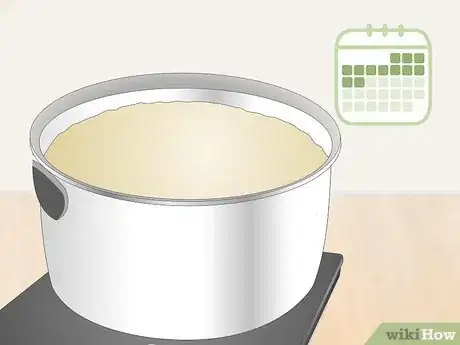
5Leave the mixture alone for the next 6-7 days. After the third day of stirring at 12-hour intervals, put the lid on tightly and leave the stockpot alone. You won’t need to stir or do anything for the next 6-7 days.
Adding the First Batch of Fresh Rice
-
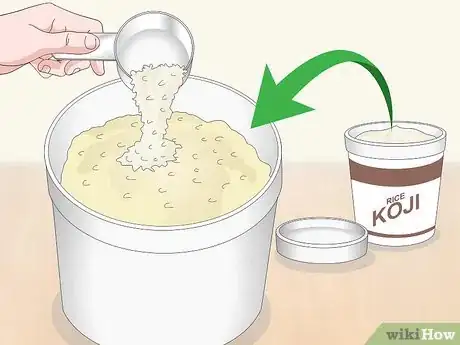
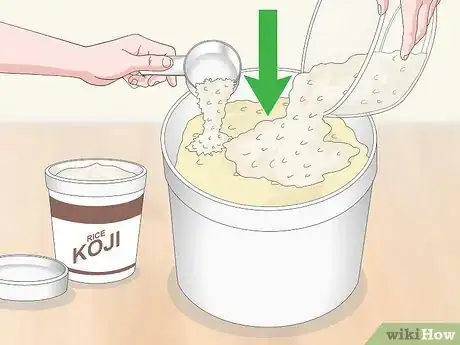
1Add 675 g of koji and 1,065 ml of water to the mash. After 7 days have passed, take the lid off your stockpot of seed mash. Measure out the koji and dump it into your seed mash. Add 1,065 ml water and stir gently. Replace the cover on the stockpot.
-
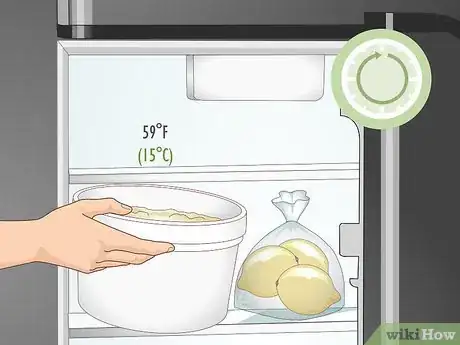
2Chill the rice at 59 °F (15 °C) for 12 hours. Move the stockpot to a refrigerator or temperature-controlled chest freezer that’s been set to 59 °F (15 °C). You can also keep the bucket in a cold cellar, garage, or other area that’s the right temperature. Keep the rice mixture at 59 °F (15 °C) for half a day.
-
3Prepare 1,710 g of rice by washing, soaking, and draining it. Rinse the rice 3 times, soak it for 1 hour, then steam it for 1 hour, just like you did with the original round of rice. While you’re waiting for the rice to soak and drain, lower the chest freezer with the main stockpot in it to 55° F (13° C).
-
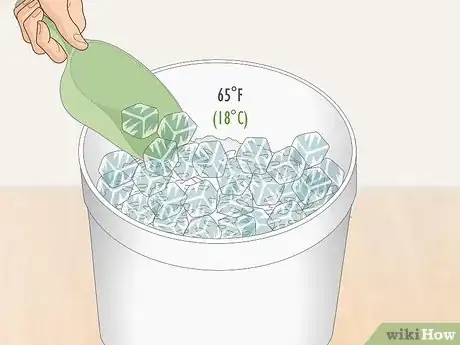
4Chill the steamed rice until it reaches 65° F (18° C). Clean your large mixing tray that you used previously for this. Dump the fresh round of steamed rice into the tray. Stir in 855 ml of ice and break up any chunks. Slip a thermometer into the mixture and monitor it until it reaches 65° F (18° C). It should look to be of uniform consistency.
-
5Blend the cooled batch of rice into the main stockpot. After the newly steamed rice has reached the right temperature, take the lid off the stockpot, or the main ferment, where the first batch of rice has been brewing. Gently stir the cooled rice into the stockpot. Cover the stockpot.
-
6Stir the main ferment 12 hours later. Remove the lid from the stockpot. Using a sanitized steel spoon, gently stir the mixture for 5 minutes. Be sure to stick the spoon all the way into the pot so the bottom of the mixture gets stirred too. Use a timer if you need to monitor the time. Replace the lid after 5 minutes of stirring. Continue keeping the main ferment at 55° F (13° C).
-
7Set the mixture aside for 2 days, stirring every 12 hours. Place the covered stockpot in a room where it won’t be disturbed. Leave it out at room temperature for 2 days. Use your sanitized steel spoon to stir the mixture in 12-hour intervals for the next 48 hours. Replace the lid after stirring.
Adding the Second Batch of Rice
-
1Add 1,020 g of koji and 3.6 L of water to the main ferment. After 2 days have passed, take the lid off the stockpot. Measure out the koji and add it to the main ferment. Add the water and stir gently. Replace the lid on the stockpot.
-
2Prepare 4.08 kg of rice by washing, soaking, and draining it. Rinse the rice 3 times. Soak it for 1 hour, then steam it for 1 hour. While you’re waiting for the rice to soak and drain, lower the chest freezer with the main stockpot in it to 48° F (9° C).
-
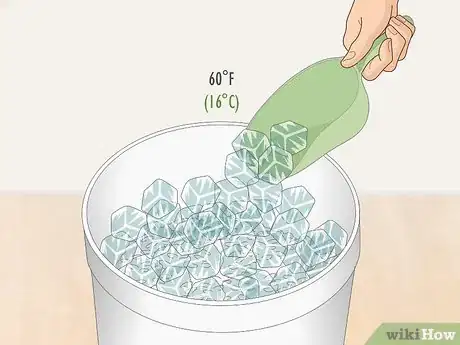
3Chill the steamed rice until it reaches 60° F (16° C). Clean your large mixing tray once again. Dump the new batch of steamed rice into the tray. Stir in 2,610 ml of ice, breaking up any chunks. Add a thermometer to the mixture and monitor it until it reaches 60° F (16° C).
-
4Add the cooled batch of rice to the main ferment. Take the lid off the stockpot holding your main ferment. Gently stir the fresh batch of cooled rice into the stockpot. Cover the stockpot.
-
5Stir the main ferment after 12 hours. Remove the lid from the main ferment. Stir the mixture for 5 minutes with your steel spoon. Be sure to stir all the way down at the bottom of the mixture. Replace the lid after 5 minutes. Continue maintaining the main ferment temperature of 55° F (13° C).
Adding the Final Batch of Rice
-
1Add 1,362 g (or whatever is left) of koji and 12.9 L of water to the main ferment. After 12 hours have passed, take the lid off the stockpot. Measure out the koji and add it to the main ferment. Add the water (you should be using up the rest of your water at this point). Stir gently. Replace the lid on the stockpot.
-
2Prepare 6.8 kg of rice by washing, soaking, and draining it. Rinse the rice 3 times, just like you did before. Soak it for 1 hour and steam it for 1 hour. Lower the chest freezer with the main stockpot in it to 45° F (7° C).
-
3Chill the steamed rice until it reaches 55° F (13° C). Prep your large mixing tray once more. Dump the new batch of rice into the tray. Stir in 2,610 ml of ice. Make sure to break up any chunks. Monitor the rice until it reaches 55° F (13° C).
-
4Add the final batch of rice to the main ferment. Once the fresh rice is cooled, take the lid off the main ferment. Gently stir in the fresh batch of rice. Replace the lid on the stockpot holding your main ferment.
-
5Stir the main ferment after 12 hours for the next 2 days. Stir the main ferment mixture for 5 minutes at 12-hour intervals using your steel spoon. Dunk the spoon all the way down to the bottom of the mixture so everything gets blended and moved around. Replace the lid after 5 minutes. Continue maintaining the main ferment temperature of 45° F (7° C).
-
6Leave the main ferment alone for 12 days. After stirring every 12 hours for the first 2 days, your work is done! Leave the main ferment alone for 12 days and allow it to work its magic on the contents of the stockpot.
Bottling the Sake
-
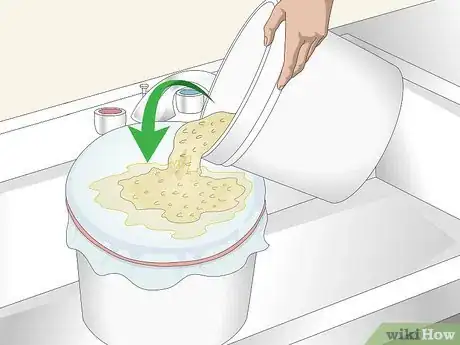
1Strain the mixture. After 3 weeks of chilling and fermenting, remove the fermenter from the refrigerator and take off the lid. Line a large fine-mesh strainer with cheesecloth, and place the strainer over a large food-grade bucket. Strain the rice mixture through the cheesecloth to separate the rice and liquid. Gently twist the cheesecloth around the rice to remove as much liquid as possible.
- You'll probably have to strain the mixture in small batches.
-
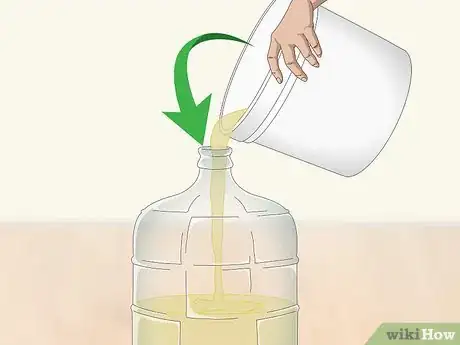
2Transfer the liquid to a carboy. Pour the strained liquid from the bucket and into a clean carboy. If you don’t have a carboy, clean the fermentation bucket with hot, soapy water, and pour the liquid back into the bucket.
- At this point, the liquid will look milky and slightly white.
-
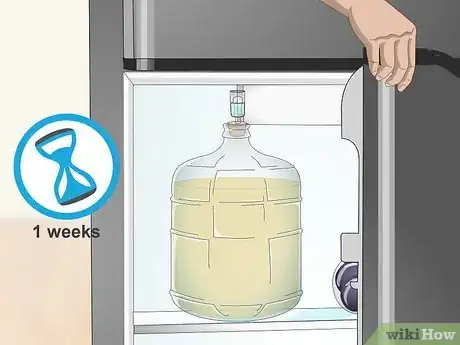
3
-
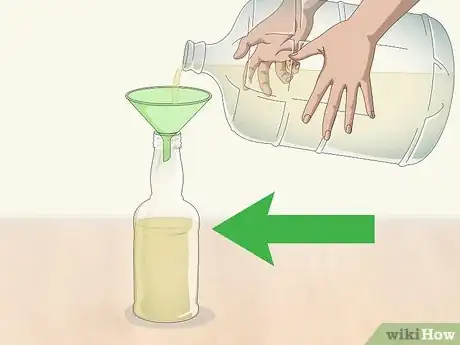
4Transfer the liquid to individual bottles. After a week, when the sediment has settled on the bottom and the liquid on top is clear, you can bottle the sake in individual bottles. Place your sterilized bottles on the counter and place a funnel in the mouth of the first bottle. Pour the sake into the bottle carefully and slowly to avoid disturbing the sediment on the bottom. Repeat until all your bottles have been filled. Secure the caps on the bottle.
- You can also use a siphon to fill your bottles if you have one.[3]
-
5Store the sake in the refrigerator for up to a month. Unpasteurized sake should be stored in the refrigerator, or in a cold cellar that stays between 33 to 40 °F (1 to 4 °C). The sake should be consumed within a month. After opening a bottle, drink the sake within a couple of days.[4]
Things You'll Need
- Medium sized glass jar with a lid
- Spoons
- Colander
- Small bowl
- Medium bowl
- Steamer
- Steamer basket
- 3-gallon stainless steel stockpot with lid to use for your yeast mash
- Large fine-mesh strainer
- Cheesecloth
- Large bucket
- 5-gallon carboy to use as a secondary fermenter
- Several sterilized glass bottles
- A temperature-controlled chest freezer or fridge
References
About This Article
To make sake, start by mixing water, lactic acid, yeast nutrient, and salt. Then, add a “smack pack” of yeast and koji. Next, steam rice in a steamer basket for 1 hour before allowing it to cool to 70°F. Add the cooled rice to the yeast starter mixture, and let it set for 3 days, stirring it every 12 hours. Leave it alone for 6 to 7 days, and add a batch of rice. Add the second batch after 2 days, and the third 12 hours after that. Finally, transfer the liquid to a fermenting bucket and refrigerate it for 1 week before moving to individual bottles. To learn how to ferment your yeast starter, read on!

