X
wikiHow is a “wiki,” similar to Wikipedia, which means that many of our articles are co-written by multiple authors. To create this article, 89 people, some anonymous, worked to edit and improve it over time.
The wikiHow Video Team also followed the article's instructions and verified that they work.
This article has been viewed 1,905,469 times.
Learn more...
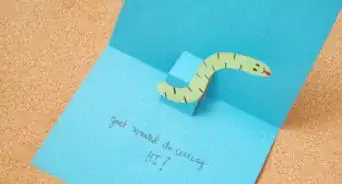
One of the first things that herald in the Christmas season is greeting cards. You can easily make your own pop-up Christmas tree card to send to family members and friends. All you need to get started is some paper, a paperclip or pen, and a pair of scissors.
Steps
-
1Print out the full size image on heavy paper, like cardstock or construction paper. An image can be found at robertsabuda.com. Or, you can click the image at right. Click it again on the new page, so that all you see is the image of the card, and print from there.
-
2Print out the image below in a similar manner with heavy paper.Advertisement
-
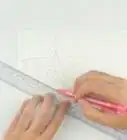
3Lay the card that has the outline of the tree on a flat surface. Take a ruler and line the edge of it up against the center fold line of the card. Use the rounded end of a paper clip (or a ball point pen that has run out of ink) and press it along the dotted line, carefully scoring the card all the way from top to bottom. Score all the other dotted lines on the card as well.
-
4Cut the card out carefully following the solid, black lines around the edges.
-
5Fold the card completely in half with the outline of the tree still visible. Keep the outline of the tree on the outside so that you can see it.
-
6Carefully cut along the solid black lines of the tree.
-
7Fold each of the segments back against the card along the dotted line and crease with your thumb or finger.
-
8Put each segment back in its original position. Then, open the card like a tent and push the segments through to the other side. Turn over to pop them out even more.
-
9Set the Christmas tree card aside and lay the second print out, the backing card, on a flat surface. Take a ruler and line the edge of it up against the center fold line of the backing card and score down the center with your paper clip.
-
10Cut the backing card out carefully following the solid, black lines around the edges.
-
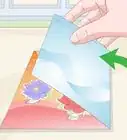
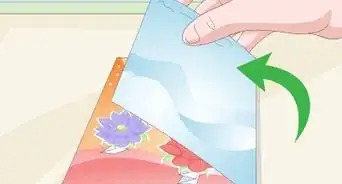
11Fold the backing card in half with the dotted line on the INSIDE. Set this card aside.
-
12Turn over the Christmas Tree card so the dotted outline is visible. Put a thin line of glue along the right side of the card from top to bottom.
-
13Carefully position the backing card, with the dotted line facing down, on top of the Christmas tree card. Take your time, making sure the edges of both cards match up.
-
14Press the cards together, flattening them completely. Your pop-up Christmas Tree card is complete!
Advertisement
Community Q&A
-
QuestionCould I use other materials?
 Community AnswerYes, you can use other materials, but be careful when you’re using normal paper, as it can be ripped easily.
 -
QuestionWhat can I decorate the front with?
 Community AnswerGlitter, paint, sequins, and anything else fun and crafty.
 -
QuestionIf he loves drawing, what I should give to him?
 Community AnswerAn art kit would be a good idea. You could also give him different kinds of pencils.
Advertisement
Things You'll Need
- Construction paper, heavy paper or cardstock paper
- Ruler
- Paper clip or ballpoint pen without ink in it
- Scissors
- Glue (not PVA glue)
- Art supplies of choice to decorate when finished
About This Article
Advertisement
-Step-1-Version-3.webp)
-Step-2-Version-3.webp)


-Step-17.webp)


