This article was co-authored by Ryaan Tuttle. Ryaan Tuttle is a Home Improvement Specialist and the CEO of Best Handyman, Inc. in Boston, Massachusetts. With over 17 years of experience, he specializes in building home service businesses, focusing on creating scalable and efficient brands. With the help of his global team, the companies have achieved over 10+ million in sales and received recognition through magazine features, and enjoy partnerships with wikiHow and Jobber field service software. Boston Magazine and LocalBest.com have named Best Handyman Boston the Best Handyman in Boston. Ryaan holds Construction Supervisor and Home Improvement Contractor Licenses.
This article has been viewed 367,183 times.
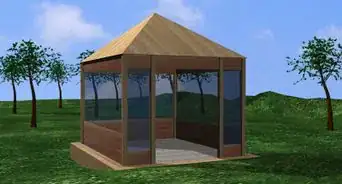
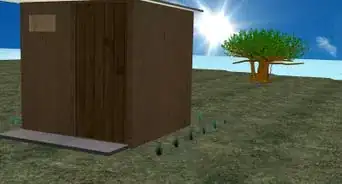
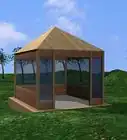
Want to build your own gazebo but save money? Traditional gazebos can easily cost $3,000 or more if built at home from a prefabricated gazebo kit. If you want to save money and get a designer look, follow this guide to make a unique wooden gazebo which will impress your family and neighbors, all for a third of the price!
Steps
Building the Walls
-
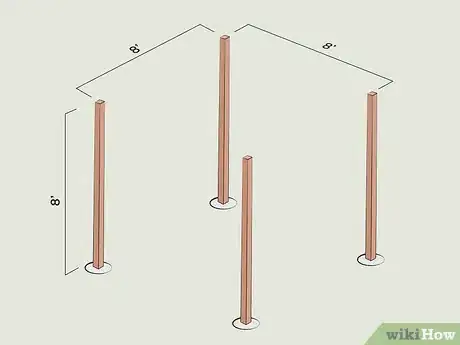
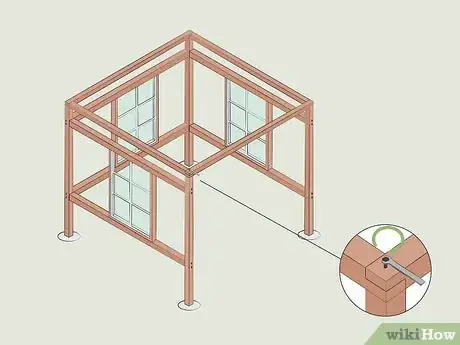
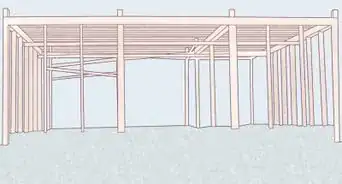
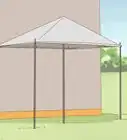
1Build the posts. You will need 4 large posts for the corners. These can be whatever height or distance between that you like, but we recommend 12 ft (3.7 m) long, 4 by 4 in (10 by 10 cm) beams.[1]
- Mark out an even 8 by 8 ft (2.4 by 2.4 m) square where you want the gazebo to go and then dig holes for the posts using a post hole digger.
- Level the posts in the holes such that 8 feet (2.4 m) is above ground and the inside corners are 8 feet (2.4 m) apart.
- Then, use quick cement to anchor them, making sure that they remain straight and of equal height. The quick cement should fill ⅔ of the hole around the post and the remainder can be covered with dirt after it sets.
-
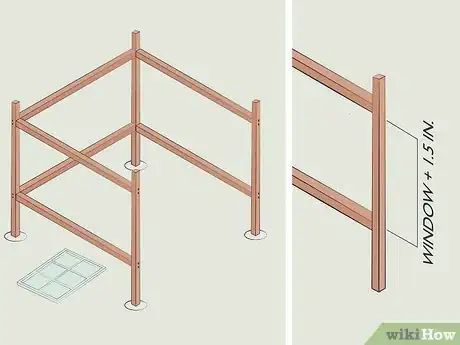
2Mount bracing beams. Use 6 more 4 by 4 in (10 by 10 cm) beams to brace the 3 "closed" sides of the gazebo. The beams will need to be placed perpendicular to the posts, 2 to each side, 2 inches (5.1 cm) from the top and bottom respectively (although the distance may need to be adjusted, read the full instructions). Secure the beams with 2 large bolts, placed through the post and into the center of each beam.
- This is definitely a 2 or 3-person job. At least 1 person will need to hold the beam while the other attaches the bolts.
- You may have to pre-drill the bolt holes.[2]
- The distance between the 2 beams will be dependent on whether or not you add windows, and what the dimensions of those windows are if you choose to add them. If adding windows, measure their height, add 1.5 inches (3.8 cm), and make this the distance between the bracing beams.
Advertisement -
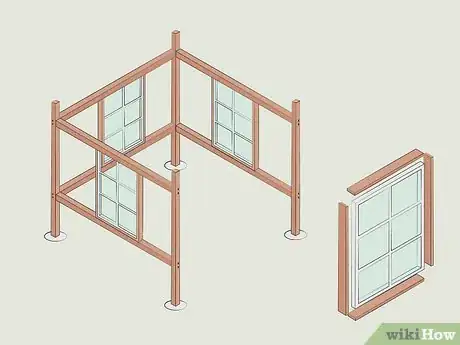
3Add the windows. Salvage some old wood and glass windows (6-pane or similar). Fit them at the center of each of the 3 walls and mark their width. Then, create a frame for the window using 1 by 4 in (2.5 by 10.2 cm) boards. The height should be the same as the window and distance between the bracing beams (accounting for the width of the frame itself). Nail the frame into position, fit the window in, and set it in place by placing nails on either side.
- The nails should stick up by 1⁄4 inch (0.64 cm). Fit them as close as possible to the window itself so that the window won’t move. Use 3 or 4 for each side of the window.
- You can seal it with wood glue or caulk if you want to.
-
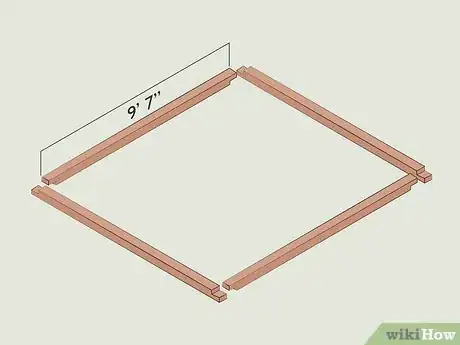
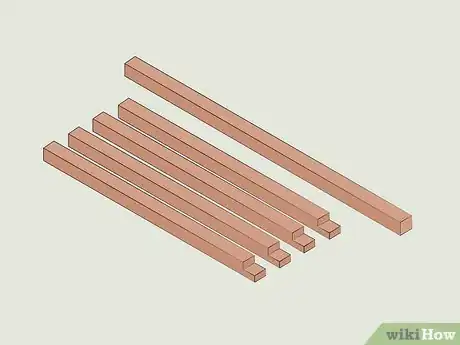
4Cut the upper beams. You will need 4 more beams to join the posts at the top. These should be roughly 8 feet (2.4 m) and 7 inches (18 cm) long. Cut a 3.5 by 3.5 by .75 in (8.9 by 8.9 by 1.9 cm) square into the ends of each of the 4 beams. The cuts should be made on the same side of each beam. Use these cuts to fit the pieces together like a puzzle, the 2 indented ends fitting together. This is called a half-lap splice joint.
-
5Attach the upper beams. Glue these together and then join them to the top of the posts using 1 or 2 bolts placed through the square and into the posts.
Erecting the Roof
-
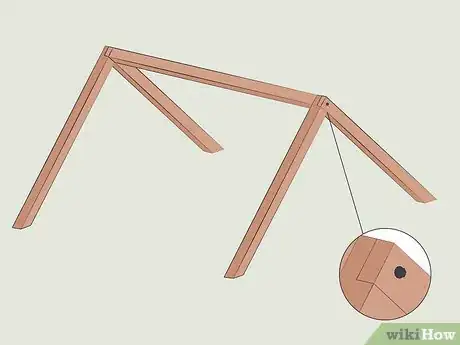
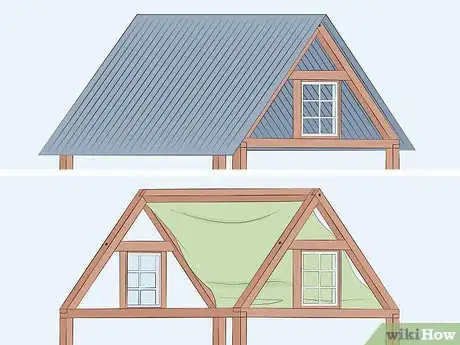
1Get 5 more 4 by 4 in (10 by 10 cm) beams. Select 4 beams at 6 ft (1.8 m) and 1 in (2.5 cm) length and 1 at 8 feet (2.4 m) and 7 inches (18 cm). Cut a 45° angle into one end of each of the 4 beams.
-
2Bolt the flat side of the shorter beams to the ends of the longer beam. Make 2 triangles that are joined by the 8 ft (2.4 m), 7 in (18 cm) beam running between them. Make sure that you keep the 45° angles in mind, as they will need to be able to sit flat on the top of the walls. The bolts should be at least 1 inch (2.5 cm) apart.
-
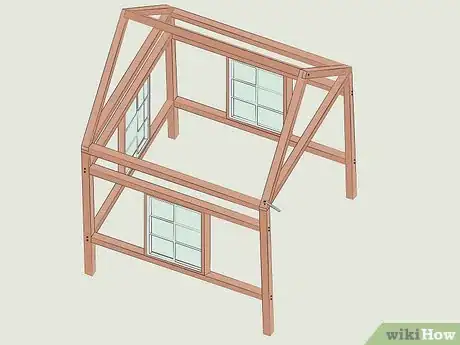
3Attach the roof beams. Holding the roof in place, bolt it into the corner posts at each end. Make sure your bolts aren’t too long: you want them to go in but not pop through the other side of the post.[3]
-
4Insert your windows. You can also add windows into the triangles (smaller than the windows in the walls). This is done in exactly the same way as with the walls, but you will have to add a top frame first. Measure the height of the wooden window frame, first making sure that it fits into the triangle. Then measure and cut a piece of 4 by 4 in (10 by 10 cm) beam to fit at that height and bolt it into place. Once it’s in place, the window can be inserted as before.
Adding Finishing Touches
-
1Paint the structure. You can paint the entire wood structure whatever color you want to. Paint it to match your house or paint it a bold color to make it a backyard accent piece. Make sure the paint you use is appropriate for outdoor use. Paint can additionally protect the wood, prolonging the life of your structure.[4]
-
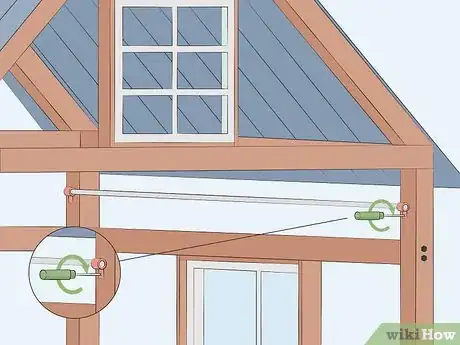
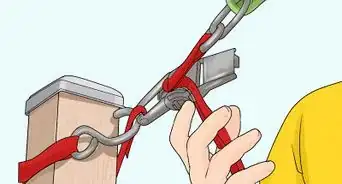
2Add a roof covering. You can add corrugated aluminum or fiberglass roofing fit to size and secured with nails. However, for a magazine look, screw hooks 1 inch (2.5 cm) away from the top and bottom of each angled roof beam (on the inside area). Suspend stretch cable between these hooks and use curtains with rod pockets at the top and bottom to create beautiful, designer-look roofing.
-
3Create walls. You can similarly install curtain rods on the inside of the structure to hang curtains to create movable walls. These can be tied back to the posts when not in use.
-
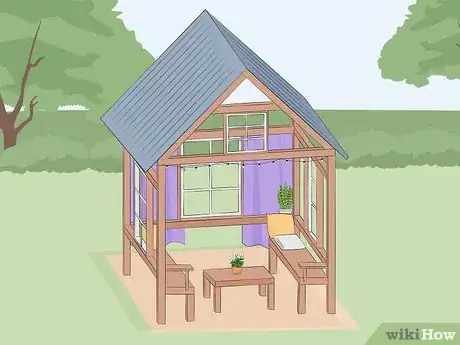
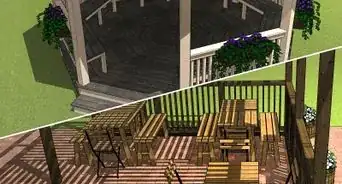
4Personalize your gazebo. You can add all sorts of other extras to your gazebo. Hang flowerpots between the posts and windows. Hang string lights to create a romantic effect. Fill it with a table and chairs or even a bed! You are limited only by your imagination.[5]
Expert Q&A
-
QuestionWhat things should I plan for and take into consideration before I get started?
 Ryaan TuttleRyaan Tuttle is a Home Improvement Specialist and the CEO of Best Handyman, Inc. in Boston, Massachusetts. With over 17 years of experience, he specializes in building home service businesses, focusing on creating scalable and efficient brands. With the help of his global team, the companies have achieved over 10+ million in sales and received recognition through magazine features, and enjoy partnerships with wikiHow and Jobber field service software. Boston Magazine and LocalBest.com have named Best Handyman Boston the Best Handyman in Boston. Ryaan holds Construction Supervisor and Home Improvement Contractor Licenses.
Home Improvement Specialist You're going to want to determine where you're building the gazebo, make sure the ground is level, and check that the soil is good. Also, you need to figure out if the gazebo is going to need footings depending on how big it is. You may need to put footings into the ground.
 -
QuestionHow deep should the hole be that holds the four post?
 Community AnswerThe article says use a 12' beam, and 8' is above the ground. This would suggest a 4' hole.
 -
QuestionDoes an octagon gazebo need to have eight equal sides, or can there be two different sizes which alternate as you go around - such as: a 4' wall, then a 3' wall, than a 4' wall, etc. I know it will look a "little different", and be harder to frame, but is there any actual, technical reason it can't be done?
 Community AnswerThat would be called a stretched octagon gazebo, people build them all the time. There is no reason it cannot be done.
References
- ↑ https://www.familyhandyman.com/patio/how-to-build-a-gazebo/
- ↑ https://www.lowes.com/n/how-to/how-to-drill-a-pilot-hole
- ↑ https://extremehowto.com/how-to-build-a-gazebo/
- ↑ https://www.popularmechanics.com/home/outdoor-projects/how-to/a3248/paint-or-stain-which-is-right-for-your-deck-15484621/
- ↑ https://www.architecturelab.net/gazebo-plans/
- ↑ Ryaan Tuttle. Home Improvement Specialist. Expert Interview. 24 February 2021.
About This Article
If you want to build your own gazebo, choose a location for the structure and use quick cement to anchor the 4 main posts into the ground. With the help of 1-2 friends, mount bracing beams to the 3 "closed" sides of the gazebo and secure them with 2 large bolts in the center of each beam. Then, add windows to the 3 walls by nailing in frames and sealing any gaps with wood glue or caulk. After that, cut the upper beams and attach them with 1-2 bolts to the top of the main posts. Finish the structure by adding a roof covering made of aluminum or fabric. For more tips, including how to customize your gazebo, keep reading!
