X
wikiHow is a “wiki,” similar to Wikipedia, which means that many of our articles are co-written by multiple authors. To create this article, 9 people, some anonymous, worked to edit and improve it over time.
This article has been viewed 81,176 times.
Learn more...
Graphic organizers are tools utilized to help understand information. They are commonly used in schools to teach concepts. Graphic organizers help compare and contrast, summarize information, build timelines, and show relationships. There are a few common graphic organizers that are more general and more widely used.
Steps
Method 1
Method 1 of 5:
Making a Venn Diagram
-
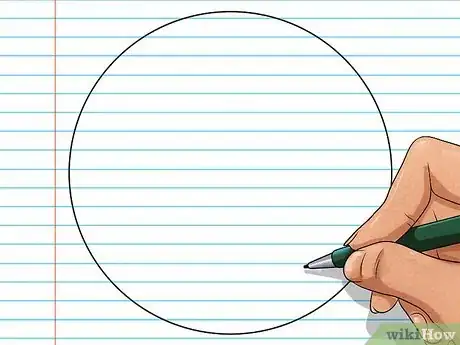
1Draw a circle on a blank piece of paper. It is best to lay the paper horizontally so that you have plenty of room for drawing.
- Using a compass to help you draw the circle will make sure that it is evenly sized and neat. If using a compass, gently hold both legs of the compass to avoid having the pencil end push out, enlarging your circle and making it uneven.
- Draw the circle to one side, not in the middle.
-
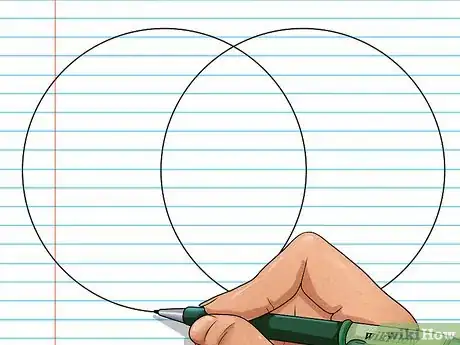
2Draw a second circle that overlaps the first in the middle of the paper. For example, if you drew your first circle more to the right, then this circle should sit more to the left while still overlapping the first.
- Keep your compass at the same setting so that your two circles are the same size.
Advertisement -
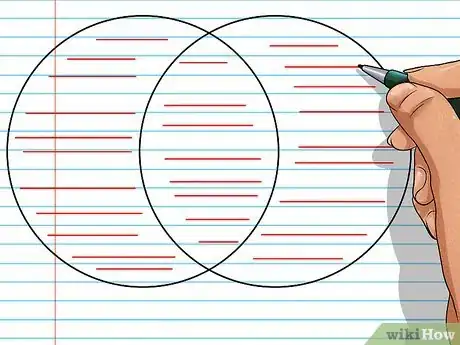
3Ensure that there is enough space to write on the far sides of both circles and where they overlap in the middle. If you do not have enough space, then it would be best to erase and start over, or to start over from scratch on a new piece of paper, with bigger circles.
-
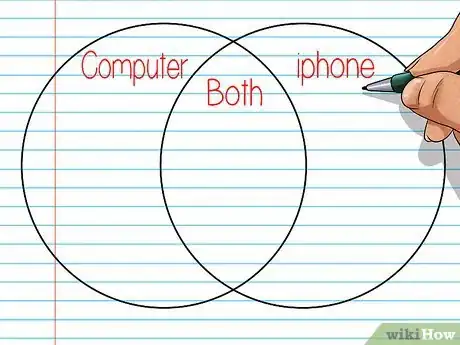
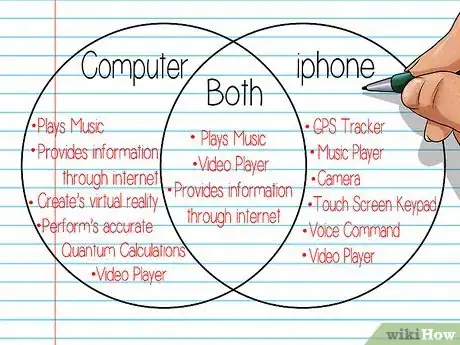
4Use the Venn diagram for comparing and contrasting two things. At the top of each circle, write the things you are comparing, such as books, people, movies, animals, et cetera. Where the circle overlaps in the middle, write “Both.”
-
5Contrast the two things in the outer circles and compare them in the middle overlap. In each of the outer circles, list details about each thing that make it distinctly separate and different from the other thing. In the middle, list details that those two things have in common.
Advertisement
Method 2
Method 2 of 5:
Making a T-Chart
-
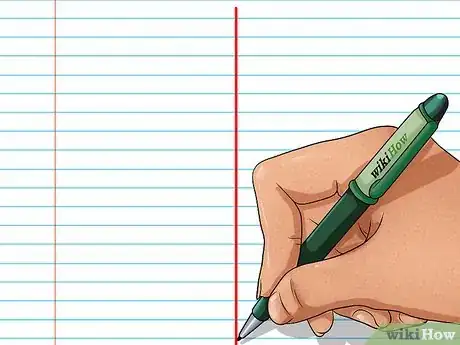
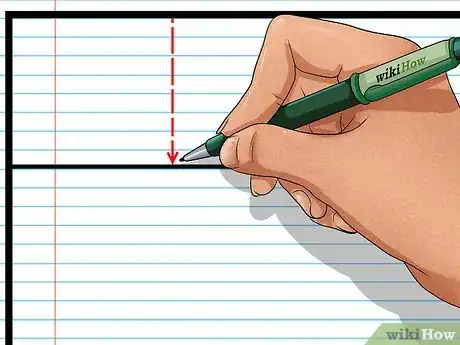
1Draw a vertical line down the middle of your paper. Use a ruler to help you keep the line straight, and draw the line from top-to-bottom.
- It does not matter if your paper is vertical or horizontal; it is your preference based on how much room you would like to have for writing from side-to-side.
-
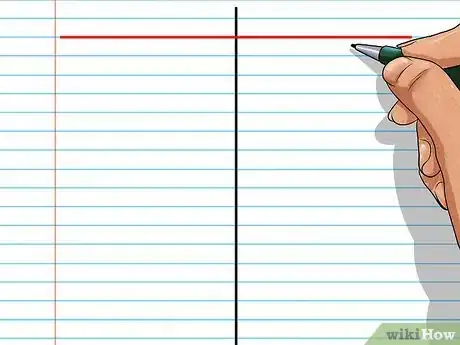
2Draw a second line horizontally across the paper so that it intersects with the vertical line. Use your ruler to measure about ½-1 inch from the top so that you leave room to write headings at the top of each column.
-
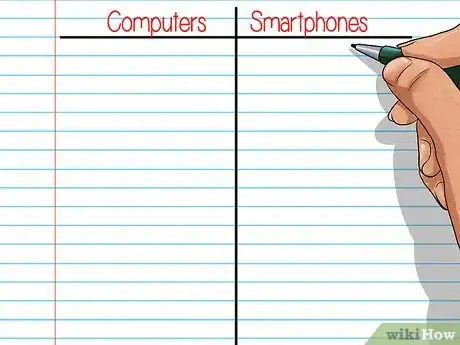
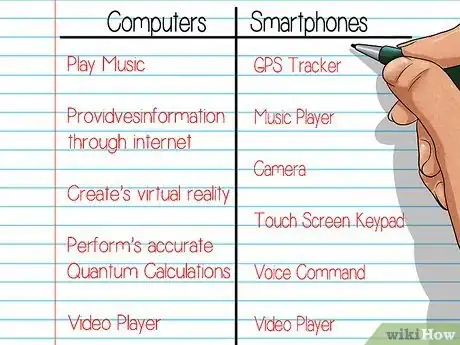
3Write a heading at the top of each column, in the small space you left between the top of the page and the horizontal line. The T-chart is used for comparing and contrasting things, so you will write the two things you are comparing in each heading. Examples of things to compare include:
- Computers
- Smartphones
- Stories
- People
- Cities
- Countries
-
4List the details about each thing that make it different from the other. Use bullet points or numbers to organize your list. Keep the details in the correct column.
- There is no column or space to write what the two things have in common, like in the Venn diagram above. You will simply list how the two things differ from one another.
- For example, you might list how the United States is different from Australia. Under the “United States” heading, you would list information such as population size, number of states, the Constitution, and other pertinent information. Then, under the “Australia” heading, you would list the corresponding information about Australia.
Advertisement
Method 3
Method 3 of 5:
Making a Flow Chart
-
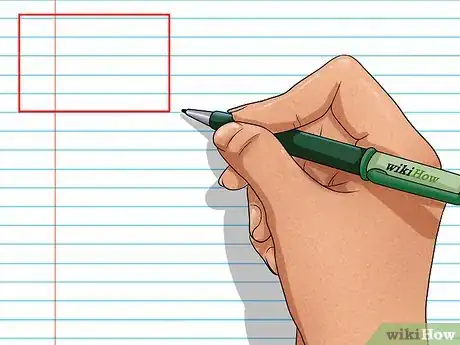
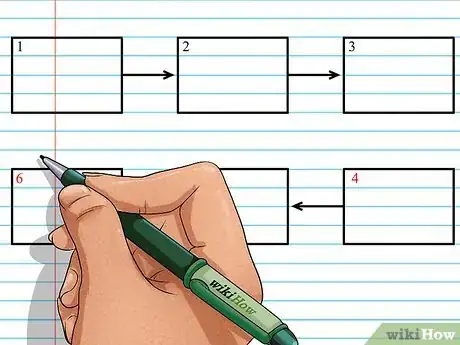
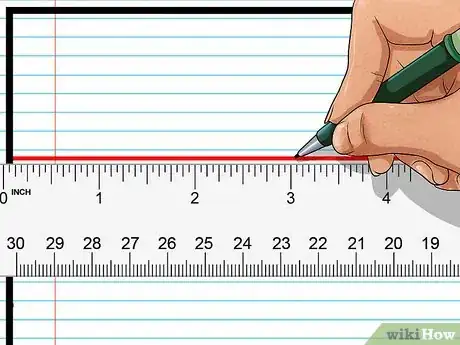
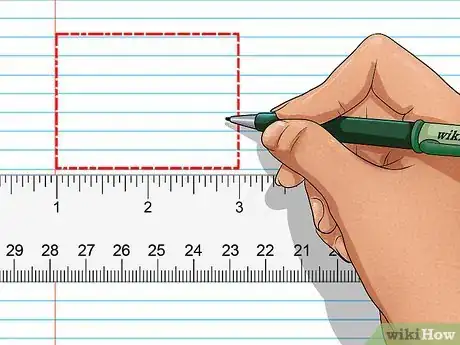
1Draw a box in the top left corner of your paper, which should lay horizontally. Use a ruler to help you draw straight lines, and make each box about 3 inches square. This leaves room to write inside the box.
-
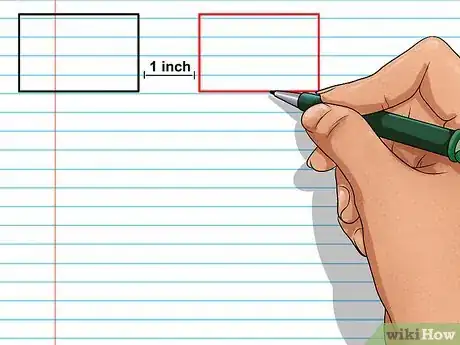
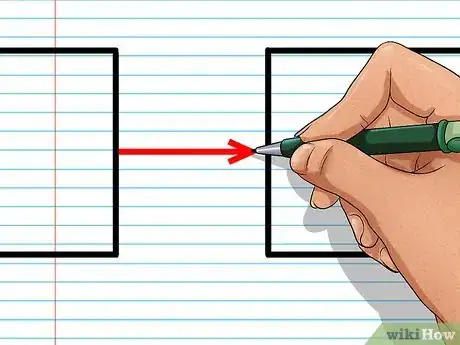
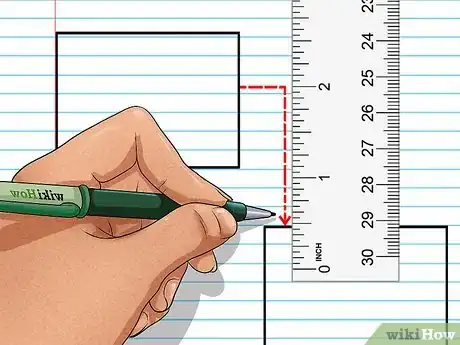
2Leave 1 inch of space to the right of the box, and then drawn an identical box in the middle of the page (3 inches square). Use your ruler to help you measure the correct side lengths of the box.
-
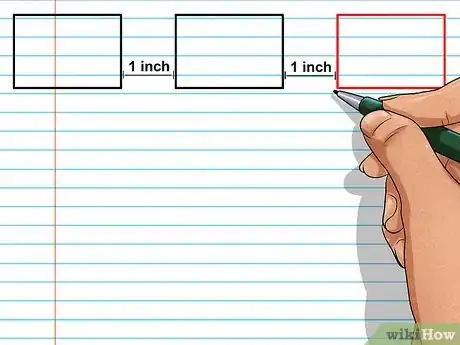
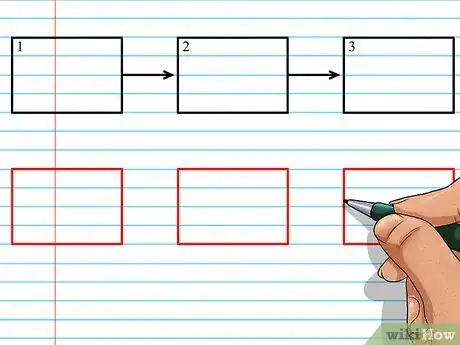
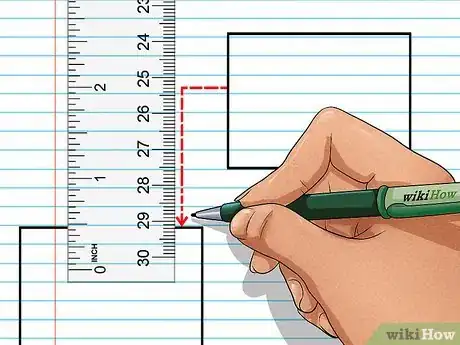
3Measure another inch to the right of the middle box, and complete the top row by drawing a third box of identical dimensions (3 inches square). There should now be a row along the top of your paper taken up with three 3” x 3” boxes with 1 inch of space between each.
-
4Draw arrows to the right in the 1 inch spaces between the boxes, aiming from left to right. You should have an arrow pointing from the left box to the middle box and then from the middle box to the right box.
-
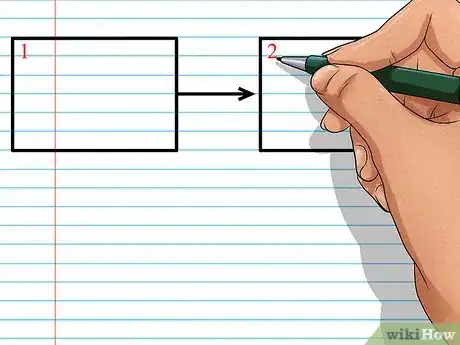
5Number the left box “1,” the middle box “2,” and the far right box “3.” Keep the numbers small, as you will write other information in these boxes.
- Write the numbers in one of the corners of the boxes, such as the top left corner. You can put an additional small box around the numbers to separate them from the text that will be written in them.
-
6Move to the bottom of the page and repeat drawing three 3” x 3” boxes along the bottom of the page with 1-inch gaps in between them. You should now have almost identical rows of three boxes along the top and bottom of the page, with approximately 2 inches of space between the top and bottom rows.
-
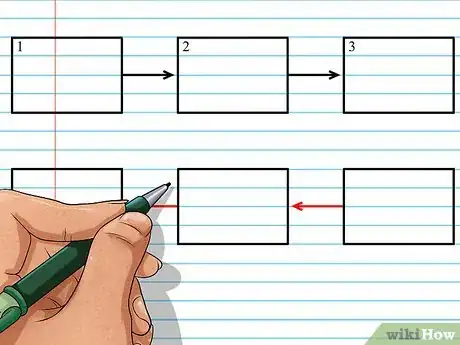
7Draw arrows to the left between the boxes, going from right to left. Therefore, you should draw an arrow to the left from the right box to the middle box and then from the middle box to the left box.
-
8Number the right box “4,” the middle box “5,” and the left box “6.” Remember to keep the numbers small so that you leave room to write in the boxes.
- Again, you can draw small boxes around the numbers to separate them from the text that will be written inside them.
- Write the numbers in the same corner that you chose for the top row so that the chart is consistent.
- The top row should read “1” to “3” from left to right, and the bottom row should read “4” to “6” from right to left.
-
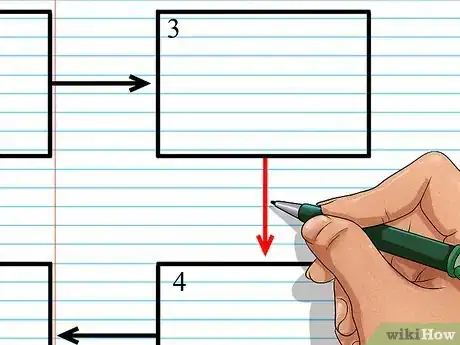
9Draw an arrow vertically downward from box 3 to box 4. As someone is reading the flow chart, this tells them that their eyes should jump straight down the right side of the page and not diagonally across it.
-
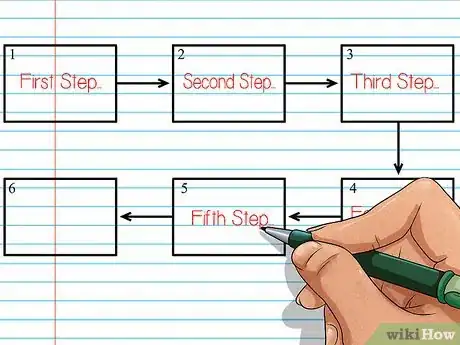
10Fill the boxes with information pertaining to a sequence of events or timeline. Flow charts are extremely useful for examining a sequence of events and seeing how one thing leads to another.
- Plot events in a story, such as the events leading up to the climax
- How to do something, in the order of “First, you do this...” and “Next, you do that...”
- Significant events in a war or historical moment, like the major events of the American Revolution that led to its conclusion
Advertisement
Method 4
Method 4 of 5:
Making a Summary Chart
-
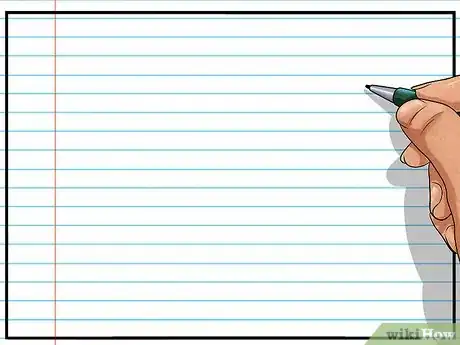
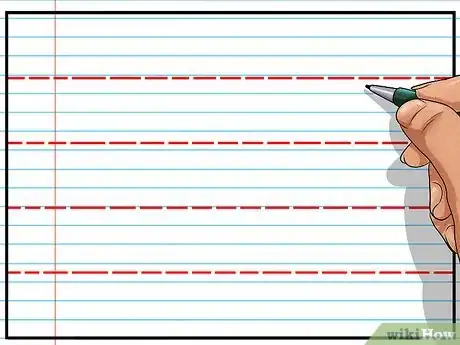
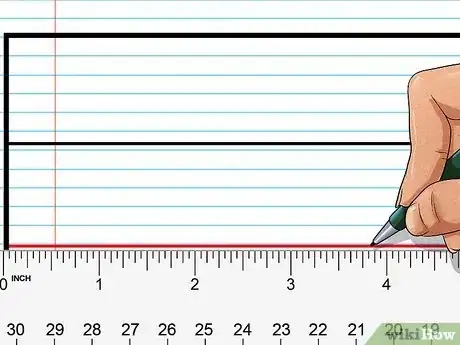
1Draw a large rectangle on your paper. Your paper can be vertical or horizontal, depending on your preference.
- You can draw your rectangle just inside the edges of the paper, so that it is almost the same size as the paper. This will allow you to have nice, large boxes in which to write summary information from a story, book, textbook, or other reading passage.
- Use a ruler to help you make the rectangle so that the edges are straight.
-
2Determine how to split your rectangle into five same-sized rows. Take the height of your large rectangle and divide it by five to get an approximate measurement for the height of each row.
- For example, if your paper is vertical, then 11” divided by 5 equals 2.2” (or approximately 2 ¼”) for the height of your rows. If your paper is horizontal, then 8.5” divided by 5 equals 1.7” (or approximately 1 2/3”) for the height of each row.
-
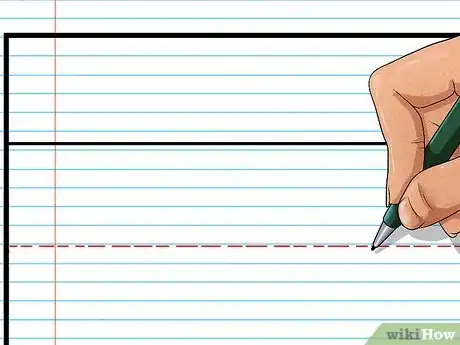
3Measure from the top of the rectangle down to the correct distance that you found in Step 2. Make a small horizontal mark with your pencil at that measurement.
- Then, you need to turn your ruler horizontally, so that it is parallel with the top of the large rectangle, and draw a line across the width of your rectangle. It should be perpendicular to the sides of the rectangle.
-
4Place the end of your ruler on this new line, and measure down the distance from Step 2 again. Then, repeat the process of marking a small horizontal line at the correct distance and tracing a horizontal line across the width of your large rectangle.
- You now have two of the five rows that you need for your summary chart.
-
5Measure the distance from Step 2 from the bottom of your second row and make a third small horizontal mark. Trace a line along your ruler horizontally so that you have a third row across the width of your rectangle.
-
6Put the end of your ruler on the line along the bottom of your third row and measure the distance from Step 2 one last time. Make your horizontal mark at that distance, and draw your line across the width.
- This last line separates row 4 and row 5. You should now have five same-sized rows across the width of your rectangle.
- Do your best to measure each row to the correct size with your ruler.
-
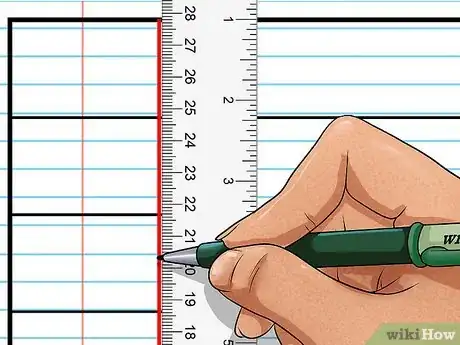
7Measure 1 inch from the left side of the rectangle and make a small vertical mark with your pencil. Then, use your ruler to draw a line vertically from the top of the rectangle to the bottom at that 1-inch mark.
-
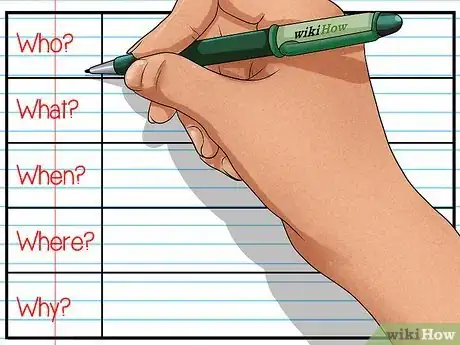
8Write categories for summarizing in the 1-inch vertical column on the left side of the summary chart. You can use this summary chart to summarize a reading passage, story, book, or nonfiction passage. Here is a basic way to summarize most stories or articles, so you would write each of these in one of the five boxes along the narrow vertical column on the left:
- Who?
- What?
- When?
- Where?
- Why?
-
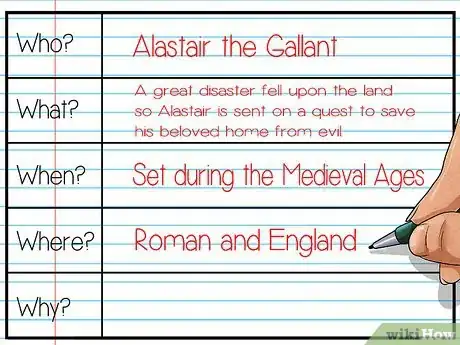
9Fill in the rows next to each category with the information from the story or passage that answers that question. You can use bullet points, numbers, or complete sentences.
- For example, next to “Who,” you will write the person, people, or characters who are involved. Then, next to “Where,” you would write the setting of the story or where the article takes place. After that, you would answer “When” by writing the date or time period. Next, you can answer “What” by describing what happened, like a major plot event or the topic of a news article. Lastly, you will answer “Why” by explaining why that event happened, according to the details given in the story, article, et cetera.
Advertisement
Method 5
Method 5 of 5:
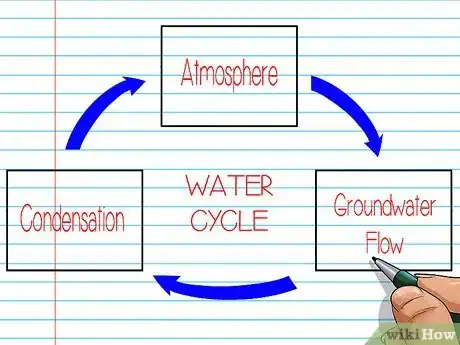
Making a Cycle Organizer
-
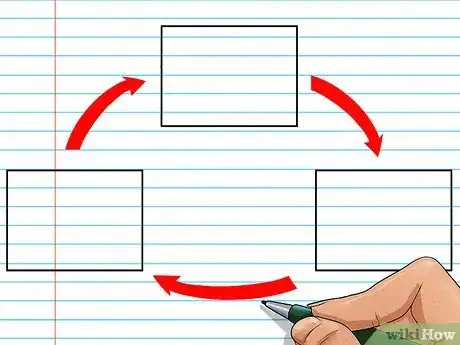
1Draw a box that is 3 inches square on your paper, which should be laid horizontally. Set the box about 1-2 inches down from the top of the paper, and place it in the middle of the paper's width (i.e. there should be 4 inches on either side of the box).
- Use a ruler to help you draw straight, even lines.
-
2Shift to the right of the box about ½ inch and then down about 2 inches. Use your ruler to measure these distances.
- Draw another box of the same dimensions (i.e. 3 inches square) in this new location.
- This box should sit just to the right and down a bit from the first box, as if it is a step leading up to the first box.
-
3Measure ½ inch to the left of the first box and then down about 2 inches. Again, draw a third box with 3 square inch dimensions using your ruler.
- This box should also be just offset from the left side of the first box, also like a step leading up to the first box. Together, the three boxes should resemble a pyramid shape.
-
4Draw a curved arrow to the right from the top box to the right box. Then, draw a curved arrow to the left from the right box across to the left one. Finally, draw a curved arrow to the right from the left box back to the top box.
- The three boxes should now be connected in a “circle” by the three curved arrows between them. All arrows of the circle should point in a clockwise direction.
-
5Fill the boxes with information about a cycle. This graphic organizer shows how a process occurs and then repeats over and over, as that is what a cycle does. You can add more boxes to the “circle” if you need them, but the boxes will have to be drawn in smaller dimensions.
- Water cycle
- Human body cycles (e.g. circadian rhythm)
- Animal migrations
- Solar system cycles[1]
Advertisement
Community Q&A
-
QuestionCan I draw pictures on the organizer if I want?
 Community AnswerYes, you may draw pictures, as long as you can understand what you drew. Keeping consistent with the organizer makes for easy reviewing, but pictures and words may be added.
 -
QuestionAre there more ways to do a graphic organizer?
 ImjusaPhangurlCommunity AnswerYes, but these are some of the easier and neater ways. They can also vary between different topics or things that you need them for. Everybody has their own preferences though!
 -
QuestionHow can I make a graphic organizer of an essay?
 MidnightBlue1_1Top AnswererThe Five Paragraph Essay Graphic Organizer is a helpful way to organize your essay. You can draw seven boxes labeling them each with: Topic, introduction paragraph, thesis statement, body paragraph idea #1, body paragraph idea #2, body paragraph idea #3, and conclusion.
Advertisement
Things You'll Need
- Paper
- Pencil
- Eraser
- Ruler
- Compass
About This Article
Advertisement
