This article was co-authored by Margo West. Margo West is a Professional Tailor and the Owner of Margo West Bridal Alterations in Dallas, Texas. She is renowned for her expertise in bridal alterations, custom wedding gowns, wedding-related design, and pattern making. Her 44 years of bridal experience has earned her the prestigious WeddingWire Brides Choice Award, Couples Choice Award 2013-2019, and The Knot Best of Weddings 2018-2020. Margo was also featured in House of Diffa 2018 Jacket Collection and Modern Luxury Brides Magazine 2020. She will launch her new bridal gown collection for fall 2021.
This article has been viewed 336,502 times.
A sash is an essential accessory for beauty pageants. A sash is also a fun way to identify the guest of honor at bachelorette parties, baby showers, and other special occasions. You can easily make a sash customized for your needs with a few basic craft supplies and a sewing machine.
Steps
Designing
-
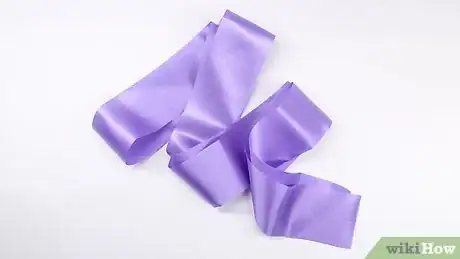
1Get approximately 2 yards (1.8 m) of a 3 inches (7.6 cm) ribbon. Wide ribbon makes a great sash and eliminates the need to sew as much. 2 yards (1.8 m) is enough ribbon for most adults, but you may need to adjust depending on the size of the person. Measure the ribbon on the person by wrapping it from their hip to their opposite shoulder and back down to their hip. You can always trim the ribbon if it's too long, so it's better to have more than you need than not enough. Choose ribbon in the color and texture of your choice.[1]
- Opt for a thicker, matte type of ribbon to ensure that the iron-on letters will adhere to the ribbon.
Tip: You can use wider ribbon if you prefer. For example, 4 inches (10 cm) wide ribbon will make it easier to add large lettering to the sash.
-
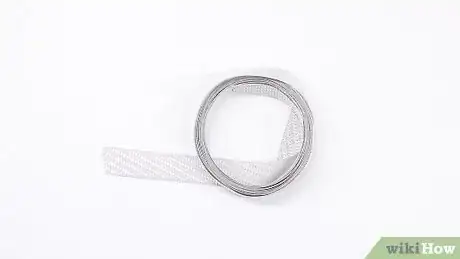
2Choose some decorative trim. You can accent your sash with some fringe, lace, or another type of trim if desired. Make sure to get enough to cover the entire edge of your ribbon.[2]
- For example, if you have a 2 yards (1.8 m) long piece of ribbon, then you will need the same amount of trim to cover one edge of the ribbon, or twice as much trim to cover both edges.
- Try contrasting a red ribbon with some black fringe, or contrast a pink satin ribbon with some white lace.
Advertisement -
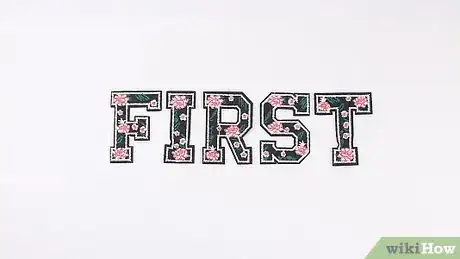
3Select your iron-on letters. You can find iron-on letters in craft supply stores. Choose letters in the style and color of your choice. Make sure that the letters are the iron-on type and that they will fit onto the ribbon you have chosen.[3]
Tip: If you do not want to use iron-on letters, then you can also paint or use marker on the ribbon, or you could even try embroidering letters onto the ribbon if you want to make the sash extra fancy. Choose some fabric paint or permanent markers.[4]
-
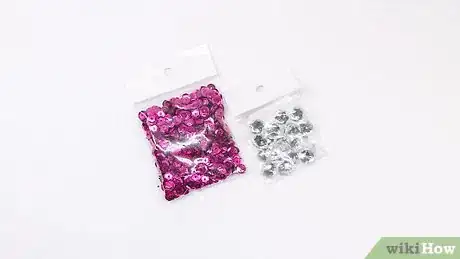
4Choose some sequins, crystals, and other embellishments. To add some extra color and sparkle to the sash, you can also glue on some sequins, crystals, and/or beads. Choose embellishments that have a flat side if possible. This will make it easier to glue them onto the ribbon.[5]
- Try adding light pink crystals to the edges of a dark pink beauty pageant sash.
- Add some red sequins to a black bachelorette sash.
- Enhance a white sash with contrasting baby accessory beads (rattles, bottles, booties, etc.) for a baby shower.
Sewing
-
1Pin the trim to the ribbon. To accent your sash, pin the trim to one edge of the ribbon or to both edges if desired. Make sure that the edges of the ribbon and trim are overlapping by at least 0.5 inches (1.3 cm). Place a pin through the ribbon and trim every 2 inches (5.1 cm) to 3 inches (7.6 cm) to secure them.[6]
-
2Sew the trim in place. Use your sewing machine to sew a straight stitch about 0.25 inches (0.64 cm) from the edge of the trim to secure it to the ribbon. Make sure that you sew through the ribbon and the trim.[7]
-
3Position the letters on the ribbon. Fold the ribbon in half so that the two ends are matching up and lay the ribbon on a flat surface. Then, begin placing the letters so that they are centered on this section of ribbon. Start and finish placing the letters about 3 inches (7.6 cm) to 6 inches (150 mm) from the fold and the end of the section. Space letters out evenly as well.[8]
- If the word you want on the sash is a longer one, then place the first letter closer to the edge. For example, if you are making a "Bachelorette" sash, then start pinning the "B" about 3 inches (7.6 cm) from the edge and space them evenly so that the "E" is also about 3 inches (7.6 cm) from the edge.
-
4Iron the letters in place. Follow the instructions for the iron-on letters to iron them onto the ribbon. You may need to cover the letters with a towel or t-shirt to protect them from the heat. Apply even heat to all of the letters.
-
5Glue on any other embellishments. Apply a dab of fabric glue to the ribbon where you want to place a sequin, crystal, or bead. Then, press the embellishment into the glue. Repeat until you have attached all of the embellishments. Then, let the glue dry overnight.
- For example, if you are making a sash for a bridal shower, then you could glue on some wedding accessory embellishments, such as a wedding cake, wedding dress, or a bouquet.
Tip: You can also add sequins or crystals in the guest of honor's favorite color for just about any occasion.
Securing
-
1Pin the ends of the sash together. Before you secure the ends of the sash, try it on. Position the sash how you want to wear it and adjust the ends so that they meet near your hip. The ends should be overlapping at a slight angle. When you are happy with the fit, place a pin through the 2 ends to secure them.[9]
-
2Sew across the sash ends. Remove the sash with the pin still in place. Then, use your sewing machine to sew a straight stitch across the two ends. Sew just below where you pinned the ends together.[10]
- Remove the pin after you finish sewing.
-
3Cut off the excess material. After you finish sewing the ends together, cut along the edge of the seam, about 0.5 inches (1.3 cm) from the stitches you just sewed. Then, discard the excess fabric and your sash is ready to wear![11]
Expert Q&A
Did you know you can get premium answers for this article?
Unlock premium answers by supporting wikiHow
-
QuestionHow do I measure myself for a sash?
 Margo WestMargo West is a Professional Tailor and the Owner of Margo West Bridal Alterations in Dallas, Texas. She is renowned for her expertise in bridal alterations, custom wedding gowns, wedding-related design, and pattern making. Her 44 years of bridal experience has earned her the prestigious WeddingWire Brides Choice Award, Couples Choice Award 2013-2019, and The Knot Best of Weddings 2018-2020. Margo was also featured in House of Diffa 2018 Jacket Collection and Modern Luxury Brides Magazine 2020. She will launch her new bridal gown collection for fall 2021.
Professional Tailor Start by measuring your waist. Then, use a scarf or measuring tape to tie a bow to your liking. Untie the bow and add that number to the waist measurement to get your length. Next, determine the height of your waistband. A longer waist person can wear a taller band more easily and the opposite is true for a short-waisted person (although wearing what you like and with confidence trumps almost any fashion rule).
 -
QuestionHow do you make a sash using a Cricut?
 wikiHow Staff EditorThis answer was written by one of our trained team of researchers who validated it for accuracy and comprehensiveness.
Staff Answer wikiHow Staff EditorStaff AnswerUpload the text or image file you want to Cricut’s Design Space, then select “Mirror Image” on the Cricut and print out the design on Cricut iron-on material. Use your weeding tools to remove all non-design areas from the iron-on. Cut out the design and place it on your sash, then use the Cricut EasyPress mat to adhere the design to the sash. If you used a metallic iron-on, wait for it to cool before peeling off the plastic backing.
 -
QuestionHow do you tie a sash belt?
 wikiHow Staff EditorThis answer was written by one of our trained team of researchers who validated it for accuracy and comprehensiveness.
Staff Answer wikiHow Staff EditorStaff AnswerTo tie a square knot, start by holding the left tie in your left hand and the right tie in your right. Cross the left over the right, then bring the left tie back up through the center. Pull the ends tight, then cross the right tie over the left. Bring the right tie under the left, then pull it through the loop you’ve created so it comes out on the left side. Pull the ends to carefully tighten the knot, but don’t tighten it so much that you lose the square in the middle. Tug the edges of the square to smooth it out, then arrange the ties so they fall neatly on either side.
Things You'll Need
- Ribbon
- Trim
- Iron-on letters or fabric paint or permanent markers
- Sequins, crystals, and/or beads
- Fabric glue
- Pins
- Scissors
- Iron
- Sewing machine
- Thread
References
- ↑ https://somethingturquoise.com/2013/07/19/diy-bachelorette-sash/
- ↑ https://somethingturquoise.com/2013/07/19/diy-bachelorette-sash/
- ↑ https://somethingturquoise.com/2013/07/19/diy-bachelorette-sash/
- ↑ https://www.thinkmakeshareblog.com/celebration-sash/
- ↑ https://www.thinkmakeshareblog.com/celebration-sash/
- ↑ https://somethingturquoise.com/2013/07/19/diy-bachelorette-sash/
- ↑ https://somethingturquoise.com/2013/07/19/diy-bachelorette-sash/
- ↑ https://somethingturquoise.com/2013/07/19/diy-bachelorette-sash/
- ↑ https://somethingturquoise.com/2013/07/19/diy-bachelorette-sash/
About This Article
To make a sash, start by getting 2 yards of 3-inch ribbon. Next, choose decorations and embellishments for your sash, like iron-on letters, sequins, and decorative trim. Once you've decorated your sash, wrap it around yourself and adjust the ends so they meet at your hip and overlap at an angle. Then, pin the ends in place and sew a straight stitch across the 2 ends. Finally, cut off any excess fabric at the ends to finish your sash. To learn how to apply sequins and iron-on letters to your sash, read on!
