X
wikiHow is a “wiki,” similar to Wikipedia, which means that many of our articles are co-written by multiple authors. To create this article, 10 people, some anonymous, worked to edit and improve it over time.
This article has been viewed 87,772 times.
Learn more...
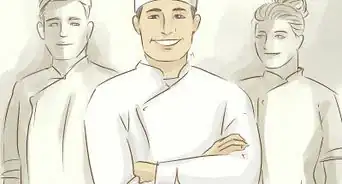
There isn't a much better way to throw a great get-together or party than to kick things off with an awesome barbeque. Just one problem: Without a hat or apron you may not get the respect you deserve! Worry not, these detailed instructions will show you just how to create your very own custom hat and apron. It might not help your grill skills, but it will definitely help your BBQ image!
Method 1
Method 1 of 2:
Apron
-
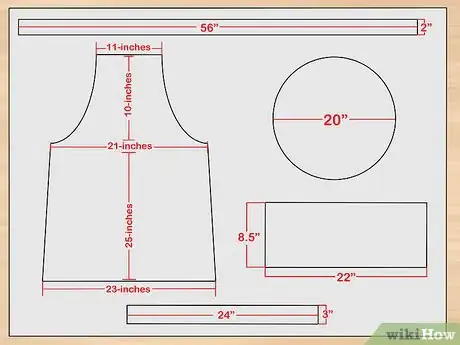
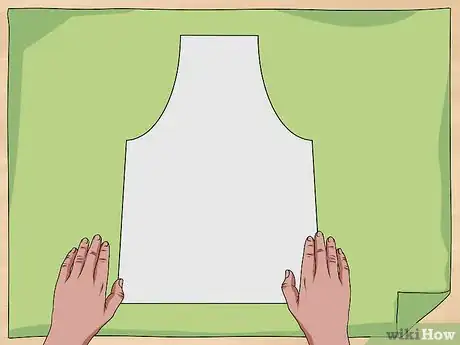
1Lay out the cloth you will be using for the apron, iron out any creases, and lay the apron pattern over the cloth.
-
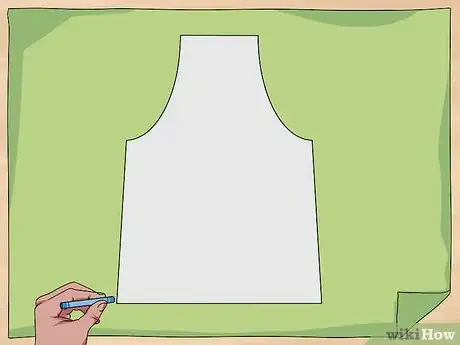
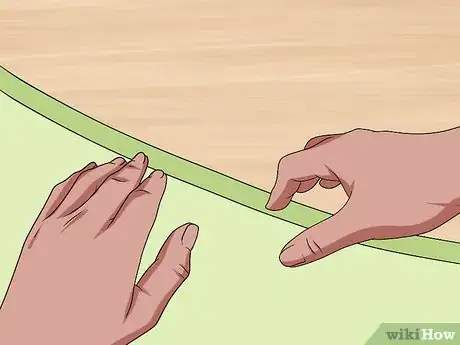
2Trace around the pattern with tailor's chalk, and cut the pattern out.
-
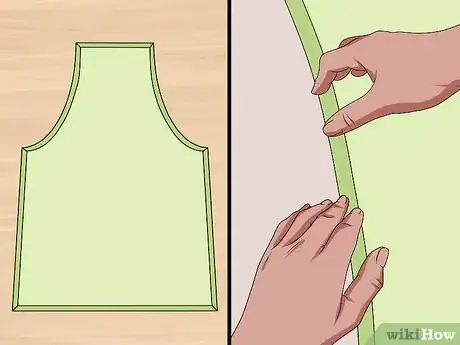
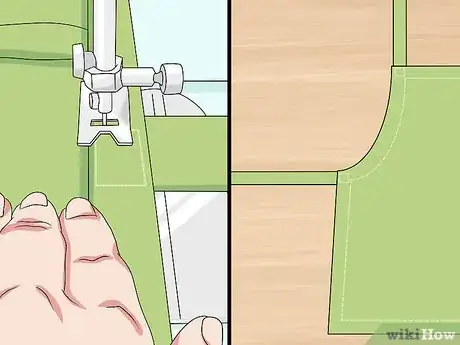
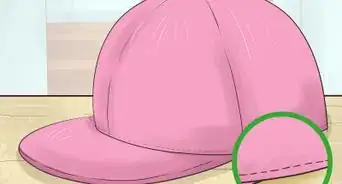
3Flip the material over so that the "wrong" side faces up. Fold over a quarter-inch hem (fold twice if you'd like) and sew it down.
-
4Do the same along all of the inside edges; the top, sides, chest area, and bottom. Make sure to press each hem after you're finished sewing it.
-
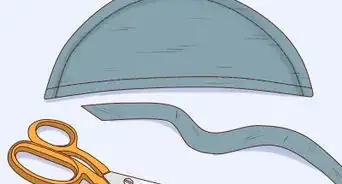
5Take out more fabric for the neck strap and cut out the piece.
-
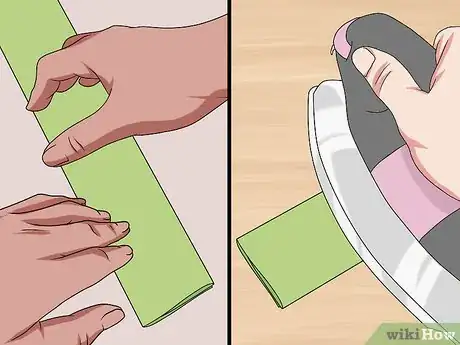
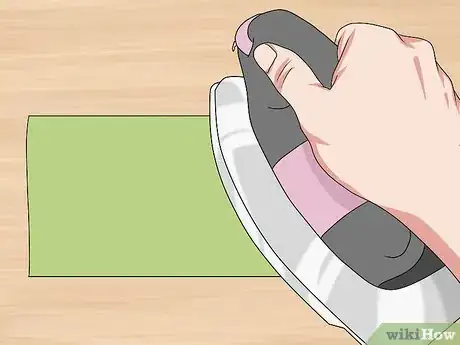
6Fold the piece over and press it with the iron.
-
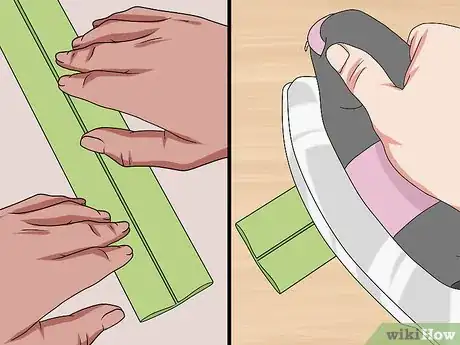
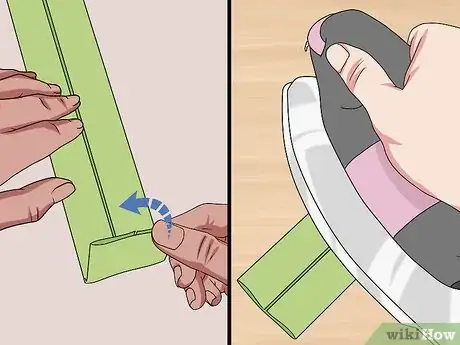
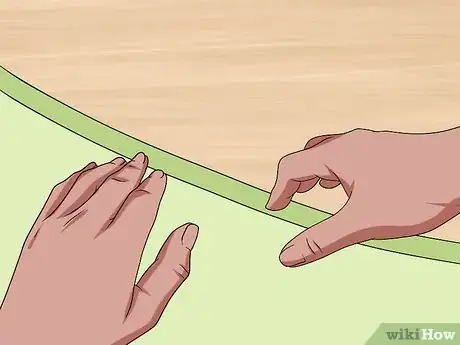
7Then, unfold it, and fold those sides in half so that they meet in the crease, and press those sides with the iron.
-
8Fold in the end pieces and press with the iron.
-
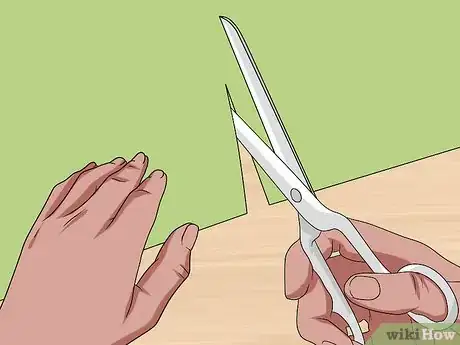
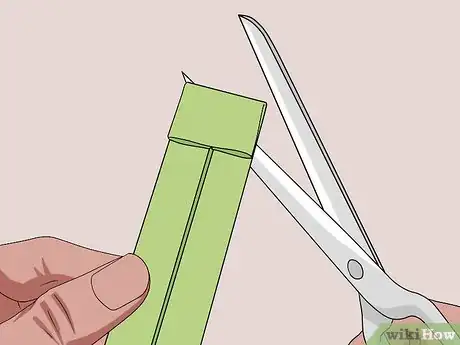
9Clip the corners of the strap at an angle. Fold the strap in on itself and press it with the iron. Sew the strap along all three open ends.
-
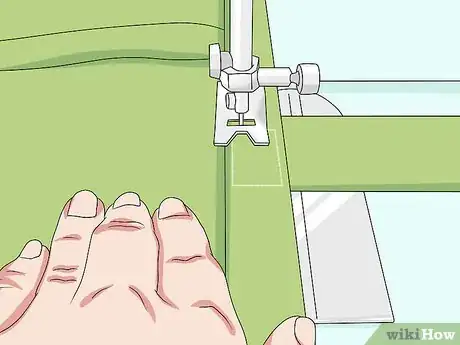
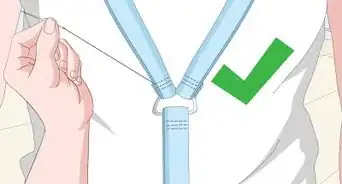
10Attach the strap to the inside of the apron piece. Sew the strap on using a square formation pattern.
-
11Create the apron ties the same way you created the neck strap, just make them a little longer and not quite as wide.
-
12Attach them in the same manner that the neck strap was attached, on the corner of the chest area and sides of the apron. The apron is finished!
Advertisement
Method 2
Method 2 of 2:
Chef Hat
-
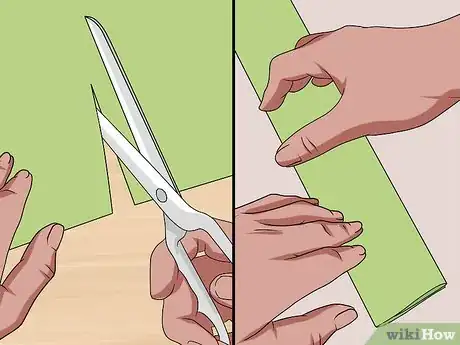
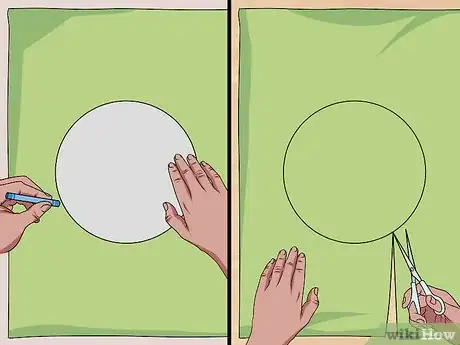
1Cut out the top piece of the chef hat from the pattern using the tailor chalk and scissors or another cutting device.
-
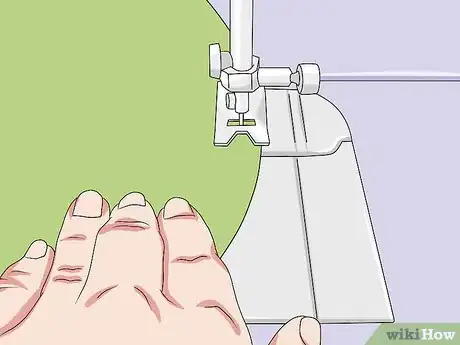
2Stitch all the way around the edge of the pattern using the longest stitch length, locking the stitch at the beginning, but not at the end.
-
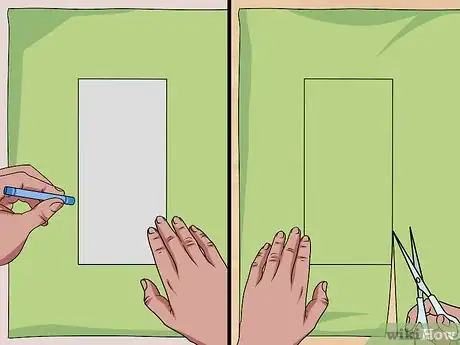
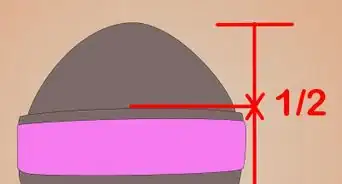
3Cut out the hat band cloth from the pattern using the tailor chalk and scissors or another cutting device. Make sure you measure your own head (or whoever will be wearing the hat) to determine the size of the hat necessary. Adjust the hat band according to size.
-
4Fold the cloth in half "wrong" sides together and press with the iron.
-
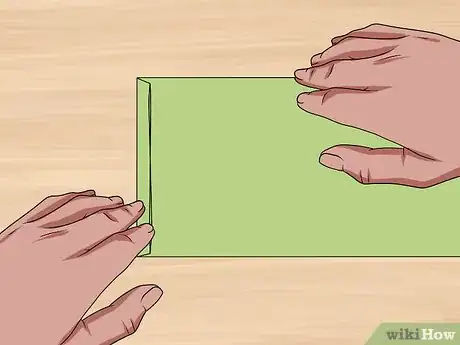
5Fold and press an inch seam allowance down both sides.
-
6Fold the band "right" sides together and sew a seam down the side.
-
7Press the seam open with the iron and fold the band together "right" sides out.
-
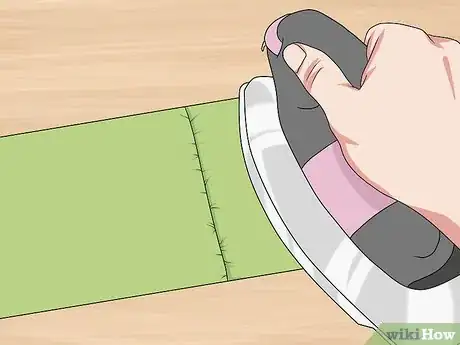
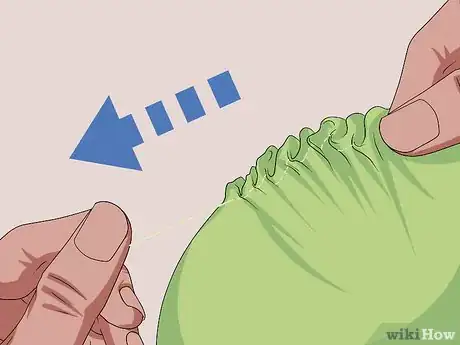
8Grab the circle pattern with the loose stitching and pull the stitch (make sure it's fairly even throughout) until it's about the same size as the band you created.
-
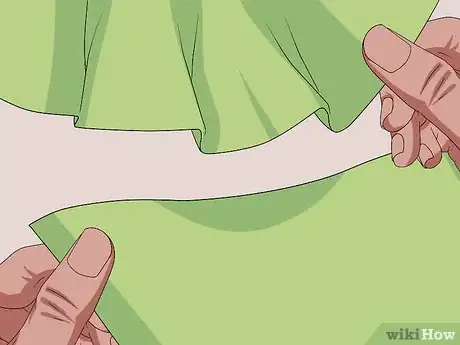
9Carefully press the bottom edge of the circle against the open end of the band and pin.
-
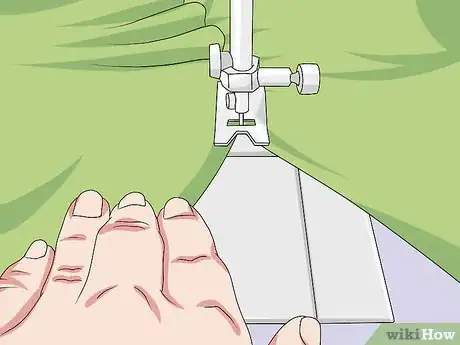
10Do this all the way around the open seams and sew the two pieces together. Be sure to catch the other side of the band as you sew. Now you're totally done!
-
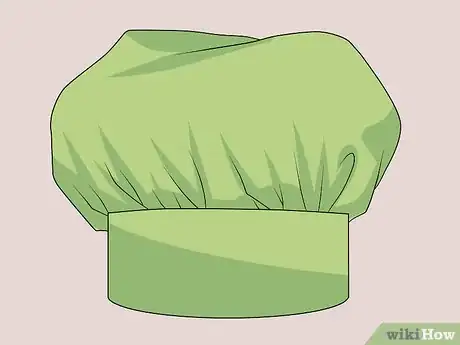
11Finished.
Advertisement
Community Q&A
-
QuestionWhere can I download template for this apron?
 T. ChinsenTop AnswererThe pattern has to be made according to the dimensions described. There are images of patterns available if you need a template. Fabric stores also carry patterns for aprons.
Advertisement
Things You'll Need
- Material for the apron and hat
- Scissors
- Tailor's chalk
- Patterns in your size for the apron and hat
- Pins
- Stitching
About This Article
Advertisement
