wikiHow is a “wiki,” similar to Wikipedia, which means that many of our articles are co-written by multiple authors. To create this article, volunteer authors worked to edit and improve it over time.
There are 10 references cited in this article, which can be found at the bottom of the page.
This article has been viewed 73,501 times.
Learn more...
Creating a slideshow can be accomplished without any special equipment. All you need is an idea of your project and plenty of content to fill the slideshow. Slideshows can be used to share business presentations, cherished photos, and even school projects.
Steps
Using a Presentation Software
-
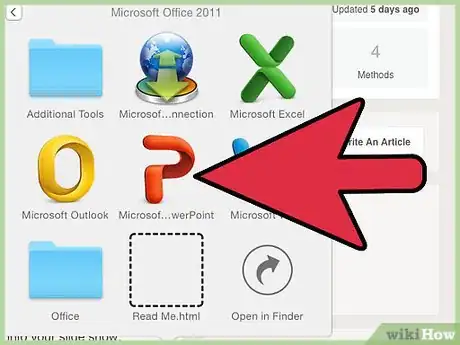
1Choose your software. Open a program such as Microsoft's PowerPoint or Keynote on a Mac to create a slide show. These versatile softwares can create slideshows with text, videos, photos, or any combination of the aforementioned features.<rer>
- You could also use an alternative application like OpenOffice or other third-party softwares.
-
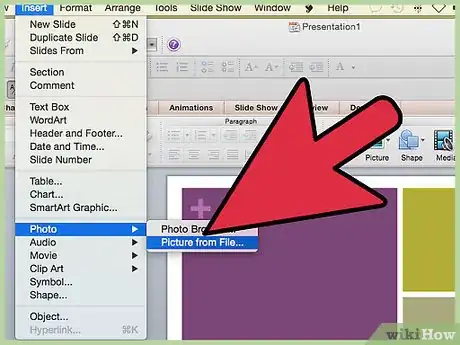
2Import your photos. Select digital pictures and add them into your slide show. You might be able to add other content such as text, sound, or videos to your slideshow if you choose. Most softwares allow you to import multiple photos through "File" "Import."[1]Advertisement
-
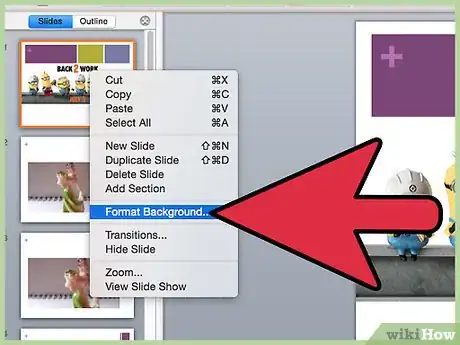
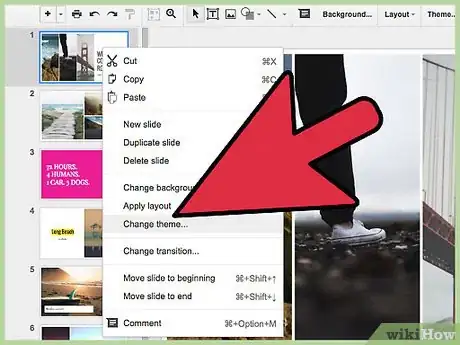
3Choose editing options. Navigate through your software program's interface to choose a style or theme for your slides. Search your program's Help section or manufacturer's website to find how to get to the styles or themes for the particular version of your software.
- You may be able to preview how different themes would look on one of your slides by resting your cursor over a provided thumbnail for each theme.[2]
-
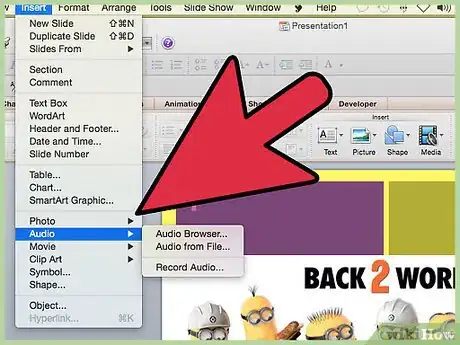
4Play around with the settings. Experiment with the settings or options in your software program to modify your slide show. You may be able to add music, time your transitions, and choose from different transition effects.[3]
- Sometimes animated transitions that are playful can grasp your audience. Use these effects sparingly and based on your audience.
-
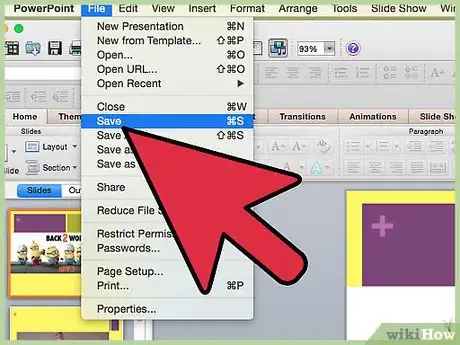
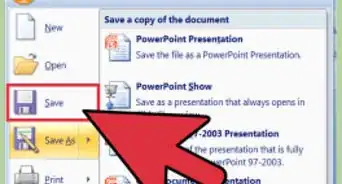
5Save your slideshow. Always save when you are finished creating the slideshow. You can always go back and add images or edit items later. Save the presentation to a flash drive if you have access to a computer where you plan to present the slideshow.
Creating a Slideshow with a Photo Library Software
-
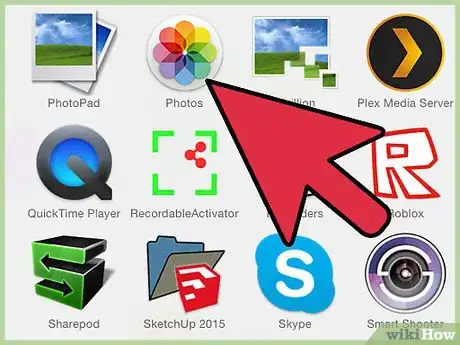
1Locate your photo library software. Every computer comes equipped with some type of application to store photos. Windows has Microsoft Media Center and Macs have iPhoto. Search through your applications until you find the right application.
- If you are using a Linux or Chromebook, you may have to download or use a chrome app.
-
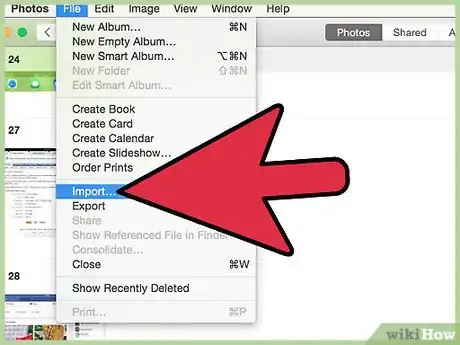
2Import your photos. Before being able to organize your photos, you’ll need to import them into the software's photo library. Many softwares will popup a message if you attach a camera or other devices with photos. Allow the library to store your photos.
- If you are already have your photos saved to your hard drive, you’ll need to import them. The import function is usually found under "File" "Import."
-
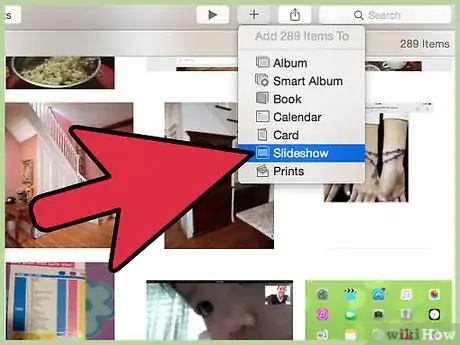
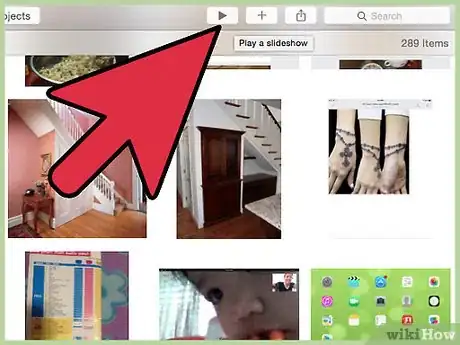
3Create a slideshow in iPhoto. Select a group or album of photos and then click the slideshow tab near the bottom of the screen. Create a memorable name for your slideshow. Click and drag the photos to arrange them in the order of your liking.[4]
- Add music to your slideshow by selecting music.
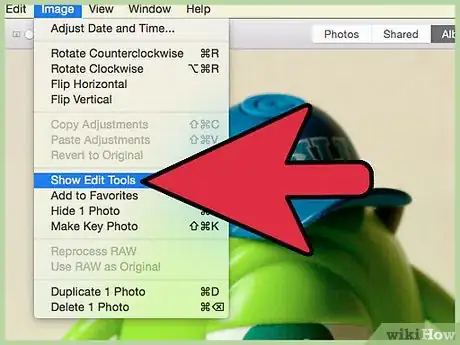
- You can edit individual slides by pressing adjust.[5]
-
4Create a slideshow in Media Center. Open Windows Media Center by selecting it from the programs list. Select the photo library on the start screen. You can either play a slideshow of the entire photos in Media Center or create a specific folder to use for the slideshow.
- Create a folder and drag all the desired photos into that folder. Then click “play slideshow” when you’re ready to see the results.[6]
-
5Use the software's effects. Depending on what photo library you selected, you should have some effects to choose from. iPhoto allows you to adjust the transitions between photos and even offers the Ken Burns effect. The editing bar should be around the perimeter of the editing screen of the slideshow.
- Experiment with the options to keep the slideshow entertaining.
Using a Photo-Sharing Website
-
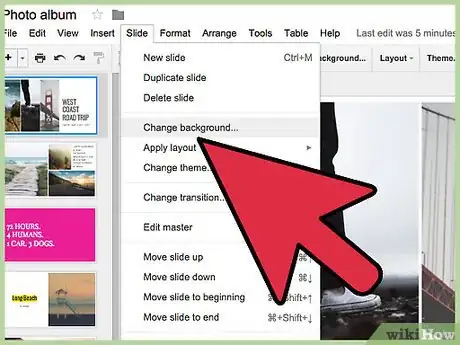
1Choose an internet photo library. There are plenty of different types of libraries that have different features. Google Doc’s application “google slides,” for example, is a very easy to use alternative to a software.[7] Sign up for a free account at a photo-sharing website.
- Another popular website for sharing and creating slides is Photobucket.
- For these sites you'll need to create a membership which is usually free. If you already have an email account with gmail, you have access to google slides.
-
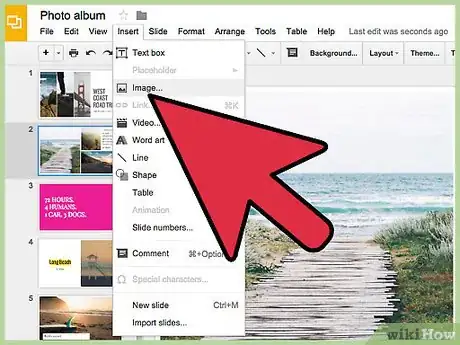
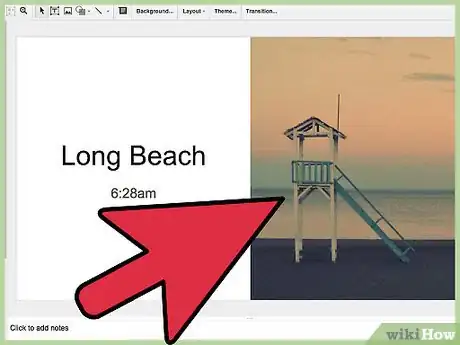
2Import your photos. Upload your digital pictures to an album onto the website. Choose the album where you want to store your slideshow. Another way to organize your photos is by importing them individually into a slideshow template.
-
3Adjust the slideshow options. Navigate through the photo-sharing website's interface to see its slideshow options. You can select templates, transitioning effects, or music selections.[8]
- In Photobucket, you click an arrow beside "My home" or "My albums."
- Select "Creation Tools" and click "Try it now" below the "Slideshows" option. This lets you see what slideshow styles or themes are available to choose from.
-
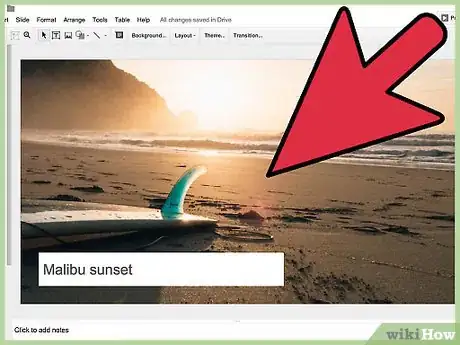
4Add images to the slide show. You may need to click on the images or drag and drop them into your slideshow to add them. Another option is to select a group of photos and then select create slideshow.[9]
-
5Customize your slideshow. Choose among the different options to customize your slideshow. This can include making your slideshow images big or small or adding titles to your photo slides.
- Save your slide show.
Creating an Effective Slideshow
-
1Make it simple. Avoid overcomplicated slides that could distract the audience away from your intention. If you have a lot to say or show for one slide, stretch out the content over a few slides. If you are only using pictures in your slideshow, use one centered picture for each slide. If you have text and pictures, be sure to have plenty of white or negative space. Negative space allows the content to breathe and will draw the audience in easier.
- Limit the number of bullet points per slide. Don’t force people to read a lot while listening to you speak. In general, avoid being text heavy in your slides.[10]
- Limit the number of words for each bullet. If a bullet has two or more lines of words, there are too many words for that bullet.
-
2Use high-quality content. When using digital photos it is a good rule to never “break” the image. Breaking an image means stretching it along the vertical or horizontal axis alone, or stretching a small image larger.[11]
- Poor image resolution can detract from your slideshow by straining your audience.
-
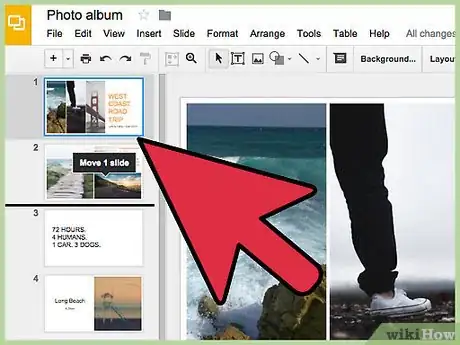
3Choose the order of your slides. Creating a logistical flow is important in slideshows. There should always be some type of narrative even in photo-based slideshows.[12] Think of it like a story or essay where the slideshow has a beginning, middle, and conclusion.
- When sorting through your slides you can also decide if you want to break up any slides that are packed with content.
-
4Be consistent. Let the slides communicate with each other instead of clashing against each other. Use the same typography, colors, and imagery throughout your slides. Using a template can help keep a consistent flow. Templates can also become restrictive, so be sure to add your own message and creativity.[13]
Warnings
- Depending on which website or software you use, it may not be possible to include video clips in the slideshow.⧼thumbs_response⧽
References
- ↑ https://www.organizingphotos.net/photo-video-slideshow-windows-microsoft-photos/
- ↑ http://office.microsoft.com/en-us/powerpoint-help/apply-a-theme-to-add-color-and-style-to-your-presentation-HA010336493.aspx?CTT=5&origin=HA010336438
- ↑ http://office.microsoft.com/en-us/powerpoint-help/apply-a-theme-to-add-color-and-style-to-your-presentation-HA010336493.aspx?CTT=5&origin=HA010336438
- ↑ https://support.apple.com/guide/photos/create-slideshows-phtae8c6d40/mac
- ↑ http://www.dummies.com/how-to/content/how-to-create-iphoto-slideshows-on-your-mac.html
- ↑ http://windows.microsoft.com/en-us/windows7/creating-slide-shows-with-music-in-windows-media-center
- ↑ https://www.google.com/slides/about/
- ↑ https://vimeo.com/blog/post/how-to-make-slideshow-video/
- ↑ https://www.organizingphotos.net/photo-video-slideshow-windows-microsoft-photos/
About This Article
To make a slide show using software like PowerPoint or Keynote, start by importing the pictures you want to use, then choosing a theme to add backgrounds and borders to your pictures. Next, experiment with the options on your software to add music, time your slide transitions, and choose transition effects. If you need assistance, go to your program’s Help section and do a search on how to add specific effects. Finally, save your slideshow to a flash drive so you can present it on any other computer. For more tips, like how to use a photo-sharing website, read on!
