wikiHow is a “wiki,” similar to Wikipedia, which means that many of our articles are co-written by multiple authors. To create this article, volunteer authors worked to edit and improve it over time.
This article has been viewed 73,207 times.
Learn more...
Awnings, also known as overhangs, are wooden or aluminum frames covered by fabric that can be attached to the outside of buildings. An awning can be an aesthetic addition to a home's architecture. Awnings placed above windows can also reduce energy costs by preventing direct sunlight from entering the house. On buildings owned by commercial businesses, awnings often have the name of the business painted on them to attract customers. Building an awning is a process that involves utilizing construction skills, but it can be done with the right tools and procedures. Use these steps to create a standard window awning.
Steps
-
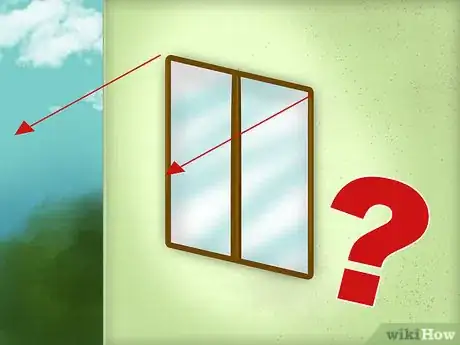
1Choose the awning's location.
- Observe where the sun contacts your home the most throughout the day if you are looking to reduce direct sunlight inside.
- Figure out if you want an awning to cover a backyard patio or doorway.
-
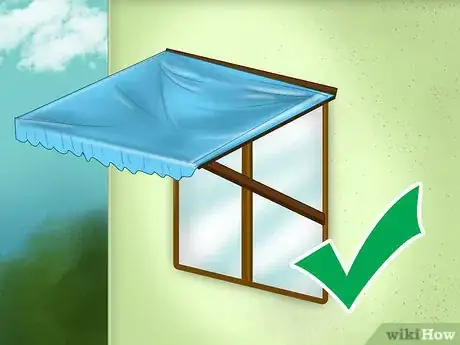
2Determine how far your awning should reach.
- Covering a patio will require a larger awning than an awning covering a window or doorway. When making an awning above a window, you don't want to prevent all light-just the majority of the heat.
- Estimate your dimensions.[1]
Advertisement -
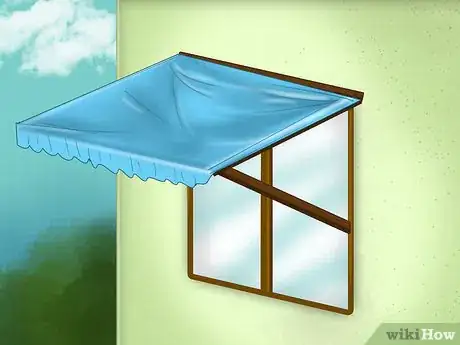
3Build the frame.
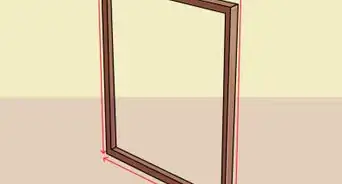
- Purchase 1 inch wide by 6 inches long (2.54 cm wide by 15.24 cm long) boards to create the awning frame.
- Create a 2-dimensional square frame and attach an equally sized square frame to it so they share a middle spine.[2]
- Make 2 identical 2-dimensional right triangle frames attached to the ends of your square frame. This makes a 3-dimensional right triangle frame.
- Attach a perpendicular board from the middle spine. This board will attach to the house for support.
- Affix metal elbow joints to each angle on the frame for sturdiness.
- Place 3 metal brackets on the interior side of the frame for attaching to the house.
-
4Cover the frame with fabric.
- Decide on a type and color of fabric. Common fabrics include canvas and vinyl.
- Cut the fabric to fit your frame. This will include measuring the length and width of the frame and hemming the fabric as necessary.
- Pull the fabric tight and nail it to the wood with short roofing nails.
-
5Attach the awning to the side of the house.
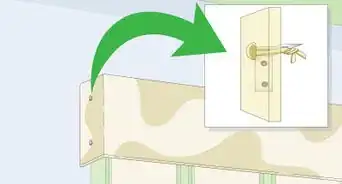
- Hold the frame to the house and mark the holes for drilling where you placed brackets.
- Drill 3 or more holes into the house.
- Affix the frame to the house and secure it with screws.[3]
Community Q&A
-
QuestionCould roofing tiles be used instead of fabric?
 Community AnswerYes, just add a piece of plywood across the top and cover with roofing material.
Warnings
- Make sure the frame is tightly secured to the house before finishing. Depending on the size of your awning, you will need more support beams and mounting brackets.⧼thumbs_response⧽
Things You'll Need
- Measuring tape
- Hammer
- Nails
- Table saw
- Lumber
- Drill
- Screws
- Metal brackets
- Elbow joints
- Scissors
- Roofing nails
- Hemming supplies

