X
wikiHow is a “wiki,” similar to Wikipedia, which means that many of our articles are co-written by multiple authors. To create this article, volunteer authors worked to edit and improve it over time.
This article has been viewed 55,179 times.
Learn more...
Tulle roses are simple to make, albeit a little fiddly. You'll soon get the knack of making these pretty little objects, which can be used to decorate everything from fairy costumes to a craft project.
Steps

Method 2
Method 2 of 2:
Creating the rose
-
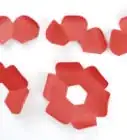
1Wrap the tulle. Choose something to wrap the tulle around, for example your finger or a pencil. Wrap around and around until you're happy with the amount and consider that it appears "rose-like".
- Tight wrapping means a smaller rose, looser wrapping means a larger rose (as well as the amount of tulle used).
-
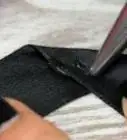
2Remove the wrapped tulle carefully from the object used to wrap around. Wind the tulle length a few times around the ball to complete and glue the end piece in place.
- An application of hot glue in the center of the rose can help to keep the flower shape intact.
-
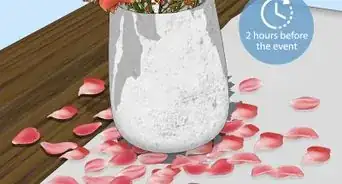
3Glue, pin or sew the tulle rose onto the item. Depending on what you're adding the tulle rose to, use the right affixing method to keep it snugly in place.
-
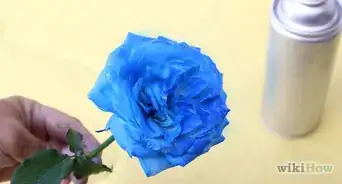
4Finished.


Advertisement
Things You'll Need
- Tulle
- Fabric scissors
- Hot glue
- Pins in matching color (optional)


About This Article
Advertisement