This article was co-authored by wikiHow Staff. Our trained team of editors and researchers validate articles for accuracy and comprehensiveness. wikiHow's Content Management Team carefully monitors the work from our editorial staff to ensure that each article is backed by trusted research and meets our high quality standards.
There are 16 references cited in this article, which can be found at the bottom of the page.
This article has been viewed 43,833 times.
Learn more...
There are several reasons that you might be in need of a large block of ice. If you are stuck in hot weather but are itching to go sledding, you may be looking to try ice blocking — sliding down a hill while sitting on a large block of ice. Alternatively, you might want to produce a large block of clear ice to sculpt or break up to put in a homemade cocktail. Luckily, making large blocks of ice at home is not hard. All it requires is a freezer, a few basic supplies, and some patience.
Steps
Freezing an Ice Block for Ice Blocking
-
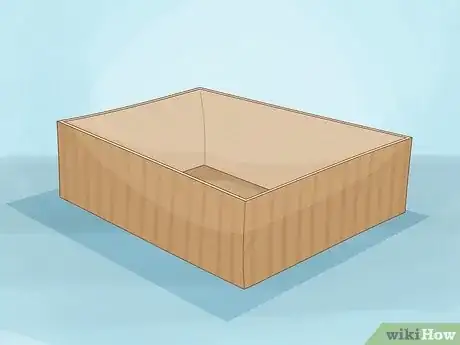
1Find a cardboard box to use as a mold for your ice sled. Measure the amount of available space in your freezer. Make sure that the box both fits in your freezer and will be large enough for you to sit on.
- A good go-to size for an ice block is 10.16 x 43.18 x 43.18 cm (4 x 17 x 17 in).[1] Try to find a box with similar dimensions. At the very least, your block should have a surface area of 30 x 40 cm (11.81 x 15.75 in).
- Keep in mind that the water will be heavy when it freezes, so you don’t want to pick a box that’s going to be too large and thus too heavy to pick up once it’s frozen.[2]
- Cardboard boxes are best because they tend to be able to handle the expansion of the water when it freezes into ice. In contrast, plastic boxes might crack.
-
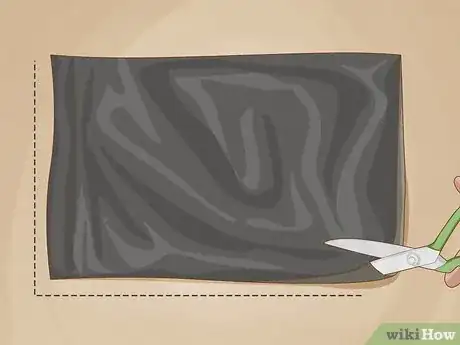
2Cut open a trash bag along one side and along the bottom seam. Pull the two sides of the trash bag apart so you have a single layer of plastic. You should now have one big piece of plastic.[3]Advertisement
-
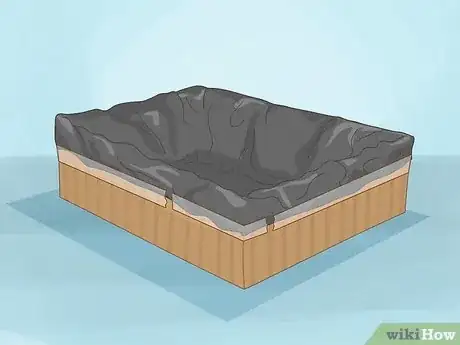
3Line the box with your plastic bag and tape it to the outside of the box. Lay the plastic bag over the box with the remaining side seam in the middle of the box, facing down.[4] Secure the bag on the box with duct-tape. One small piece of tape on the bottom of each side of the box should do the trick.[5]
- Double-check that the plastic bag is large enough to cover the entire interior of the box by pressing it down into the corners of the box. You don’t want any cardboard to be exposed.
-
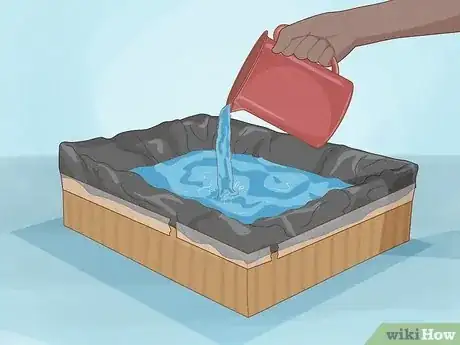
4Fill the lined box with 7.62 to 10.16 cm (3 to 4 in) of water. Transfer water from the sink into the box using a pitcher. 7.62 to 10.16 cm (3 to 4 in) of water will make a block of ice that is thick enough to sled on.[6]
-
5Tie a small knot at each end of the 0.304 m (1.00 ft) rope. This will prevent the rope from coming out of your ice block when you’re pulling it. Again, make sure that your rope is at least 0.304 m (1.00 ft) long.
- Thicker nylon or polypropylene rope tends to be good to use, but any moderately-thick rope will do.[7]
-
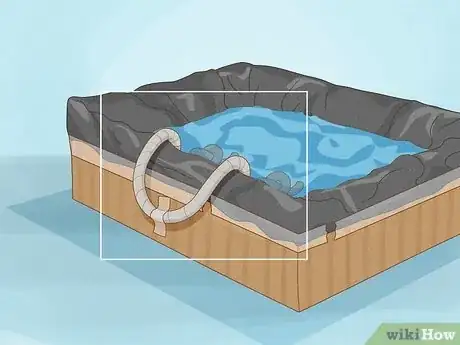
6Tape the midpoint of the rope to the side of the box. Find the midpoint of the rope and tape it to the center of what will be the “front” of your ice block — the side that will face forward as you slide down the hill. This rope will will be the handle for your ice block. Then, submerge the 2 ends of the rope in the water and make sure they are floating towards the center of the box.[8]
-
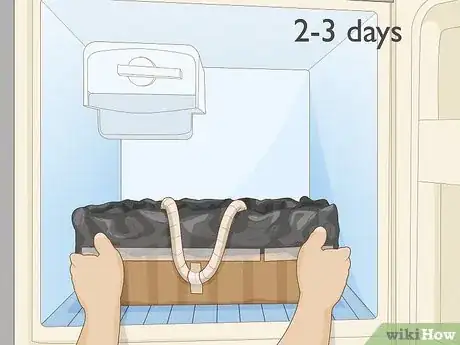
7Leave the box in the freezer for 2-3 days. The freezing time will depend on the temperature of your freezer. Start checking your block after 48 hours, and give it more time if it does not look frozen all the way through.[9]
- Ask for help if your box is heavy and you’re having trouble lifting it into your freezer by yourself.
- You’ll know that your ice is fully frozen if it looks cloudy in the middle.[10]
-
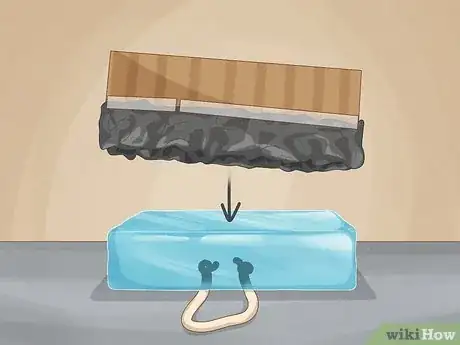
8Remove your ice block by turning the box upside down. The block should slide out of the box. You can then remove the tape and pull away the plastic bag from the block, giving you the perfect summer-day sled!
- Remember: when you sit on your ice block, cover it with a towel so you don’t get your pants wet.
Making Clear Ice Blocks
-
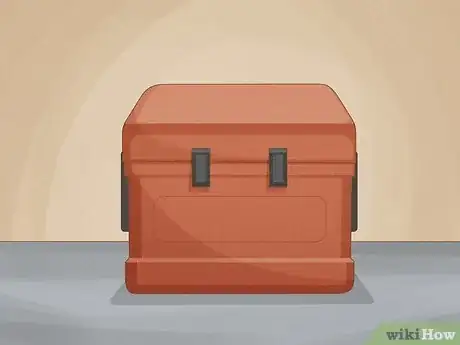
1Find a hard-sided, insulated cooler that fits in your freezer. Go with the largest one possible. Smaller, picnic coolers tend to be a good go-to because they are easier to fit in freezers.[11]
-
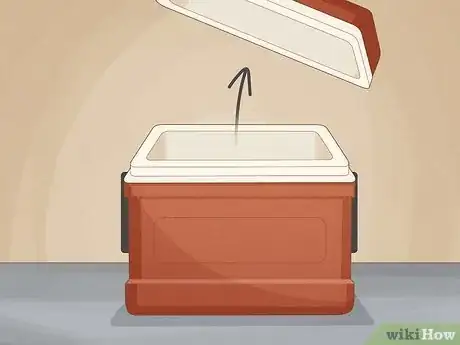
2Open or remove the lid. Water usually freezes from the outside-in, and any impurities always freeze last, which is what creates the cloudy part in the middle. However, removing the lid will allow the water to freeze from the top down instead, which makes it easy to separate the clear ice from the cloudy ice.[12]
-
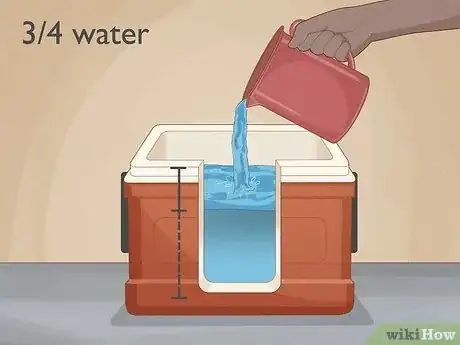
3
-
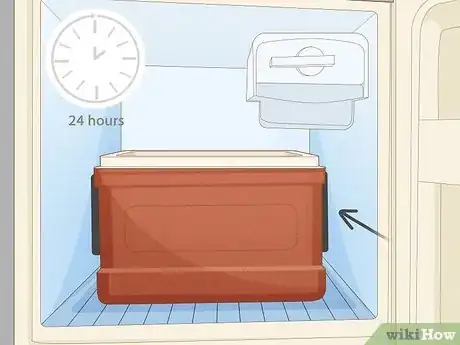
4Leave the cooler in the freezer for 24 hours. You don’t want the ice to freeze all the way, because it is harder to cut away the impure, cloudy part if it’s completely frozen. Check on it around the 14-hour mark to see how it’s doing. If at any point it starts to look cloudy at the bottom, take it out![15]
-
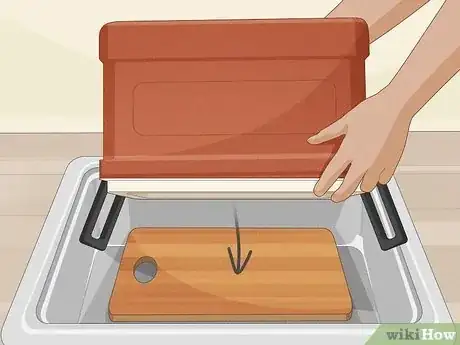
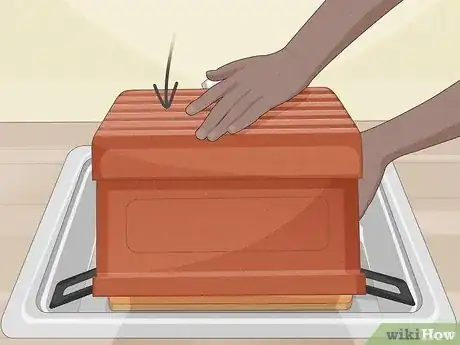
5Turn the cooler upside-down over a cutting board in the sink. This will prevent your countertops from getting wet, and will also provide you with an easy surface to cut your ice on. If your cutting board won’t fit in your sink, flip the cooler upside-down in the sink, but be prepared to transfer your ice block to a cutting board elsewhere.[16]
-
6Press on the bottom and sides of the cooler to remove the ice block. Apply a bit of pressure to get the ice block to slide out of the cooler. Keep it gentle — don’t bang or pound on the sides of the cooler.[17]
- You may need to let the cooler sit upside-down for a bit and let the ice melt just enough for it to slide out. This can take anywhere from 5 to 30 minutes.[18]
-
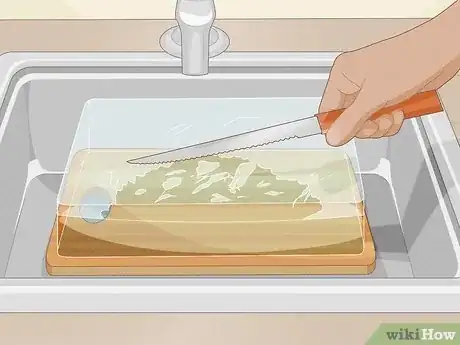
7Use a serrated knife to chip away the extraneous shell-like pieces. If your ice didn’t freeze all the way, you’ll be left with some shell-like pieces that formed at the bottom. Gently hit these pieces with the blade of your knife to loosen them and break them away.[19]
-
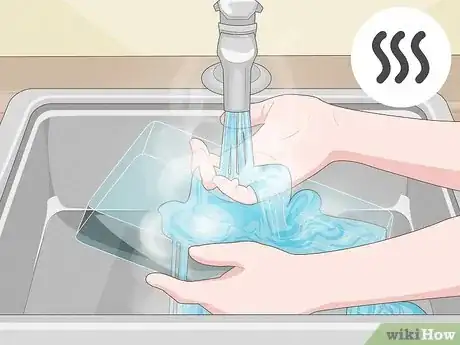
8Run the ice block under warm water to smooth it out. Your ice block may have some rough, unsightly edges, so running it under a bit of warm water can make the surface look smooth. Make sure the water isn’t so hot that it melts large portions of the ice, though.[20]
-
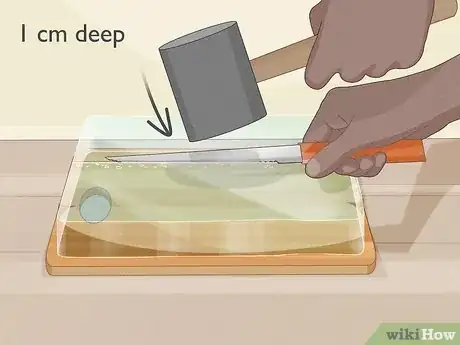
9Use your knife and mallet to cut the ice block into smaller pieces. If you want to make large ice cubes, make small incisions in the ice — about 1 cm (0.39 in) deep — with your knife and then gently hit the middle of the back of your knife blade while it’s still inserted in the ice with a mallet. This will split off nice, even slices of your ice that you can easily divide up into large cubes (using the same technique) to add to your favorite drinks.[21]
- Sometimes, the ice won’t break off evenly when you hit it with the mallet. This could be because you did not cut deep enough with the knife, or your incision wasn’t straight to begin with.[22]
Things You’ll Need
Ice Blocks for Ice Blocking
- Tape measure
- Cardboard box
- Rope (0.304 m (1.00 ft) long)
- Plastic liner (like a garbage bag)
- Scissors
- Duct tape
- Pitcher
- Freezer
Clear Ice Blocks
- Small plastic cooler
- Serrated knife
- Mallet
- Cutting board
- Freezer
References
- ↑ http://www.iceblockers.com/how_to.html
- ↑ https://www.mnn.com/lifestyle/arts-culture/stories/no-snow-sled-try-ice-blocking
- ↑ https://www.youtube.com/watch?v=kuk4xrv044g&feature=youtu.be&t=42s
- ↑ https://www.youtube.com/watch?v=kuk4xrv044g&feature=youtu.be&t=1m3s
- ↑ http://www.iceblockers.com/how_to.html
- ↑ https://www.mnn.com/lifestyle/arts-culture/stories/no-snow-sled-try-ice-blocking
- ↑ http://survival-mastery.com/diy/useful-tools/types-of-rope.html
- ↑ https://www.youtube.com/watch?v=kuk4xrv044g&feature=youtu.be&t=1m57s
- ↑ http://www.iceblockers.com/how_to.html
- ↑ https://www.bonappetit.com/test-kitchen/how-to/article/make-perfectly-clear-cocktail-ice
- ↑ http://www.alcademics.com/2009/12/clear-ice-blocks-at-home-in-an-igloo-cooler.html
- ↑ http://www.alcademics.com/2009/12/clear-ice-blocks-at-home-in-an-igloo-cooler.html
- ↑ https://www.bonappetit.com/test-kitchen/how-to/article/make-perfectly-clear-cocktail-ice
- ↑ https://www.youtube.com/watch?v=bUHcCHbgX_o&feature=youtu.be&t=1m21s
- ↑ https://www.youtube.com/watch?v=bUHcCHbgX_o&feature=youtu.be&t=1m30s
- ↑ https://www.youtube.com/watch?v=bUHcCHbgX_o&feature=youtu.be&t=1m40s
- ↑ https://www.youtube.com/watch?v=bUHcCHbgX_o&feature=youtu.be&t=1m42s
- ↑ https://www.bonappetit.com/test-kitchen/how-to/article/make-perfectly-clear-cocktail-ice
- ↑ https://www.youtube.com/watch?v=bUHcCHbgX_o&feature=youtu.be&t=1m50s
- ↑ https://youtu.be/bUHcCHbgX_o?t=2m
- ↑ https://youtu.be/bUHcCHbgX_o?t=2m5s
- ↑ https://www.youtube.com/watch?v=2FB9kEC7Vj8&feature=youtu.be&t=10m53s
