X
wikiHow is a “wiki,” similar to Wikipedia, which means that many of our articles are co-written by multiple authors. To create this article, volunteer authors worked to edit and improve it over time.
This article has been viewed 48,595 times.
Learn more...
Google Docs provides you with an easy way to create invoices. You can customize the invoice according to your own needs, including private information and business information. You can even share it with your clients and customers.
Steps
-
1Log into Google Docs. On your computer, go to home page of Google Docs, and log into your account using the same email ID and password used for logging into your Gmail account.
-
2Open the Invoice Templates menu. On another web browser tab or window, search for “Google Docs Invoice Templates” to access the Templates menu and select the first result in the list, or access the site directly here.Advertisement
-
3Search for an invoice template to use. The right window of the Invoice Templates menu will display all available invoice templates for you to use in thumbnails. Scroll through this list. You can click the “Preview” link next to each template to see an enlarged sample of the template on your screen.
-
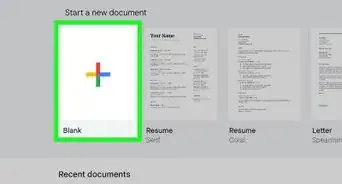
4Select an invoice template. Once you find one that you’d like to use, click “Use this template” button next to the template thumbnail, and it will open in a Google Docs document.
-
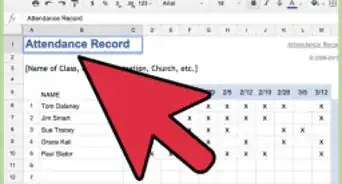
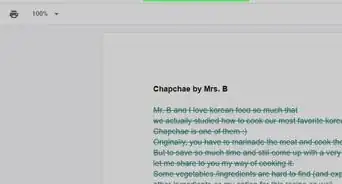
5Set up a generic invoice. Setting up a generic voice will allow you to create future invoices with the same template next time you need it. Edit the details of the template invoice with the contact details (name and contact info), as given in the template. Locations of these fields will vary depending on the template you selected.
- Documents are automatically saved in Google Docs and can be accessed through your Google Docs or Google Drive account.
-
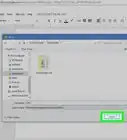
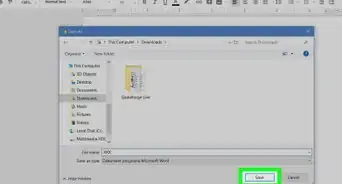
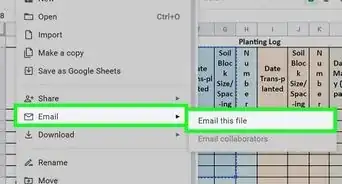
6Create your first Invoice. After creating a generic invoice, make a copy of the invoice and fill it with the real information. To make a copy, click on “File” at the top header and select “Make a copy.” Rename the copy in the pop-up that appears. Make sure you name the invoice appropriately. Click “OK” and the copy document will open.
- Now edit the information on the new invoice. Make sure that all the entered information is correct. Update the invoice number, date of the document, “To” and “For” information, and each line for each item of the invoice. Confirm the total by adding up all the numbers using a calculator.
-
7Create more invoices. If you need more than one invoice, you can always use the generic invoice you created. Access the generic invoice from your Google Doc or Google Drive account, and make a copy. Rename the invoice appropriately for its purpose, and edit the information. Repeat as needed as there is no limit to the number of invoices you can create.
- If you wish to use another template rather than the generic one, go ahead and select another from the Invoice Templates menu.
-
8Share the invoice with your client. After editing the invoice, share it with the respective client clicking “Share” at the top left of the screen and entering the client’s email address.
- You may want to use a custom message to sound more professional.


Advertisement


About This Article
Advertisement