X
wikiHow is a “wiki,” similar to Wikipedia, which means that many of our articles are co-written by multiple authors. To create this article, 43 people, some anonymous, worked to edit and improve it over time.
The wikiHow Video Team also followed the article's instructions and verified that they work.
This article has been viewed 318,022 times.
Learn more...
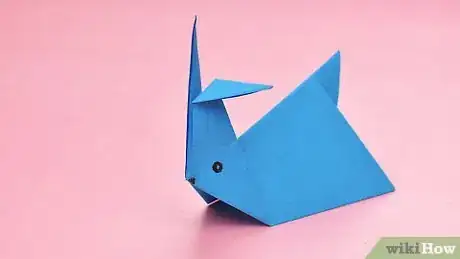
These origami bunnies are cute and fun. You can draw on your bunny, you can make families, and you can even make your bunny hop! While method 2 doesn't hop like Method 1, it does look more like your standard bunny. See Step 1 below (of either method) to get started!
Steps
Method 1
Method 1 of 2:
Making a Hopping Bunny
-
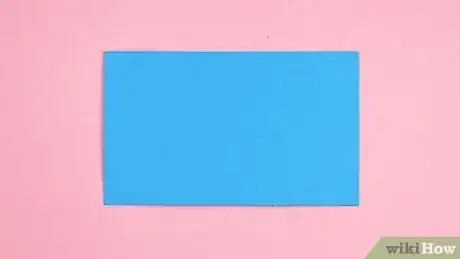
1Grab an index card or other rectangular paper like origami paper. Anything will work, so long as it isn't square. You can use other things like business cards, a dollar bill, or a whole piece of paper. Do note that a small paper will be more likely to hop, but a bigger paper will be easier to fold.
- Origami paper is best, especially because it comes with neat patterns. Two differently colored sides can sometimes make mistakes easier to see.
-
2Fold the top right corner of the index card diagonally down to the opposite side.Advertisement
-
3Open the paper. Then fold the top left corner to the opposite side, just as before.
-
4Open the paper. You should see two creases making an X.
-
5Bend the paper backwards through the middle of the X. This will create a rectangle at the edge of your paper.
-
6Open the paper again. You should see an X with a line through it and several small triangles emerging. Got it?
-
7Push in the side triangles with your fingers. They should pop in towards the center. This is what's going to give your bunny its bounce.
-
8Collapse the folds by pushing the sides in and the top down. Right now it should look like a house. Rectangular on one end, triangular on the other.
-
9Fold the two sides of the "house" inward, so that they meet in the center. The sides will go under the points of the triangle on top. It's fine to leave a small space in between the edges. Now the "house" should look like an arrow.
-
10Turn the arrow over and fold the long bottom part up almost all the way to the top. The point of the "arrow" should still be showing.
-
11Take a little more than half the rectangle and fold it down. Make a solid crease with your finger.
-
12Turn the paper over again. Then, fold both points of the triangle into the center. See the ears?
-
13Curl the points back part way to make ears. Now that you see where the face should go, feel free to draw one on!
-
14Make your bunny hop by pushing down lightly on the space behind his ears. Then, let go! How much air can your bunny get?
Advertisement
Method 2
Method 2 of 2:
Making a Stationary Bunny
-
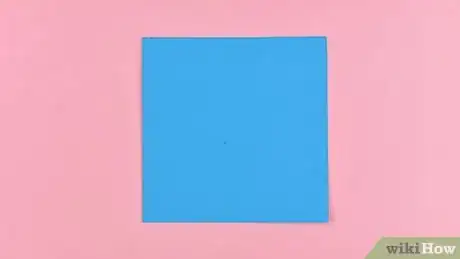
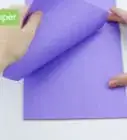
1Start with a large piece of origami paper, patterned-side down. Small works, too -- it's just a bit harder to fold.
-
2Fold the paper in half, forming a triangle.
-
3Open the paper up and fold both sides into the crease. You should now have what looks like the beginning of a paper airplane. It also sort of looks like an ice cream cone -- the cone will be the patterned bit and the underside (the blank side) will jut out on top in a triangle shape.
-
4Fold the exposed underside over the patterned side. In other words, you know the ice cream cone shape you just had? Fold the "ice cream" bit over the "cone" bit. If you're using patterned paper, every bit should be showing you the patterned side.
- You should be looking at a smaller triangle on top of a larger triangle. The paper, as a whole, is one giant, perfect triangle.
-
5Fold the flap (ice cream) 2/3 of the way back. You should be creating a small triangle going the opposite direction; the triangle is the underside (non-patterned) of your sheet. This will eventually be your tail.
-
6Flip the paper over and grab your scissors. Starting at the thinnest point in your big triangle, cut 1/3 of the way down the middle crease. This will create your head and ears.
-
7Fold it in half, folding the cut 1/3 up at a 90-degree angle. Fold them up on both sides. That's the head and ears, there's the body in the middle, and that little triangle you made a few steps ago? That's the tail!
-
8Draw on eyes and a face. Even just two little dots will bring the little fella to life. Now make another bunny so he has a friend!
Advertisement
Community Q&A
-
QuestionDoes standard A3 paper work to make a bigger bunny? Will it hop?
 MattTheWaffleCatCommunity AnswerThe bunny will be larger, but it might not hop if the paper isn't stiff enough.
 -
QuestionWhy doesn't mine hop (I used A4)?
 Community AnswerA4 paper is usually too thick to make origami creations. It is best to use authentic origami paper for the best results.
 -
QuestionCan you explain step 9 more clearly?
 Community AnswerTake the right edge of the bottom rectangle and fold the edge to the center underneath the top triangle piece.
Advertisement
Things You'll Need
- Paper (any type, though origami preferred)
- Scissors (method 2)
- Marker (optional, for face)
References
- Origami: New Ideas for Paperfolding - Gay Merrill Gross, Mallard Press (1990)
- http://www.origami-instructions.com/origami-rabbit.html
About This Article
Advertisement
