This article was co-authored by wikiHow Staff. Our trained team of editors and researchers validate articles for accuracy and comprehensiveness. wikiHow's Content Management Team carefully monitors the work from our editorial staff to ensure that each article is backed by trusted research and meets our high quality standards.
This article has been viewed 1,555 times.
Learn more...
Whether you’re a backyard pro who wants to save a few bucks by making your next set of cornhole bags or you want to create a personalized DIY gift for a cornhole player, making cornhole bags is a simple beginner’s sewing project that can be customized to fit your ideal gameplay. Depending on how you play the game, there are a few different materials you can choose from to create a set of bags that will work best for you. In this step-by-step tutorial, we’ll give you the rundown on the best materials to use as well as a few methods you can use to easily craft your perfect set of 6x6 inch cornhole bags.
Things You Should Know
- Make your own cornhole bags using duck cloth canvas and dry corn or plastic pellets for the filling.
- Cut out 16 squares of duck cloth (2 for each bag so you have 8 bags in total).
- Sew 2 squares of duck cloth together, then pour in the filling to make a bag. Repeat for all 8 bags.
Steps
Cutting the Duck Cloth
-
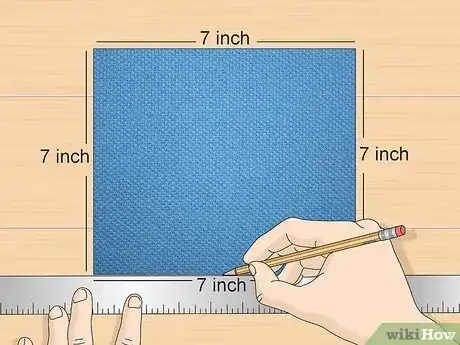
1Measure out a 7x7 inch square of 10 ounce duck cloth.[1] Use a ruler or measuring tool to measure out a piece of canvas that is 7 inches wide and 7 inches long. Make a mark at each of the 7-inch points so you will have a guideline for cutting the canvas. You can also draw lines connecting the marks so that you have a square pattern to cut along.
- Duck cloth is a durable type of canvas that can withstand heavy wear, making it the ideal fabric for making cornhole bags. You can purchase duck cloth at your local fabric store or favorite online fabric retailer.
- Don’t substitute duck cloth for any other canvas or fabric material. If you need extra durable material, substitute 12 oz. duck cloth.
-
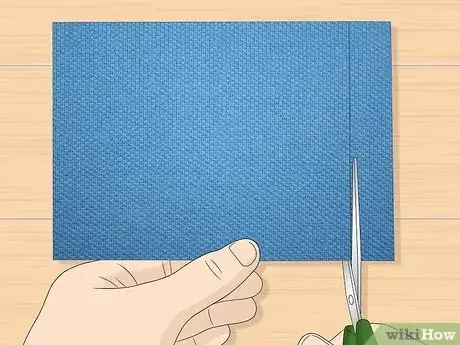
2Cut the duck cloth into a 7x7 inch square. Use fabric scissors or a rotary cutter to make sharp cuts. Cut along a straight edge to make the cut so that you won’t have any jagged edges.[2]
- If you’re using a rotary cutter, make your cuts on a cutting mat so you don’t cause any damage to your work surface.
Advertisement -
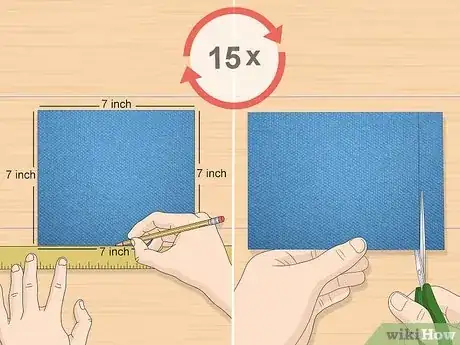
3Repeat 15 more times so you have 16 squares total. A full set of cornhole bags has 8 bags: 4 bags of one color/pattern, and 4 of another color/pattern. You will need two different colors/patterns of duck cloth to create a full set.
- Each bag is made up of two 7x7 squares that are stitched together. Repeat this process 15 times. You should end up with 16 squares; 8 of one color/pattern and 8 of your second color/pattern.[3] You will have a bit of canvas left over.
Creating the Fillable Pouch
-
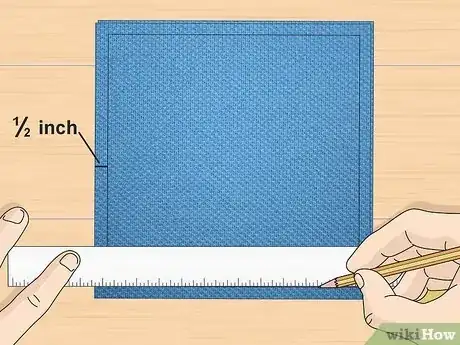
1Create a ½-inch seam allowance. Lay two squares of the same color/pattern on top of each other and measure a ½ inch in from the edge of the fabric. Use a straight edge and a marking pen to mark ½-inch guidelines along each edge. Repeat this process on all four sides of the fabric so that you have a square is drawn that is ½ inch in from your fabric edges. [4]
- A seam allowance is the distance between the fabric’s edge and where you will sew.[5] Having a seam allowance prevents fraying and will create a more durable bean bag. These guidelines are where you will sew the squares together to create a bag.
- If your canvas has two distinct sides to it, lay the squares together with the colored/patterned sides facing each other. You'll flip the bag inside out after sewing it to reveal the patterned side.
-
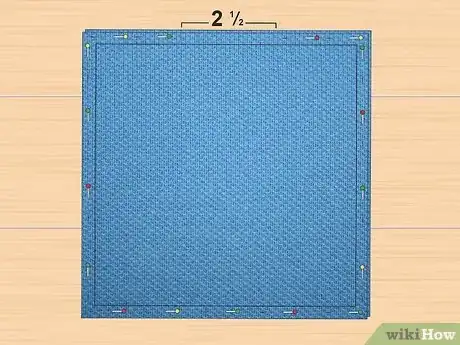
2Insert sewing pins along the guidelines. Mark the seam allowance guidelines with pins on three sides of the square. On the fourth side, begin to pin the edge as you did the other three but keep an opening about 2 ½ inches wide so you can fill the bag before sewing it shut. This will mean using fewer pins than you did on the other three sides.[6]
- Using pins to reinforce your guidelines will keep your canvas aligned as you sew, which will prevent any gaps or inconsistencies.
-
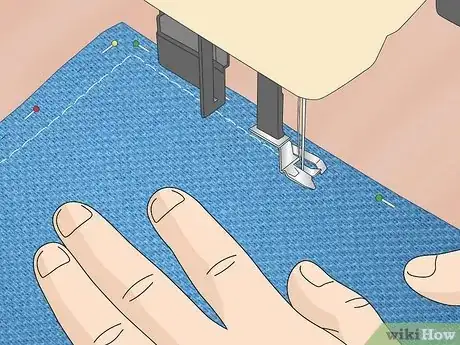
3Follow your seam allowance guidelines and sew the two pieces together. You can sew by hand or use a sewing machine, but be sure to use polyester thread or a similar sewing thread that is just as thick and durable. Remember to leave a gap to fill your bag![7]
-
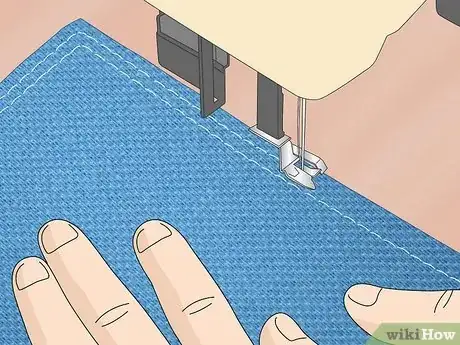
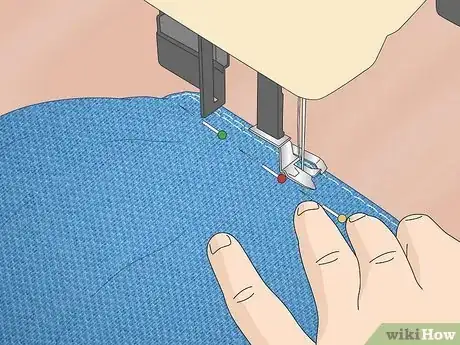
4Add a double-stitched seam for durability. Once you have sewn a seam, go back and add a second seam in between the original and the edge of the fabric to create a double-stitched seam. A double-stitched seam will add enough strength to your bag so it won’t tear as it hits the cornhole boards.[10]
- If you're using a sewing machine, you should have already created a double-stitched seam by using two bobbins and two needles.
Filling the Bag
-
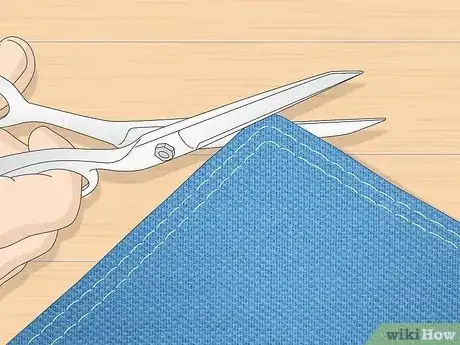
1Cut the excess fabric on each corner of the bag. Use your scissors or rotary cutter to trim off the corners at a diagonal. This will prevent gapping and remove any fabric that may get in the way of throwing the bags.[11]
-
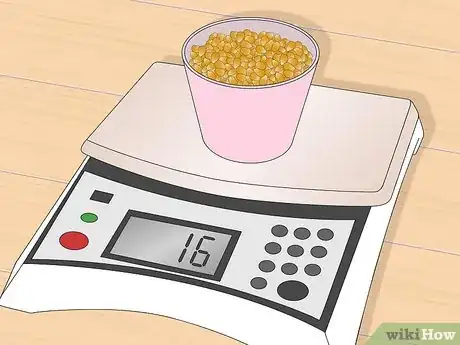
2Use a scale to weigh out up to 16 oz of your preferred filling. You can use either dry corn feed or plastic pellets. [12] Most bags weigh in at 16 oz. Different cornhole leagues play with bags weighing in anywhere from 15.5. to 16.25 oz.[13]
- Dry corn is a traditional filling for backyard cornhole that creates a “dusting” effect as the corn breaks down, which can help your bags slide across the boards. Since corn is a natural material, it can decay over time and may mold or attract pests if not stored properly. You can purchase dry corn at most feed stores or from online retailers.[14]
- Plastic pellets are a longer-lasting and more durable filling option than corn, but they tend to bounce off the boards and won’t have the sliding capacity that corn-filled bags acquire.[15] You can purchase plastic pellets at most craft stores or in the craft sections of big-box retailers.
-
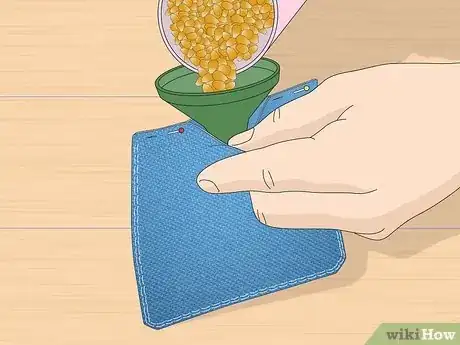
3Hold the edges of the bag apart and pour your filling into the pouch. If you’re having trouble doing this, consider using a funnel tool to hold the pouch open while you pour. Leave a couple of inches of space so you'll have enough room to sew up the bag.
Sewing the Bag Up
-
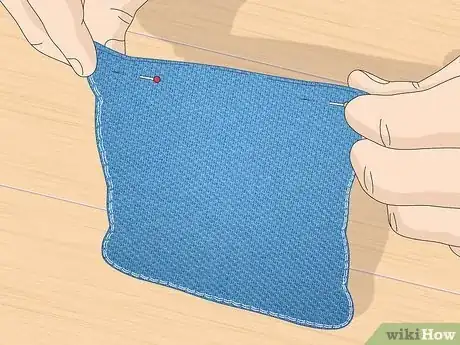
1Fold the opening of the bag together. Roll the fabric down as you pinch the filling down to the bottom of the bag. You want to pack the filling as much as possible so you can grab enough excess fabric to insert sewing pins.[16] .
-
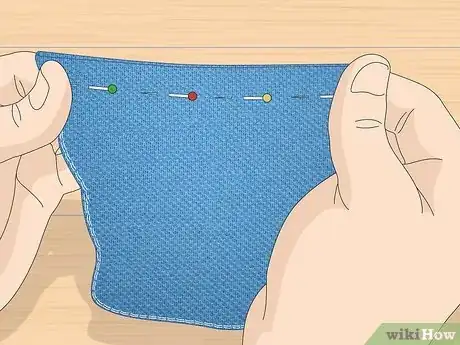
2Insert pins along the opening, using the seam as a guideline. Take caution not to get any filling between the pins and the edge of the bag.[17] .
-
3Sew the opening shut using the double-stitched seam method. Line up your seam with the part of the edge you sewed earlier.
- Repeat the sewing and filling methods until you have a complete set of 8 bags; 4 of each color.
Things You’ll Need
- ½ yard of 10 oz. duck cloth
- ½ yard of 10 oz. duck cloth (different color/pattern)
- 8 lbs of filling (either dried corn feed or plastic pellets)
- Polyester sewing thread
- Fabric scissors or rotary cutter
- Ruler
- Straight edge (can also use the ruler for both functions)
- Cutting mat (optional)
- Marking pen
- Sewing pins
- Sewing needle or sewing machine
- Digital scale
References
- ↑ https://www.youtube.com/watch?v=90DFO0oIITk
- ↑ https://www.youtube.com/watch?v=90DFO0oIITk
- ↑ https://www.youtube.com/watch?v=90DFO0oIITk
- ↑ https://www.youtube.com/watch?v=90DFO0oIITk
- ↑ https://sewguide.com/seam-allowance/
- ↑ https://www.youtube.com/watch?v=90DFO0oIITk
- ↑ https://www.youtube.com/watch?v=90DFO0oIITk
- ↑ https://blog.treasurie.com/double-stitched-seam/#Step_2_-_First_Seam
- ↑ https://blog.treasurie.com/double-stitched-seam/#Step_2_-_First_Seam
- ↑ https://www.youtube.com/watch?v=90DFO0oIITk
- ↑ https://www.youtube.com/watch?v=90DFO0oIITk
- ↑ https://www.youtube.com/watch?v=90DFO0oIITk
- ↑ https://www.cornholebags.com/blogs/news/how-to-make-professional-cornhole-bags
- ↑ https://www.youtube.com/watch?v=90DFO0oIITk
- ↑ https://bestplaygroundsets.com/what-to-fill-bean-bag-toss-bags-with/
- ↑ https://www.youtube.com/watch?v=90DFO0oIITk
- ↑ https://www.youtube.com/watch?v=90DFO0oIITk
