This article was co-authored by Taya Wright, NAPO, RESA. Taya Wright is a Professional Home Stager & Organizer and the Founder of Just Organized by Taya, a BBB Accredited Home Styling Company based in Houston, Texas. Taya has over eight years of home staging and decorating experience. She is a member of the National Association of Professional Organizers (NAPO) and a member of the Real Estate Staging Association (RESA). Within RESA, she is the current RESA Houston chapter president. She is a graduate of the Home Staging Diva® Business program.
There are 10 references cited in this article, which can be found at the bottom of the page.
This article has been viewed 24,218 times.
Between work, school, and family obligations, we can easily let our documents become disorganized. When the time comes to pay bills, refer to a contract, or refinance a loan, disorganized papers make life even more chaotic. The good news is there are actually tricks you can use to keep your documents in order. Once you figure out what to keep, how to organize it, and how to protect it, you might start to feel some of that stress melt away.
Steps
Organizing Documents You Decide to Keep
-
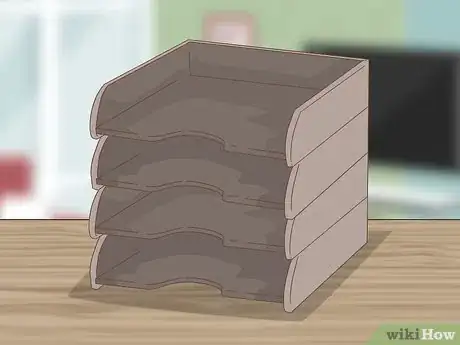
1Purchase stackable document trays. Reserve the top tray for documents you need to read immediately. Label the second tray for documents that can wait a few days. Reserve the third tray for documents you can file, and so on. Place them on your desk within easy reach.[1]
- Organize your papers into categories. Make separate piles for vital documents, legal documents, bank statements, and tax forms. Separate urgent and temporary documents from the other piles. Reserve these for your document trays.
- To remind yourself of which stack contains which documents, place a sticky note on each stack. Put the sticky end of the note on the edge of the paper, and write the name of the pile (such as taxes or contracts) on the edge that sticks out of the stack.
-
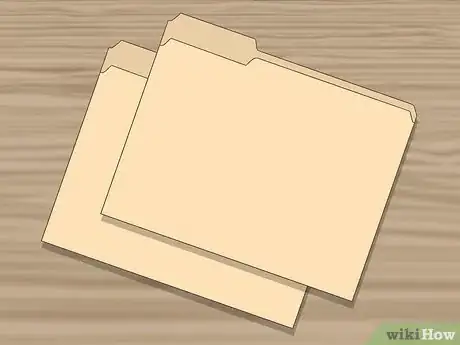
2Buy file folders. Tabbed manila folders make handy filing systems. Write the name of the file on each tab. Use a left-tabbed folder for the first file, a center-tabbed folder for the second, a right-tabbed folder for third, and so on. This will make files easier to spot in a pinch. Buy file folders in any office supply or big box store.
- Color-code your files. You can choose to do this with colored file or hanging folders, stick-on tabs, or colored file labels on your computer operating system. Color-coded files can help you to quickly spot the file you need.
- For example, you could color code your home files as green, your work files as red, and your partner's work files as blue.
Advertisement -
3Purchase hanging folders. If you have more than ten files, buy hanging folders to organize your file folders into logical categories. For example, you can arrange your three most recent tax files into one hanging folder, or loan files into another. You can purchase these in any office supply or big box store.
-
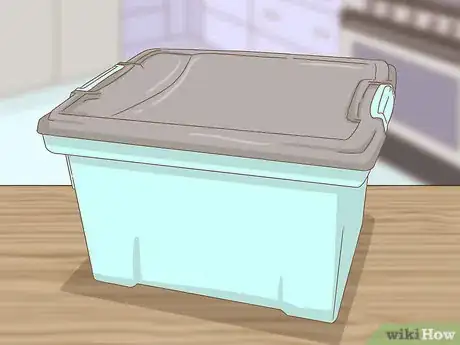
4Buy file boxes. Use these to store your kids' art projects, homework assignments, and report cards. Buy one box per child for each school year. Choose boxes that are plastic and water tight.
-
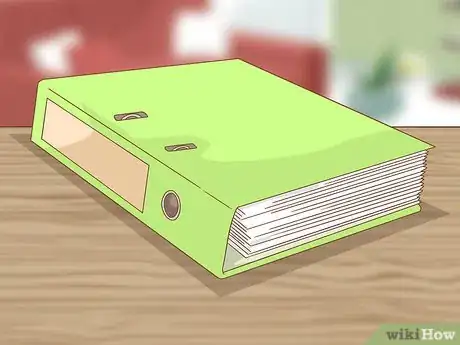
5Purchase binders. This is a good option if you're a student, an academic, or a writer. Use binders to organize your papers, articles, chapters, drafts, and notes. Use binder dividers to separate different assignments.
-
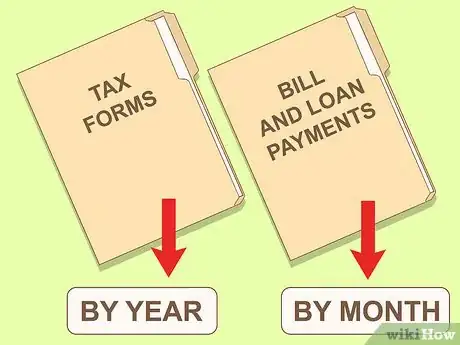
6Use a chronological system for taxes, bills, and loans. Sort tax forms by year. Sort bill and loan payments by month. Place the oldest files in the back of the hanging folder. Files organized by year should go in the back of the file cabinet, since you won't need to refer to them that often. Place files organized by month at the front.
-
7Organize client or topic files alphabetically. If you're dealing with proper names, alphabetize folders by people's last names or businesses' first names. If the name of a business starts with “A,” “An,” or “The,” alphabetize by the first important word. Depending on the size of the topics your business covers or clients your business has, you can label each file folder by a single letter of a range of letters. For example, you could:
- Separate businesses and individuals into separate hanging folders.
- Organize people's names in orders such as “Brown, John” before “Smith, Ann.” Organize businesses in orders such as “The Dew Drop Inn” before “A Slice of Heaven Pizza Parlor.”
- To alphabetize by a range of letters, place a file called “Doe, Jane” into a folder labeled D-F. Place a file called “Acme, Inc.” into the A-C file.
Protecting Your Documents
-
1Keep vital documents in a safety deposit box. Off-site safety deposit boxes keep birth certificates and other vital documents safe from fires, burglaries, and natural disasters that can strike your home.[2] Most banks rent out safety deposit boxes for reasonable fees. You can choose from a variety of sizes depending on how many documents you need to store.
-
2Buy a fireproof file cabinet. Use it to store documents that you will eventually shred or recycle. Not all file cabinets protect your documents from fires. Fireproof cabinets are more expensive, but they are worth the investment. Purchase a fireproof cabinet any location that sells office supplies.
-
3Scan your important documents. Even if you decide to keep the paper copies indefinitely, it's always a good idea to have electronic backups. Scan your documents as PDFs.
- To make your scanned documents more user-friendly, save them as searchable PDFs.
- As an alternative, you can photograph your documents. However, you should only do this if your camera has sharp enough resolution to capture the fine print.
-
4Password-protect your scanned files. Choose a password that you can remember but would be difficult for a hacker to crack. Avoid birthdates, anniversaries, or the names of children or pets. Choose passwords that contain capital and lowercase letters, numbers, and symbols. Think about numbers or symbols that can replace letters. For example, “1” can replace a capital I, or “@” can replace a lowercase a.
- For added security, change your password every three to six months.
-
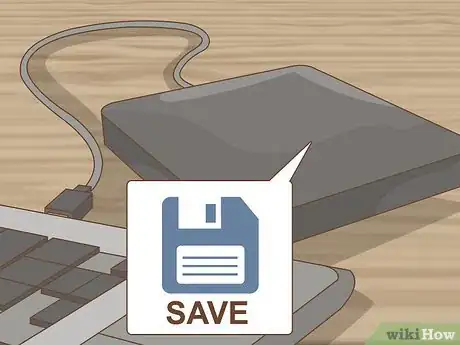
5Save your scanned files to a removable hard drive. You can buy external hard drives at any store that sells computers, such as Simply Mac or Staples. Most external hard drives are compatible with Windows or Mac but are not interchangeable. If you store your Mac files on an external drive, you can't use it for a Windows PC or vice versa.
- Store your hard drive in a fireproof safe when you're finished backing up your files.
Deciding What to Keep
-
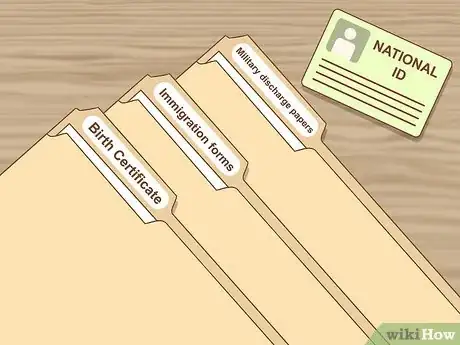
1Keep vital documents. This includes anything that proves your existence, citizenship, or eligibility to vote. You should keep most of these documents indefinitely. The only exception to this rule is expired voter registration cards. If your precinct has changed, or if you have moved, keep your old card until you receive a new one. Other vital documents include:
- Birth certificates
- Immigration forms
- Social Security or National ID cards
- National health insurance cards, if applicable
- Military discharge papers
-
2Keep documents pertaining to assets. Asset documents prove that you own, or are in the process of owning, something outright. You should keep these documents until you sell the item in question.[3] Examples of asset documents are:
- Property deeds (domestic or commercial)
- Vehicle titles
- Stock certificates
- Unconverted savings bonds
-
3Keep documents pertaining to liabilities. Liabilities are any debts that you are paying. Hold onto any application or contract until the loan is paid off.[4] Liabilities include:
- Student loans
- Vehicle loans or lease contracts
- Mortgages or leases
- Payment plans for medical or legal services
- Installment plans for furniture or appliances
-
4
-
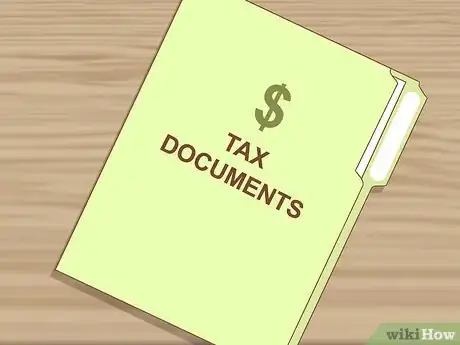
5Keep tax documents. In most cases, the IRS recommends keeping tax documents for three years. If you are unsure of the accuracy of your return or if you are audited within three years after you file your return, visit IRS.gov for details on how long you should keep your paperwork.[7]
-
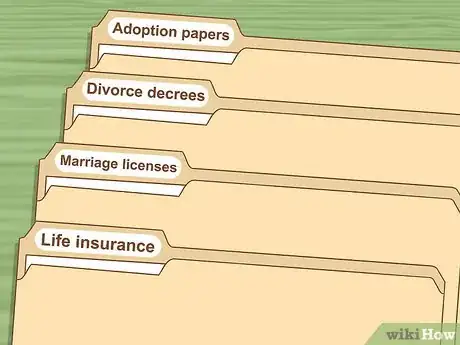
6Keep any legal documents. You should hold onto legal proceedings, such as lawsuits, for at least seven years. If your legal documents deal with your estate planning, change in marital status, or licensed proof of ownership, you should keep them for life.[8] Examples of legal documents include:
- Wills, living wills, and life insurance documents
- Marriage licenses
- Divorce decrees
- Adoption papers
- Copyrights or patents
-
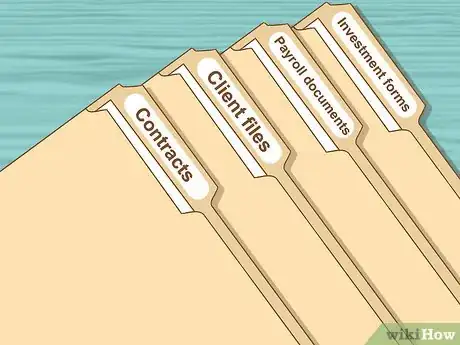
7Keep business forms. Follow the three-year rule for domestic taxes. You should keep all other documents for the life of the account they pertain to.[9] Examples of business forms include:
- Contracts
- Client files
- Payroll documents
- Investment forms
- Bad investment write-offs
Deciding What to Discard
-
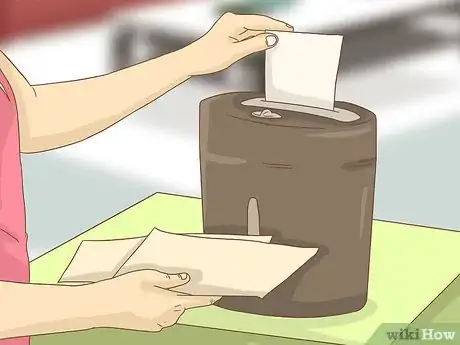
1Shred documents with personal information. Look for cross shredders, which shred documents horizontally and vertically. Cross-shredding makes documents extra difficult for identity thieves to piece back together. If you want to shred more than just paper, you will have to buy a CD or credit card shredder. You can buy them in any office-supply or big box store, such as Staples or Super Target. Personal information includes:
- Proper names
- Specific addresses
- Social Security Numbers
- Credit card numbers
- Bank account numbers
- Phone numbers
-
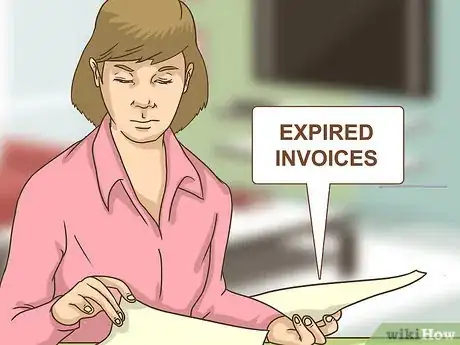
2Discard expired invoices. Unless you need to claim a payment for a tax deduction, you can discard bills and other invoices that you have already paid. This is especially true for monthly statements for your phone, cable, credit card, utilities, and similar services. You can use canceled checks or electronic receipts (saved as PDFs) as proof of payment.
-
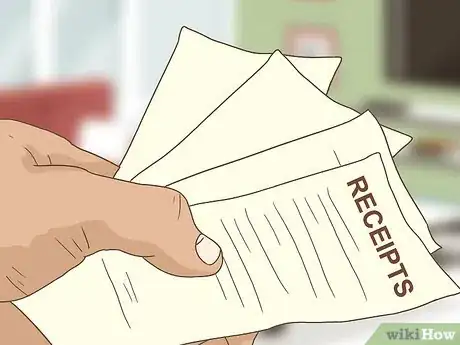
3Discard receipts. There's usually no reason to keep receipts for longer than a month or two.[10] Do this after you have compared the expenses to your monthly credit or debit card statement.[11] Look for any personal information on the receipt, such as your credit card number or address. If it doesn't list any personal information, you can toss the receipt in the recycling bin. If you do see personal information, shred it.
- There is an exception to this rule. Hold on to receipts for items you have insured, such as a vehicle or an expensive piece of jewelry.[12]
Things You'll Need
- Color-coded file folders or stick-on tabs
- Hanging folders
- Document trays
- File boxes
- Binders
- Fireproof file cabinet
- External hard drive
- Fireproof safe
- Safety deposit box
- Scanner or high-resolution digital camera
- Shredder
References
- ↑ http://www.inc.com/neil-patel/how-to-organize-your-office-for-maximum-productivity.html
- ↑ https://www.fdic.gov/consumers/consumer/news/cnfall09/five_things.html
- ↑ https://publications.usa.gov/epublications/keeprecords/keeprecords.htm
- ↑ http://www.consumerreports.org/taxes/how-long-to-keep-tax-documents/
- ↑ http://www.nytimes.com/2010/03/25/your-money/household-budgeting/25RECORDS.html
- ↑ http://www.nytimes.com/2010/03/25/your-money/household-budgeting/25RECORDS.html
- ↑ https://www.irs.gov/businesses/small-businesses-self-employed/how-long-should-i-keep-records
- ↑ http://www.consumerreports.org/taxes/how-long-to-keep-tax-documents/
- ↑ https://www.irs.gov/businesses/small-businesses-self-employed/how-long-should-i-keep-records
- ↑ Taya Wright, NAPO, RESA. Professional Home Stager & Organizer. Expert Interview. 2 April 2020.
- ↑ https://www.bbt.com/education-center/articles/shredding-personal-documents.html
- ↑ http://money.usnews.com/money/personal-finance/articles/2015/01/08/cleaning-your-financial-house-4-items-to-keep-and-4-to-shred
