This article was co-authored by Archie Guerrero. Archie Guerrero is a Commercial and Residential Painting Specialist and the Operations Manager for DGP Painting in Austin, Texas. With a decade of experience, Archie specializes in interior and exterior painting and staining, cabinet refinishing, and wallpaper and popcorn removal. DGP Painting offers clients environmentally friendly paint materials and top-of-the-line paint products. DGP Painting has an A+ rating with the BBB and has been in Austin’s “Best of the Best.”
There are 10 references cited in this article, which can be found at the bottom of the page.
This article has been viewed 11,143 times.
Exposed pipes can give your home an industrial-chic look, so you may want to leave them bare when you’re repainting your walls. Since painting around anything can be tricky, it helps to protect the pipes with painter’s tape or newspaper (or a combination of both). That way, you don’t have to worry about specks or splatters. When it comes to applying the paint, basic tools like brushes, rollers, and edgers can make it easier in areas where the pipes connect to or run alongside the wall. Don’t worry if you make mistakes because paint thinner or rubbing alcohol can remove paint from metal or plastic pipes.
Steps
Protecting the Pipes
-
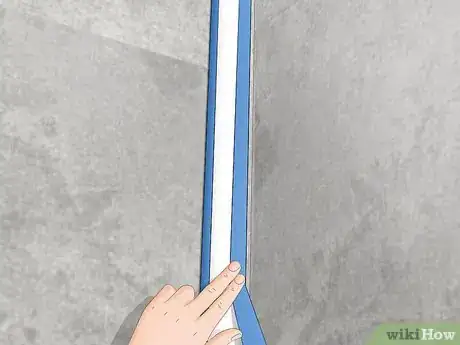
1Apply painter’s tape to protect the end of the pipe that meets the wall. If the pipes go into the wall at a perpendicular angle, rip off a piece of painter's tape long enough to go around the circumference of the pipe. Stick one end onto the pipe and run it around the pipe, placing the edge of the tape as close to the wall as you can.[1] [2]
- Repeat this process for each pipe that is attached to the area you're painting.
- If your tape is thinner than 2 inches (5.1 cm), add another ring of tape to protect more of the pipe.
- Remove the painter’s tape when the paint is damp so you can wipe away any fresh paint that may have seeped under the tape.
- Make sure the tape is completely stuck to the pipe to prevent any air pockets where paint can seep under.
-
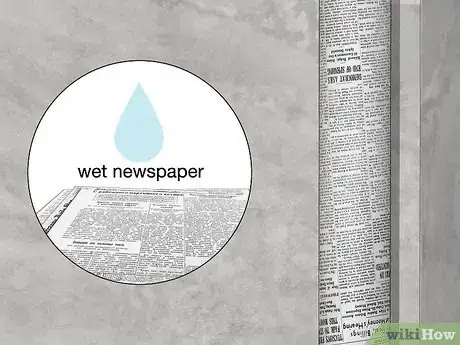
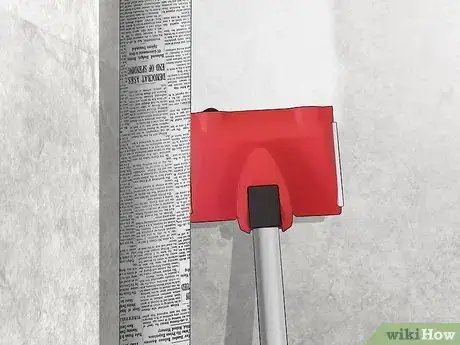
2Wrap the pipe in a sheet of wet newspaper to protect it from paint splatter. If the pipe runs parallel to the wall, it may get splattered with paint as you cover the wall behind it. To prevent this, wet the pipe and wrap the newspaper around it so it sticks. You don’t need to tape it because the moisture will hold the newspaper in place.[3]
- If it’s not sticking, wet a second sheet of newspaper and wrap it around the top layer.
Advertisement -
3Wrap dry paper around long pipes and tape it loosely so you can slide it. If you have a long pipe that runs parallel to the wall or ceiling, it may be more time-effective to make a slideable protector. Loosely wrap the pipe with dry newspaper, thin cardboard, or scrap paper and secure it with tape. Leave some slack in the paper so you can slide it along the pipe as you paint different areas of the wall or ceiling.[4]
- Note that this won't work if your pipe has smaller pipes coming off of it.
Painting Behind and Around Pipes
-
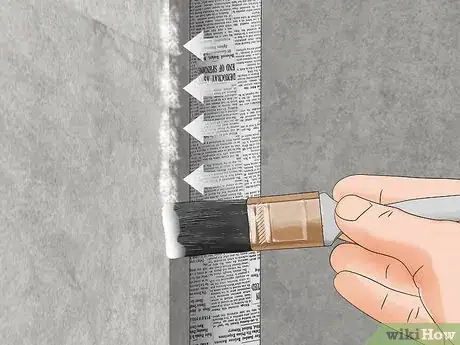
1Dab paint onto the wall around the protected pipe with a 1 inch (2.5 cm) brush. Dip the brush into your paint and wipe off any excess onto the side of the bucket or tray. Use a slow, precise stabbing motion to apply paint to the wall directly around the area where the pipe meets the wall.[5]
- While you can use any size brush for this, it may help to use a smaller one so you can be more precise.
- If the pipe runs parallel to the wall and then curves into it, use a small brush with a long handle to paint behind the pipe and around where it meets the wall.
-
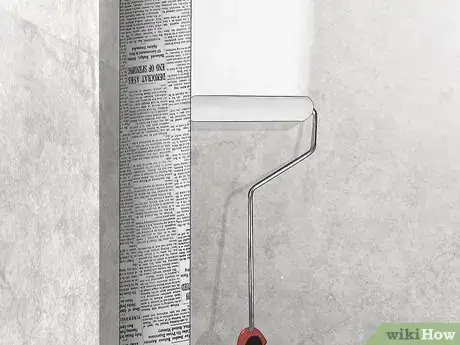
2Use a “hot dog” roller to paint behind rows of pipes running parallel to the wall. If you have multiple pipes positioned next to each other and slightly away from the wall, your best bet is to use a very small roller brush (also known as a “hot dog” paint roller). Roll the brush in the deep end of the paint tray and roll off any excess paint on the shallow end to keep splattering to a minimum. Then hold the handle of the roller parallel to the wall paint it in small, deliberate strokes.[6]
- It may help to hold the top of the roller handle in your right hand and the bottom in your left so you can apply pressure towards the base of the roller to steady it against the wall.
-
3Use a paint edger to paint directly around where the pipe meets the wall. A paint edger is a painting sponge intended to paint straight edges, but you can maneuver it to paint around curves. Dip the sponge into the paint, blot away the excess, and align the side of the edger with the rounded edge of the pipe. Sweep around the pipe in one direction, slightly turning the edger so the side is right next to the pipe.[7]
- Depending on how your pipe fits into the wall, you may need to switch hands as you move the edger around the pipe.
- It may help to think of the pipe as a clockface at the point where it enters the wall. For instance, start the edger at the 1 o’clock position and sweep it to the 6 o’clock position. Then, if you need to, switch hands to start at the 12 o’clock position and sweep down to the 6 o’clock position.
- As an alternative, use a small, clean kitchen sponge.
Removing Paint from Metal Pipes
-
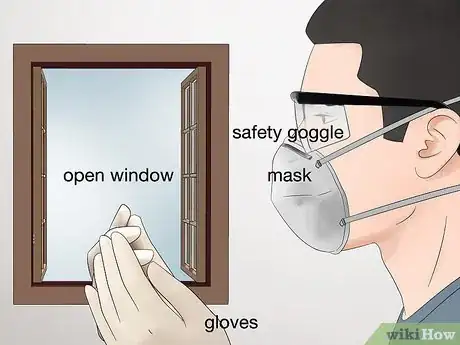
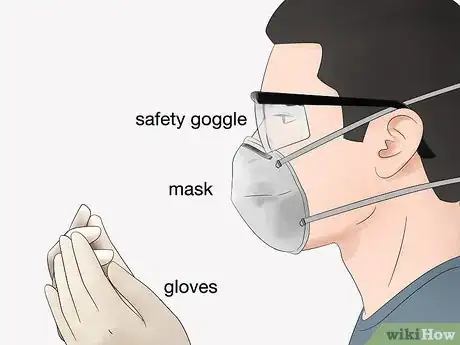
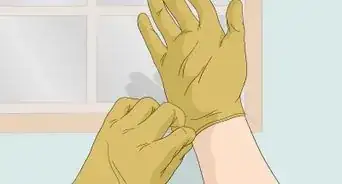
1Wear gear to protect your eyes, nose, mouth, and skin. It’s important to protect yourself from paint thinner because too much exposure can cause chemical burns, irritation, and (in severe cases) blindness. Inhaling a lot of the fumes can cause other health problems so be sure to cover your mouth and nose with a mask or thick bandana and, if possible, open a door or window to increase airflow in the area.[8]
- If you get paint thinner on your skin, wash the area with soap and water.
- If paint thinner splashes into your eyes, flush them with water for 20 to 30 minutes. If pain or redness develops, see a doctor as soon as you can.
- If you experience shortness of breath, a burning throat, or bluing lips and hands during or after using paint thinner, call an ambulance.
-
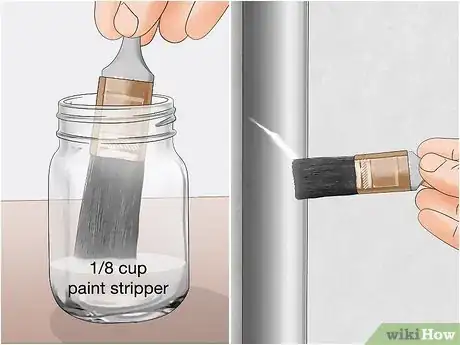
2Apply paint stripper with a small paintbrush. Pour 1⁄8 cup (30 mL) of paint stripper into a metal or glass jar and dip a disposable paintbrush into it. Apply the paint stripper to the pipe where you want to remove the paint.[9] [10]
- Don’t pour the paint thinner into a plastic container because it may start to dissolve the plastic.
- Note that paint stripper will only lift oil-based paint that is still damp or freshly dried.
- If you used latex paint to paint the walls or ceiling, rubbing the pipe with soap and water or baking soda and water will do the trick!
-
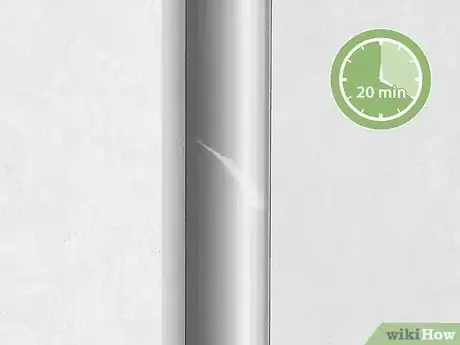
3Allow the paint stripper to sit for 20 minutes or until it bubbles. Refer to the instructions on the bottle to see how long you wait after applying the paint thinner. If it starts to bubble, that’s a sign it’s lifting the paint and you can start to scrub it away.[11]
- If it doesn’t start to bubble after 20 minutes, add another layer and wait 20 to 30 minutes longer.
-
4Use a nylon brush or scrubbing pad to scrub away the paint. Don’t forget to wear gloves as you use a nylon brush or scrubbing pad to scrub the paint off of the pipe. Apply firm pressure to the pipe and use small, deliberate movements (similar to how you would scrub charred bits off of a baking pan).[12]
- If the paint is not coming off, add more paint thinner with a brush and let it sit for 20 or 30 minutes.
-
5Apply mineral spirits to a rag and wipe down any leftover bits of paint. Mineral spirits will get any small leftover flakes and residue from the paint thinner. Keep your gloves on and pour about 1⁄8 cup (30 mL) of mineral spirits onto a fresh rag. Scrub down the pipe using firm pressure on any spots with leftover paint.[13]
- Mineral spirits will only remove still-damp or freshly-dried oil-based paint.
- You can buy mineral spirits from any home improvement or hardware store.
-
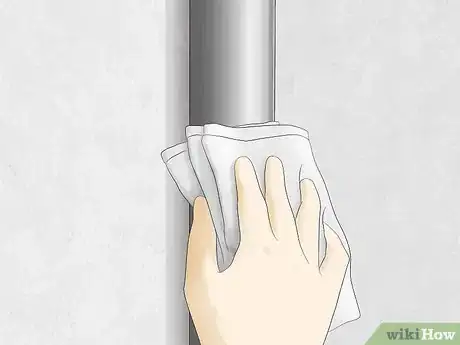
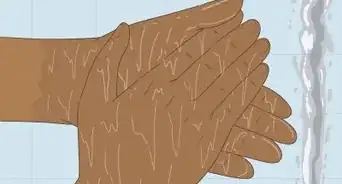
6Clean the pipe with a fresh, damp rag. Dampen a clean rag with plain water and wipe down the pipe to remove any leftover chemicals from the paint thinner and mineral spirits. Use another rag to wipe the pipe dry.[14]
- It’s important to clean off the residue from paint thinner and mineral spirits because the leftover vapors can be a fire hazard or cause health problems in small, poorly-ventilated rooms.
Cleaning Paint off of Plastic Pipes
-
1Put on a protective face mask, glasses, and gloves. Protecting your nose, mouth, eyes, and hands will prevent any adverse reactions to rubbing alcohol. It’s okay to get a little on your skin, but it’s best to wear gloves—especially if you have sensitive skin.[15]
- If you get any rubbing alcohol in your eyes, flush them with water or saline solution for 20 to 30 minutes.
- If you experience coughing, shortness of breath, wheezing, or burning in your mouth, throat or chest after handling rubbing alcohol, call an ambulance.
-
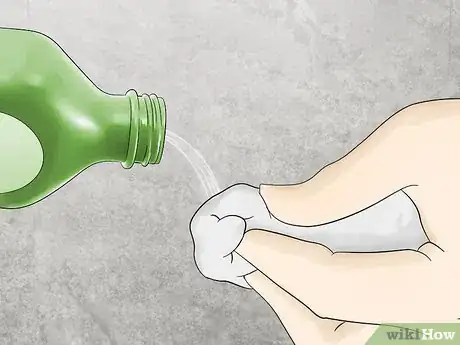
2Dampen a rag with rubbing alcohol. Place a rag over the opening of the rubbing alcohol and turn it over to dampen the rag. Do this a few times until you have a damp area wide enough to cover a large area of the pipe.[16]
- For instance, if you’re working with a pipe that has a circumference of 4 inches (10 cm), dampen the rag until you have a wet spot that’s 4 inches (10 cm) in diameter.
- If you don’t have rubbing alcohol, you can also use nail polish with acetone.
-
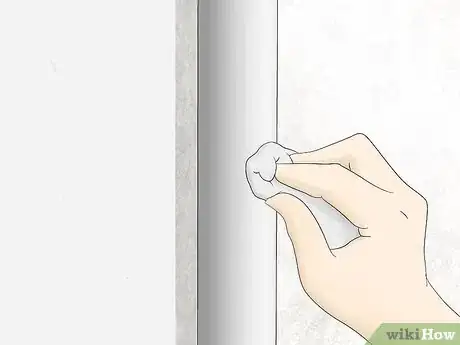
3Scrub the pipe with the dampened part of the rag. Place the damp part of the rag over the areas that have paint you want to remove. Scrub all along the pipe, adding more rubbing alcohol to rewet the rag when you notice it's less effective or getting dry.[17]
- You should start to see the paint lift as you rub it away.
-
4Use a cotton swab dipped in rubbing alcohol to reach small areas. If you want to remove paint from small crevices near the end of the pipe without removing it from the nearby wall, dip a cotton swab in rubbing alcohol and rub it against the paint you want to remove. You may need to use several cotton swabs if the first one becomes saturated with paint.[18]
- For stubborn speckles, use a dull butter knife to scrape it away.
Warnings
- If you experience redness, irritation, trouble breathing or burning of the mouth or throat after using any chemical solvents, call an ambulance right away.⧼thumbs_response⧽
Things You’ll Need
Painting Behind and Around Pipes
- 1 inch (2.5 cm) brush (or other small brush)
- Small "hot dog" paint roller
- Paint edger
- Small kitchen sponge (optional)
Removing Paint from Metal Pipes
- Glasses or goggles
- Gloves
- Face mask or bandana
- Paint stripper
- Metal or glass jar
- Clean paintbrush
- Rags (2 to 3)
- Nylon brush or scrubbing pad
- Mineral spirits
Cleaning Paint off of Plastic Pipes
- Glasses or goggles
- Gloves
- Face mask or bandana
- Rag
- Rubbing alcohol (or nail polish remover with acetone)
- Cotton swab
- Butter knife (optional)
References
- ↑ Archie Guerrero. Commercial & Residential Painting Specialist. Expert Interview. 17 June 2021.
- ↑ https://www.thisoldhouse.com/ideas/5-cool-painters-tape-techniques
- ↑ https://www.fix.com/blog/hacks-for-painting-your-home/
- ↑ https://www.thisoldhouse.com/ideas/secrets-pro-painters
- ↑ https://youtu.be/_apgu7OgT40?t=124
- ↑ https://youtu.be/mppPygfl89Y?t=218
- ↑ https://youtu.be/6MLHT65Uxlk?t=104
- ↑ https://www.bobvila.com/articles/how-to-remove-paint-from-metal/
- ↑ Archie Guerrero. Commercial & Residential Painting Specialist. Expert Interview. 17 June 2021.
- ↑ https://www.bobvila.com/articles/how-to-remove-paint-from-metal/
- ↑ https://www.bobvila.com/articles/how-to-remove-paint-from-metal/
- ↑ https://www.bobvila.com/articles/how-to-remove-paint-from-metal/
- ↑ https://www.bobvila.com/articles/how-to-remove-paint-from-metal/
- ↑ https://www.bobvila.com/articles/how-to-remove-paint-from-metal/
- ↑ https://www.nj.gov/health/eoh/rtkweb/documents/fs/1076.pdf
- ↑ https://www.bobvila.com/articles/how-to-remove-paint-from-plastic/
- ↑ https://www.bobvila.com/articles/how-to-remove-paint-from-plastic/
- ↑ https://www.bobvila.com/articles/how-to-remove-paint-from-plastic/
