This article was co-authored by wikiHow Staff. Our trained team of editors and researchers validate articles for accuracy and comprehensiveness. wikiHow's Content Management Team carefully monitors the work from our editorial staff to ensure that each article is backed by trusted research and meets our high quality standards.
There are 8 references cited in this article, which can be found at the bottom of the page.
wikiHow marks an article as reader-approved once it receives enough positive feedback. This article received 11 testimonials and 86% of readers who voted found it helpful, earning it our reader-approved status.
This article has been viewed 329,160 times.
Learn more...
Pasteurization slows the growth of bacteria in foods (usually liquids) by heating the food to a certain temperature and then cooling it. Drinking milk that has not been pasteurized comes with a higher risk of bacterial disease. If you milk your own cows or goats, knowing how to pasteurize milk at home will prevent bacteria growth and increase the shelf life.
Steps
Setting Up
-
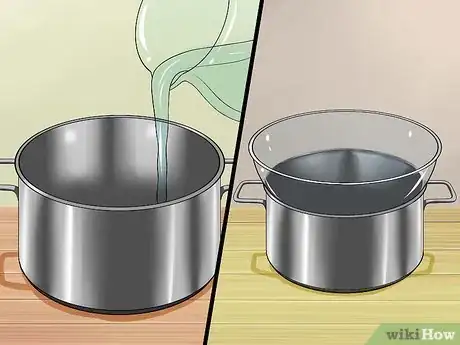
1Set up a double boiler. Fill a large pan with about 3 to 4 inches (7.5 to 10 cm) of water. Place a slightly smaller pan in the water, ideally without the bases touching. This setup lowers the risk of scorching and burnt flavors.[1]
-
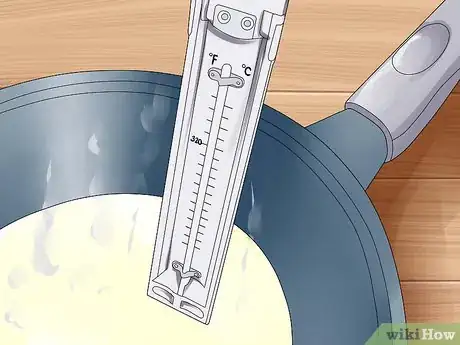
2Put a clean thermometer in the top pan. You'll want to track the temperature constantly, so a floating dairy thermometer or a clip-on candy thermometer works best. Wash the thermometer in hot, soapy water first, then rinse. Ideally, sanitize the thermometer by rubbing it with a single-use alcohol swab, then rinsing again.
- If your thermometer doesn't clip to the pan or float, you'll have to insert it by hand frequently during pasteurization. Work near a sink so you can clean and sanitize the thermometer again after every measurement.
Advertisement -
3Prepare an ice bath. The faster you cool your milk after pasteurization, the safer and tastier it will be. Fill a sink or large tub with cold water and ice so you'll be ready to go.
- An old-fashioned ice cream machine is especially effective. Pack the outer compartment in ice and rock salt as you would normally.[2]
- Read the full instructions below before you set this up. After reading, you might decide to use the longer pasteurization process, in which case you'll want to keep the ice in the freezer for another half hour.
Pasteurizing
-
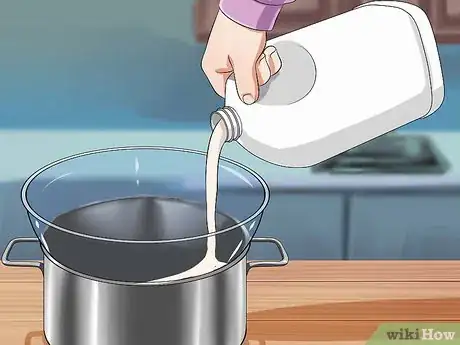
1Pour the raw milk into the inner pan. Pour through a strainer if the milk hasn't been strained since it left the animal.[3]
- For small home batches, it's easiest to pasteurize milk one gallon (3.8 liters) at a time.
-
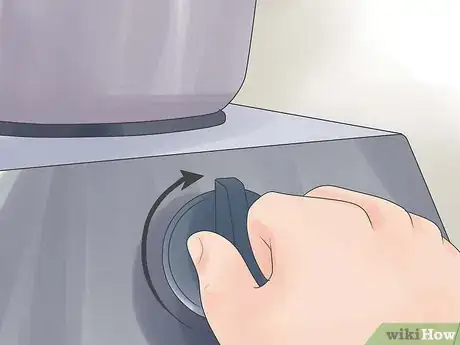
2Heat while stirring. Place the double boiler over medium–high heat. Stir frequently to help equalize the temperature and prevent scorching.
-
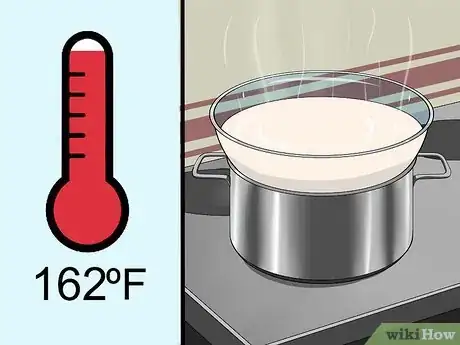
3Watch the temperature closely. Make sure the thermometer probe is not touching the sides or base of the pot, or the measurement will be off. As the milk approaches the temperature listed below, stir constantly and draw milk from the bottom of the pan to eliminate hot and cold spots. There are two ways to pasteurize milk, both of them safe and USDA-approved:High Temperature Short Time (HTST)
Faster, with less effect on taste and color.[4]
1. Bring the temperature to 161ºF (72ºC).
2. Keep it at or above this temperature for 15 seconds.
3. Remove from heat immediately.Low Temperature Long Time (LTLT)
Recommended for cheesemaking to avoid accidental overheating.[5]
1. Bring the temperature to 145ºF (63ºC).
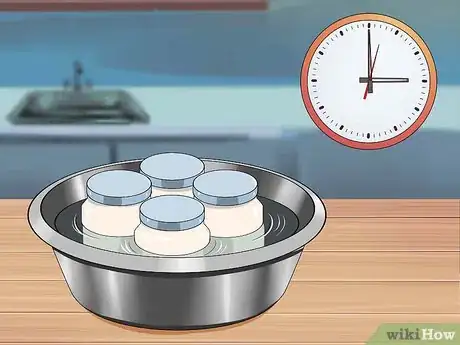
2. Keep the milk at or just above this temperature for 30 minutes. Restart the timer if the temperature drops below 145ºF.
3. Remove from heat. -
4Cool the milk rapidly in the ice bath. The faster you cool the milk, the better it will taste. Put it in the ice bath and stir frequently to help release heat. After a few minutes, replace some of the warming water with cold water or ice. Repeat this whenever the water warms — the more often, the better.[6] The milk is ready once it reaches 40ºF (4.4ºC). This can take as long as forty minutes in an ice bath, or twenty minutes in an ice cream machine.
- If the milk does not reach 40ºF (4.4ºC) within four hours, assume it has been recontaminated. Pasteurize it again and cool it more rapidly.
-
5Clean and sanitize containers. Clean a milk container thoroughly with hot water and soap before using. For best results, sterilize a heat-safe container after cleaning by submerging it in hot water (at least 170ºF / 77ºC) for 30 to 60 seconds.
- Let the container air dry. Using a cloth towel can reintroduce bacteria.
-
6Store in the refrigerator. Pasteurization only kills 90 to 99% of bacteria in the milk. You still need to refrigerate the milk to prevent the bacteria population from growing to unsafe levels. Seal the container tightly and keep it away from light.[7]
- Pasteurized milk without further treatment typically lasts 7–10 days if you pasteurize soon after milking. The milk will go bad sooner if stored above 45ºF (7ºC), if new contamination is introduced (for instance by touching it with a dirty spoon), or if the raw milk was not stored correctly before pasteurization.
-
7Upgrade to specialized tools. If you have your own animals and pasteurize a lot of milk, consider buying a dedicated milk pasteurizing machine. A machine can pasteurize larger batches and may do a better job preserving the milk's flavor. "Batch" or LTLT (low temperature long time) machines are the cheapest and simplest, but HTST (high temperature short time) machines are faster and usually have less effect on taste.[8]
- The milk still needs to cool rapidly for the pasteurization to work. Remember to transfer the milk to a cold water bath if your machine doesn't include this step.
- The HTST machine tends to break down (denature) fewer proteins, as long as it doesn't heat above 172ºF (77.8ºC). This gives more consistent results when the milk is used for cheese.[9]
Community Q&A
-
QuestionIs the pasteurised milk good for health?
 Community AnswerPasteurised and raw milk are very similar nutritionally, including as sources of calcium and protein. The main difference is that raw milk contains slightly more vitamins, and significantly more vitamin B2 (riboflavin). It's up to you whether this benefit is worth the increased risk of an infection from dangerous bacteria in raw milk.
 -
QuestionHow is milk pasteurized and packed into pouches?
 Community AnswerMilk products labeled "UHT" have gone through "ultra high temperature" processing, which uses much higher heat than normal pasteurization. As long as the package remains closed, UHT milk can last for months on the shelf without refrigeration.
 -
QuestionHow is pasteurization used?
 Community AnswerAs with cream, pasteurization is used to get rid of any bacteria that may be present. It also destroys lipases (enzymes that break down fat), which can affect how the cream tastes.
Warnings
- Do not let the thermometer touch the bottom of the pan. This will lead to a false reading.⧼thumbs_response⧽
- Infrared (non-contact) thermometers can be inaccurate for this purpose, since they only measure the surface temperature. If you plan to use one, draw some milk up from the bottom to the surface first to get a more accurate result.[11]⧼thumbs_response⧽
Things You'll Need
- 2 cooking pots
- Water
- Stove
- Wooden stirring spoon
- Floating or clip-on food thermometer
- Ice
- Sink with drain stopper, or large tub
- Clean container for milk storage
- Refrigerator
- Alcohol swabs or boiling water for sterilization (recommended)
References
- ↑ http://extension.oregonstate.edu/lane/sites/default/files/documents/sp_50-932home_pasteurizationofrawmilk_.pdf
- ↑ http://www.everything-goat-milk.com/milk-pasteurization.html
- ↑ http://www.everything-goat-milk.com/milk-pasteurization.html
- ↑ https://books.google.com/books?id=BizOBQAAQBAJ
- ↑ http://www.cheesemaking.com/learn/faq/milk.html
- ↑ http://www.everything-goat-milk.com/milk-pasteurization.html
- ↑ https://books.google.com/books?id=BizOBQAAQBAJ
- ↑ http://dairyknowledge.in/article/pasteurization
- ↑ http://www.cheesereporter.com/HTSTvsBatch.pdf
About This Article
The best way to pasteurize milk is to pour raw milk into a double boiler and stir it over medium-high heat. Keep the milk above 165 °F for 15 seconds or below 145 °F for 30 minutes and then remove the milk from heat. Cool the milk in an ice bath until it reaches 40 °F and refrigerate. To learn how to set everything up and how to use a dedicated milk pasteurizing machine, scroll down!
