This article was co-authored by Ben Barkan. Ben Barkan is a Garden and Landscape Designer and the Owner and Founder of HomeHarvest LLC, an edible landscapes and construction business based in Boston, Massachusetts. Ben has over 12 years of experience working with organic gardening and specializes in designing and building beautiful landscapes with custom construction and creative plant integration. He is a Certified Permaculture Designer, is licensed Construction Supervisor in Massachusetts, and is a Licensed Home Improvement Contractor. He holds an associates degree in Sustainable Agriculture from the University of Massachusetts Amherst.
This article has been viewed 17,646 times.
Callaloo, or Amaranthus Spinosus, also known as Jamaican or Caribbean spinach, is something you can easily grow in a garden bed at home or in a community garden. Not only that, but its rich green and red colors look beautiful in your garden too! Plant callaloo if you want a leafy garden vegetable that’s both ornamental and edible. Note that "callaloo" can sometimes be used to refer to taro or Xanthosoma, but for this article we're talking about Amaranthus.
Steps
Prepping a Seedbed
-
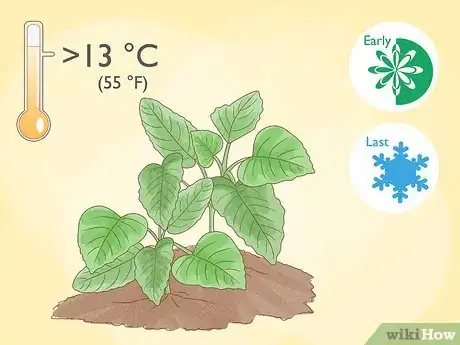
1Plant callaloo in the early spring after the last frost. Wait until April or May, depending on when the last frost in your area is, to prepare a garden bed for your callaloo seeds. Ideally, wait until temperatures are above 13 °C (55 °F) to plant the seeds.[1]
- If you live in a hot climate that doesn’t have cold winters, you can plant callaloo any time of the year.
- Note that April or May is the best planting time in the northern hemisphere. If you live in the southern hemisphere, plant in October or November.
- Alternatively, start the seedlings indoors in seed starting pots before the last frost and transplant them into your garden bed in the early spring. You could do this in March in the northern hemisphere or September in the southern hemisphere, for example.
-
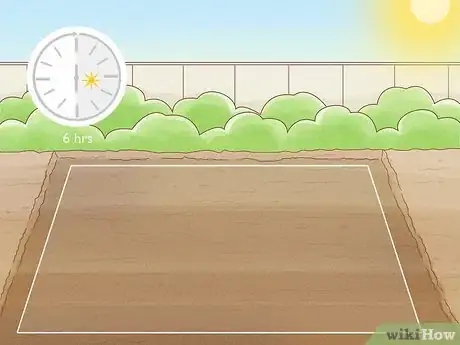
2Choose an area that gets at least 6 hours of sunlight a day. Estimate how many hours of sunlight each available garden bed gets per day. Pick a bed that receives full sun because callaloo needs a lot of sunlight and warmth.[2]
- If your garden beds are partially sheltered, such as beds that are up against a wall, a south-facing or west-facing bed is ideal.
Advertisement -
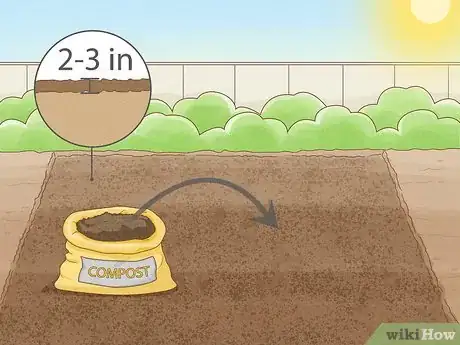
3Add well-draining compost to the garden bed for extra nutrients. Use something like a commercial loam-based compost mix. Cover the top of the garden bed with 2–3 in (5.1–7.6 cm) of compost and work it into the soil with a hoe or a pitch fork.[3]
- Compost isn’t a requirement because callaloo can grow in dry and clay-rich soils, but the extra nutrients will help the plants really thrive.
- The ideal soil pH for callaloo is 6.0-7.0, but it can still grow in soil with a pH range of 4.0-8.0. You can test the pH of soil with a pH soil test kit. If you choose to do so, do it after you add the compost.
-
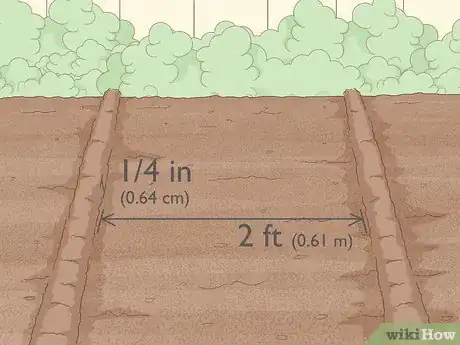
4Make rows 2 ft (0.61 m) apart and 1⁄4 in (0.64 cm) deep in the soil. Use your hands or a garden trowel to carve the first row down into the surface of the soil about 2 ft (0.61 m) from the back of the garden bed. Dig the next row 2 ft (0.61 m) in front of the first row, and so on.[4]
- Callaloo plants can have an ultimate spread of up to about 1.5 ft (0.46 m), so this row spacing allows them plenty of room to spread their foliage.
Sowing the Seeds
-
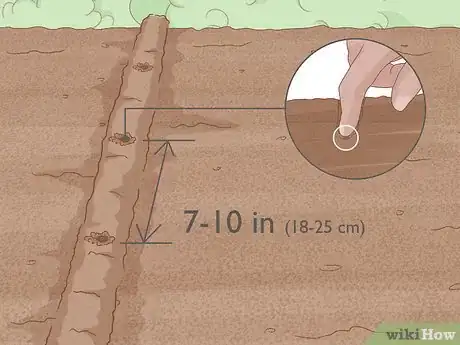
1Press seeds into the soil 7–10 in (18–25 cm) apart in the rows. Place 1 seed into the soil every 7–10 in (18–25 cm) in the first row at the back of the garden bed. Repeat this for each remaining row, working your way from the back to the front of the bed.[5]
- Callaloo plants can handle a little crowding, so don’t worry too much about getting the spacing exact.
- Use the same spacing if you're transplanting seedlings that you started indoors.
-
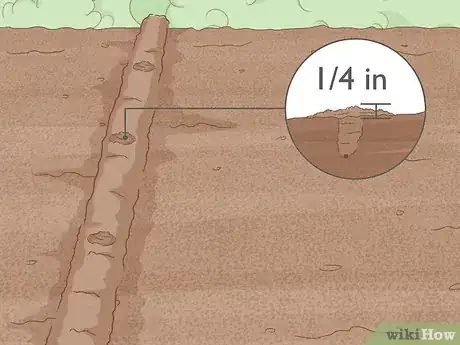
2Cover the rows of seeds with 1⁄4 in (0.64 cm) of soil. Fill in each seed row with soil from the surrounding garden bed. Use your hands or a garden trowel to gently pack down the soil on top of the seeds.[6]
- The goal is to firm the soil up just enough to cover the seeds and keep them in place in their rows.
-
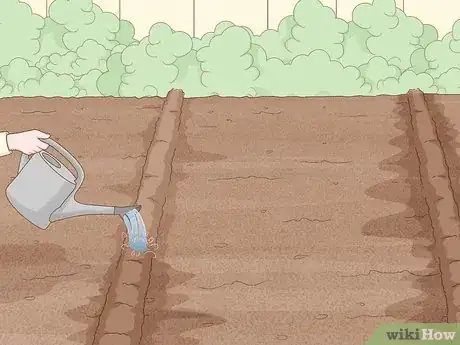
3Water the seeds gently to moisten the soil. Use a watering can or a hose with a light spraying attachment to water the soil. Water your way along each row of seeds, from side to side, until they’re all moist.[7]
- Avoid using a hard stream of water that could disturb the seeds.
- Water the plants the same way if you transplanted seedlings from indoors.
Care and Harvesting
-
1Water the plants 1-2 times a week during dry periods. Spray down the whole seedbed with a hose and a misting attachment. Wait a few seconds for the water to seep into the soil and spray any dry spots.[8]
- Callaloo plants are considered drought tolerant, so it’s fine for the soil to dry out between waterings.
- There's no need to water callaloo unless the soil is totally dry. If you can feel any moisture in the soil at all, leave the plants be to avoid overwatering.
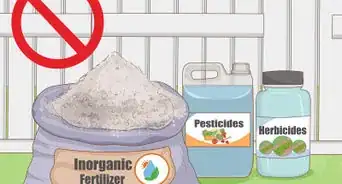
- You don’t have to fertilize callaloo for it to grow well.
-
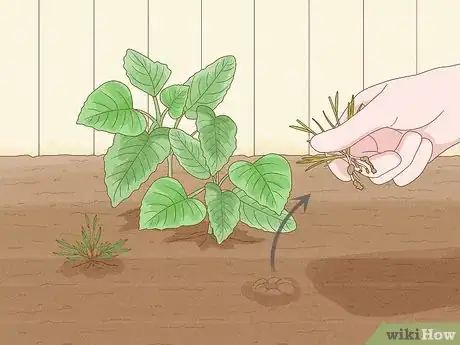
2Remove weeds by hand or with a hoe whenever you see them. Grab weeds near the base and pull the whole root system out of the soil if you’re weeding by hand. Or, hack the whole weed out of the ground with a hoe.[9]
- Removing weeds lets the callaloo plants get all the nutrition out of the soil because there aren’t any other plants competing for it.
-
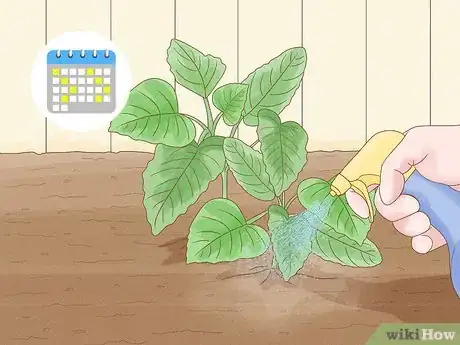
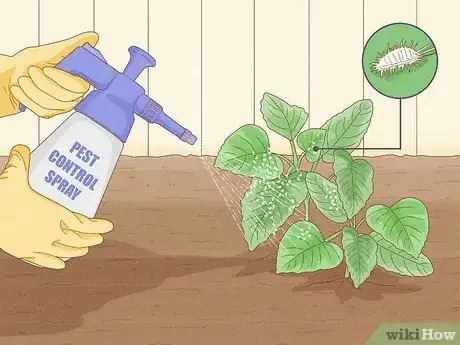
3Get rid of pests by spraying the leaves with a pest control spray. Watch out for pests like beetles, aphids, and mites on the leaves. Spray the foliage with an organic pest control spray to remove any pests if you plan on eating the callaloo.[10]
- Callaloo is very disease tolerant, so you only really have to look out for pests, which can cause the plants to yield less foliage for harvesting.
- Identify the pest on your callaloo plant, then research what pest control spray that particular pest hates the most.
- In some instance, soap and water can be enough to kill unwanted pests.
-
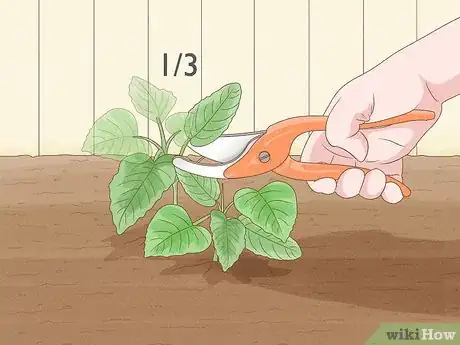
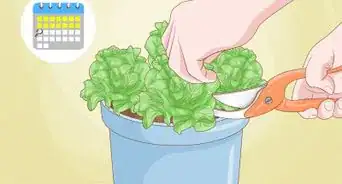
4Cut off up to 1/3 of the total leaves with garden shears to harvest them. Snip off the oldest, bottommost leaves at the base of their stems, being careful not to damage the new growth. Leave about 2/3 of the total foliage to encourage the plants to continue producing.[11]
- You can harvest callaloo as soon as the leaves are big enough to handle, usually within the first couple of months after planting it.
-
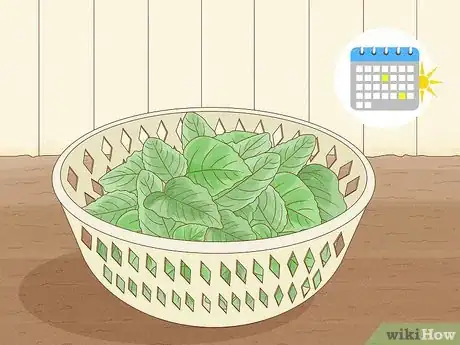
5Collect leaves every 2 weeks or so during the summer. Allow plants to regrow for a couple of weeks after each harvest. Trim off up to 1/3 of the oldest leaves again after 2 weeks to encourage new growth all throughout the growing period.[12]
- You should be able to do this through late September if you live in a seasonal climate in the northern hemisphere. In the southern hemisphere, you could do it until March or around then.
Warnings
- Always wait until there is no more risk of frost to plant callaloo if you live in a climate that experiences winter frosts.[15]⧼thumbs_response⧽
Things You’ll Need
- Garden bed
- Callaloo seeds
- Compost
- Hoe or pitch fork
- Garden trowel
- Hose or watering can
- Garden shears
References
- ↑ https://cast.desu.edu/sites/cast/files/document/16/callaloo_miller_final22.pdf
- ↑ https://www.rhs.org.uk/Plants/142633/i-Amaranthus-tricolor-i/Details
- ↑ https://cast.desu.edu/sites/cast/files/document/16/callaloo_miller_final22.pdf
- ↑ http://gardeningdirections.com/learn/international-gardening/204-jamaican-callaloo-amaranthus-viridis-callaloo
- ↑ https://cast.desu.edu/sites/cast/files/document/16/callaloo_miller_final22.pdf
- ↑ http://gardeningdirections.com/learn/international-gardening/204-jamaican-callaloo-amaranthus-viridis-callaloo
- ↑ http://gardeningdirections.com/learn/international-gardening/204-jamaican-callaloo-amaranthus-viridis-callaloo
- ↑ https://www.nda.agric.za/docs/Brochures/Amaranthus.pdf
- ↑ https://cast.desu.edu/sites/cast/files/document/16/callaloo_miller_final22.pdf
- ↑ https://cast.desu.edu/sites/cast/files/document/16/callaloo_miller_final22.pdf
- ↑ https://www.towergarden.com/blog.read.html/en/2018/6/growing-amaranth.html
- ↑ https://www.gardenorganic.org.uk/sites/www.gardenorganic.org.uk/files/sns/factsheets/FactsheetAmaranthus.pdf
- ↑ https://www.rhs.org.uk/Plants/142633/i-Amaranthus-tricolor-i/Details
- ↑ https://www.towergarden.com/blog.read.html/en/2018/6/growing-amaranth.html
- ↑ https://www.rhs.org.uk/Plants/142633/i-Amaranthus-tricolor-i/Details
