This article was co-authored by wikiHow staff writer, Darlene Antonelli, MA. Darlene Antonelli is a Technology Writer and Editor for wikiHow. Darlene has experience teaching college courses, writing technology-related articles, and working hands-on in the technology field. She earned an MA in Writing from Rowan University in 2012 and wrote her thesis on online communities and the personalities curated in such communities.
This article has been viewed 20,519 times.
Learn more...
You can use a free app called PhotoSplit for Instagram to split a large picture into a grid. After splitting up the photo, you can post each piece of the grid separately to Instagram to form one large photo on your profile. PhotoSplit for Instagram is free (for 2 photos) and available for iPhones, iPads, and Androids. This wikiHow will teach you how to split a picture and post it in a grid using PhotoSplit for Instagram.
Steps
-
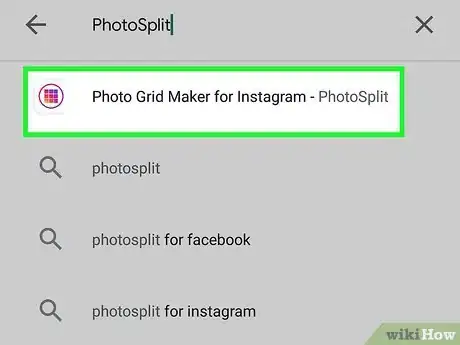
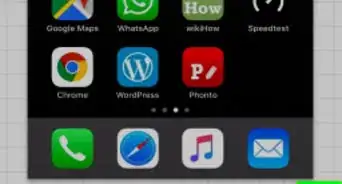
1Get PhotoSplit from the Google Play Store (Android) or App Store (iPhone or iPad). You can split two pictures for free, and then you are prompted to pay for the premium version to split and upload any more pictures.
-
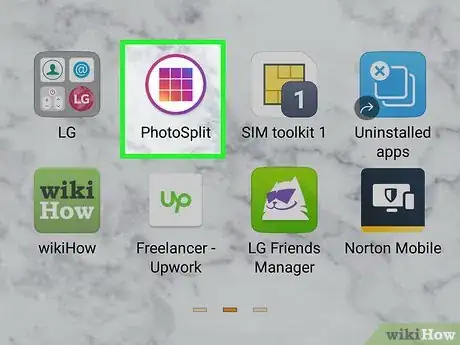
2Open PhotoSplit. This app icon looks similar to the color scheme of the Instagram app icon, but it features a 3x3 grid inside a circle outline. You'll find this app on one of your Home screens, in the app drawer, or by searching.Advertisement
-
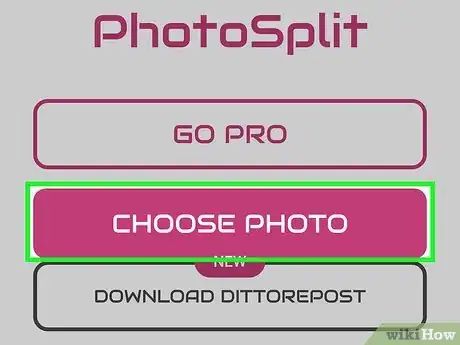
3Tap Choose Photo. You'll see this reddish button in the lower right corner of your screen.
- If this is your first time using the app, you'll be prompted to follow on-screen prompts as a tutorial.
- You'll need to allow permission for the app to access your photos, media, and files.
-
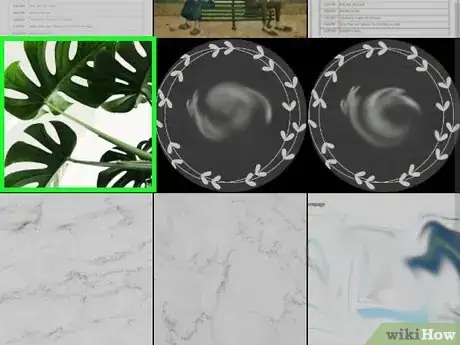
4Select a photo. You'll see a list of the recent images on your phone; you can tap the three-line menu icon to see a list of other locations where you might have photos saved, like your Google Drive folder.
-
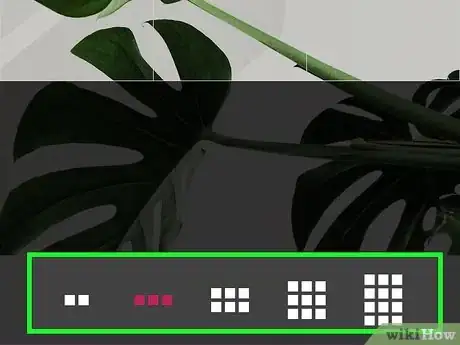
5Create your photo grid. Along the bottom of your screen, you'll see 2x1, 3x1, 3x2, 3x3, and 3x4 grids that you can possibly create out of your picture; when you tap one, you'll see the preview of your photo grid in the space above.
- Remember that the free version, without paying for the pro version of the app, can only split and post a 2x1 image.
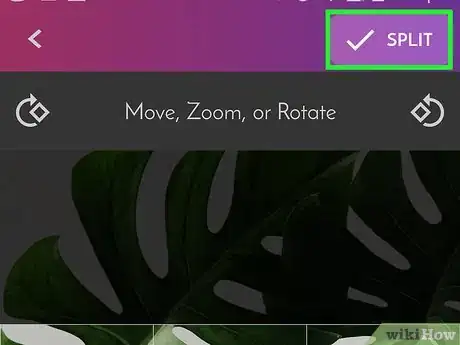
- Move, zoom, and rotate the photo in the middle of your screen to get it exactly how you want it to show up on your Instagram. Use your fingers to move and zoom in or out of the photo; use the icons on either side of your screen to rotate your photo.[3]
-
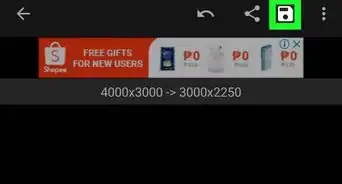
6Tap Split. You'll see this with the icon of a checkmark in the top right of your screen.
-
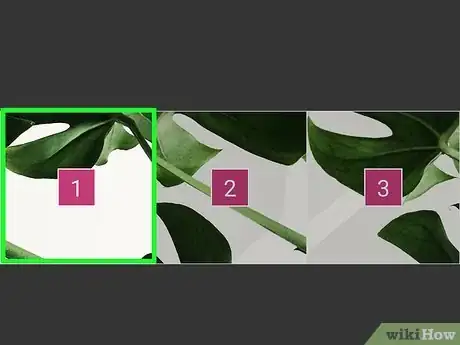
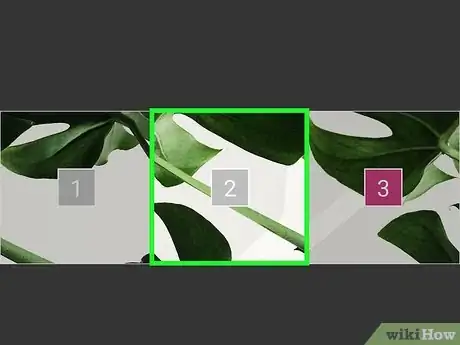
7Tap the first picture to upload to Instagram. The pictures in each grid will be numbered, so you don't have to worry about putting together a puzzle-like image.
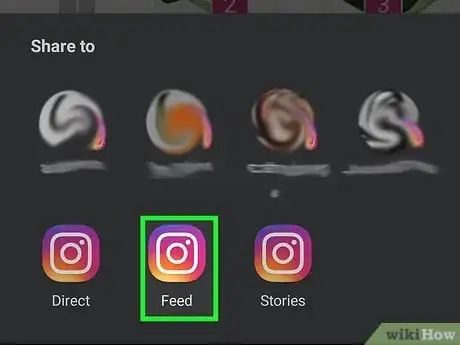
- The sharing methods will slide up from the bottom.
-
8Tap to share to Instagram. You'll be able to edit your pictures on Instagram and add filters.
- Tap Next to continue through making your post.
-
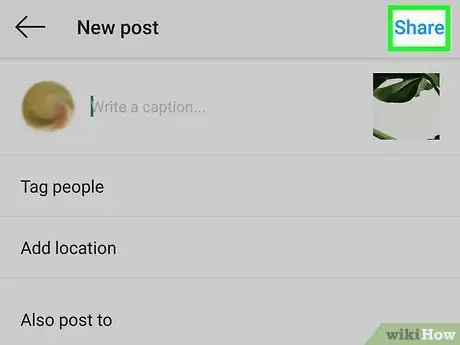
9Tap Share at the top-right corner. This posts the first part of your grid.
-
10Return to PhotoSplit and tap the second picture. Again, this will open Instagram and create a new post for your Feed. Post the photo, and then repeat these steps for any additional parts of your photo grid.
References
About This Article
1. Get PhotoSplit from the Google Play Store (Android) or App Store (iPhone or iPad).
2. Open PhotoSplit.
3. Tap Choose Photo.
4. Select a photo.
5. Create your photo grid.
6. Tap Split.
7. Tap the first picture to upload to Instagram.
8. Tap to share to Instagram via a direct message, to your Feed or Story.
9. Tap Send, Share, or Your Stories.
