This article was co-authored by wikiHow Staff. Our trained team of editors and researchers validate articles for accuracy and comprehensiveness. wikiHow's Content Management Team carefully monitors the work from our editorial staff to ensure that each article is backed by trusted research and meets our high quality standards.
This article has been viewed 193,521 times.
Learn more...
A tree stump can add a rustic touch to your home, especially if it has a nice wood grain. You may come across a tree stump in the forest or have 1 cut at your local lumber yard and wonder how you can preserve it. Start by cleaning and sanding it so it appears smooth. You can then apply wood stabilizer and sealer to the stump so it does not crack, warp, or rot, leaving you with a beautiful, natural piece for your home.
Steps
Cleaning the Stump
-
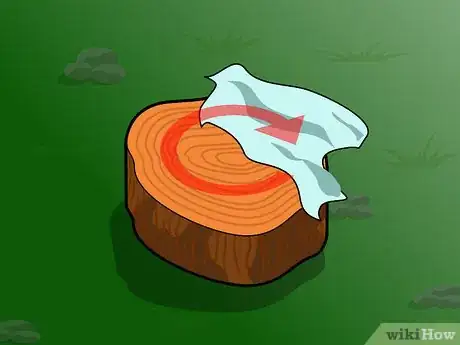
1Wipe the top and bottom of the stump with a wet cloth. Start by cleaning off any dirt or surface debris on the stump with a cloth. Rub the wood grain in a gentle, circular motion on the top and bottom, where the stump has been cut.[1]
- Do not wipe the bark with the cloth, as this can cause the bark to flake or fall off.
-
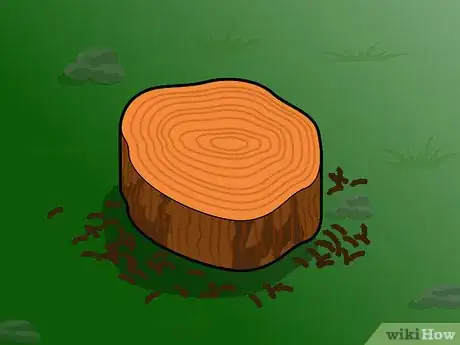
2Remove any flaking wood or bark on the stump. Use your hands to gently pull off any wood that is flaking off of the stump, especially on areas with bark. Make sure you take off any twigs, bugs, or leaves on the stump.Advertisement
-
3Take off the bark if it appears dead or dry. Removing the bark is up to you, as you can keep it on if there is not a black ring between the bark and the wood, and if the bark does not appear too dry. Use a rotary hammer to remove the bark, sliding it from the top to the bottom of the stump. The bark should peel off easily, leaving you with just wood around the stump.[2]
- Leaving the bark on will give the stump a more rustic look. If you remove it, you will need to sand down the sides of the stump.
Sanding and Filling the Stump
-
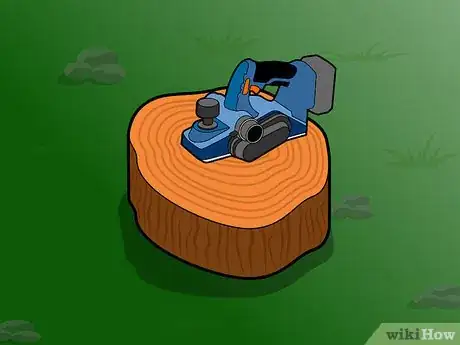
1Smooth the perimeter of the stump with a planer. A planer is a power tool with a flat head that helps to even out a surface. Run the planer around the top and bottom perimeters of the stump to remove any rough spots. Do this until the top and bottom edges of the stump are smooth to the touch.[3]
- Use a broom or cloth to wipe off any debris after you have finished smoothing the edges.
-
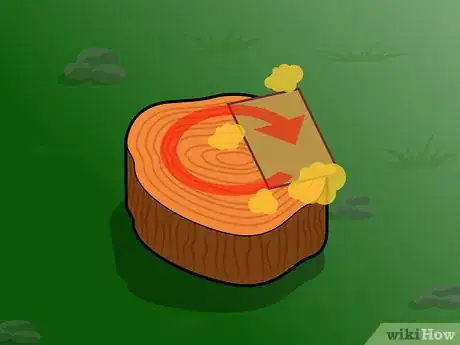
2Use 80-grit sandpaper on the top and bottom of the stump. Rub the sandpaper on the top of the stump in a circular motion, removing the top layer of wood. The sandpaper is also a great way to even out the top of the stump so the grain is level. Then, rub the sandpaper on the bottom of the stump, removing the top layer.[4]
- If you removed the bark around the stump, you will need to sand the sides of the stump down as well. Rub the stump from top to bottom with the sandpaper to smooth out the sides.
- Wear gloves when you use the sandpaper to protect your hands.
-
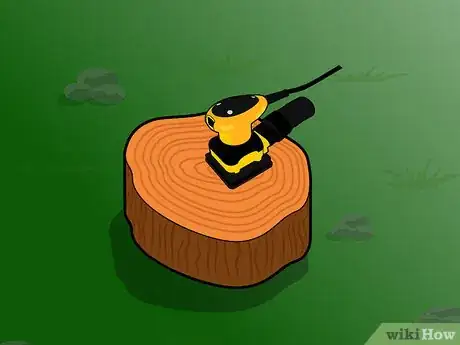
3Use an electric sander if the stump is very dirty or rough. The electric sander is a great way to smooth out the top and bottom of the stump quickly. Run it back and forth over the top and bottom of the stump, revealing the fresh wood underneath.[5]
- As you sand the stump, you should notice the rings in the wood appearing on the top and bottom. This means the fresh wood is emerging.
-
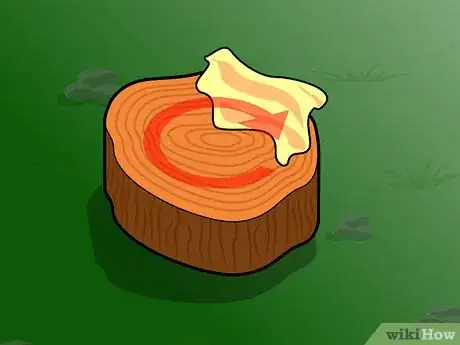
4Wipe the stump with a damp, lint free cloth. Once you have finished sanding the stump, remove wood dust with a cloth. Give the top and bottom of the stump a good wipe so the wood appears clean and fresh.[6]
- If you sanded the sides of the stump, you should wipe this area down as well.
-
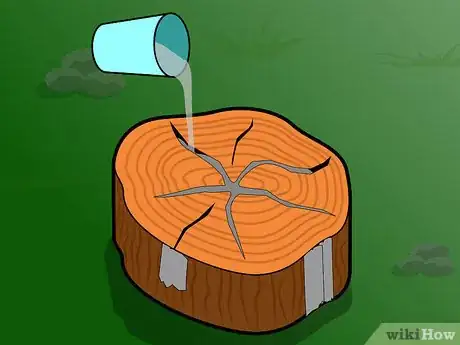
5Fill in cracks in the wood with wood filler. If the stump has any large or deep cracks that you do not want to keep, you can fill them with a wood filler like clear epoxy. Put tape on the sides and bottom of the stump, below the cracks, to prevent the epoxy from leaking out of the cracks. Then, drizzle the epoxy into the cracks to fill them.[7]
- Apply 1 layer of epoxy to fill the cracks and let it dry overnight.
- Wear gloves when you handle the epoxy, as it is a strong chemical.
Applying Wood Stabilizer
-
1Get wood stabilizer at your local hardware store or online. Wood stabilizer comes as a liquid that you rub into wood. It contains ingredients that will prevent the wood from warping, cracking, or checking.[8]
-
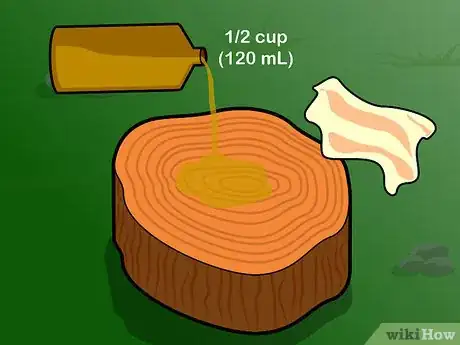
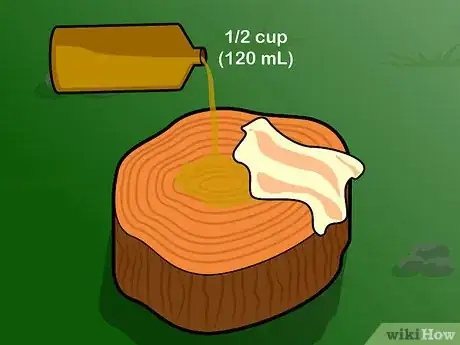
2Rub 1⁄2 cup (120 ml) of stabilizer into the top of the stump. Start with a small amount of stabilizer and then add more as needed. Use a clean dry cloth to rub the stabilizer into the wood in a circular motion. Cover the entire top of the stump with the stabilizer, rubbing it into the wood grain.[9]
- The wood will absorb the stabilizer as you rub it in so you may need to pour on more to ensure the entire surface is covered.
-
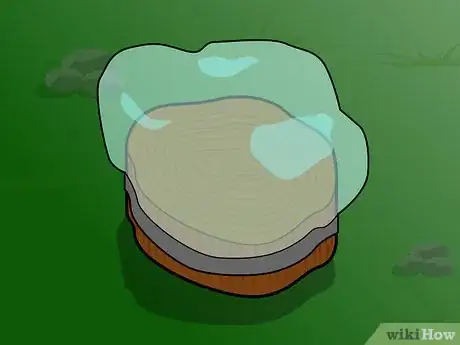
3Cover the top of the stump in plastic and let it dry for 2-4 hours. Tie a plastic sheet or tarp over the top of the stump to allow the stabilizer to dry properly.[10]
-
4Apply 1⁄2 cup (120 ml) of stabilizer on the bottom of the stump with a cloth. Once the top of the stump has dried, flip the stump over and repeat the same steps on the bottom of the stump. Cover the bottom of the stump with the stabilizer, getting it right in the wood grain.[11]
- Once you have applied the stabilizer, cover the bottom of the stump with plastic and let it dry for 2-4 hours.
-
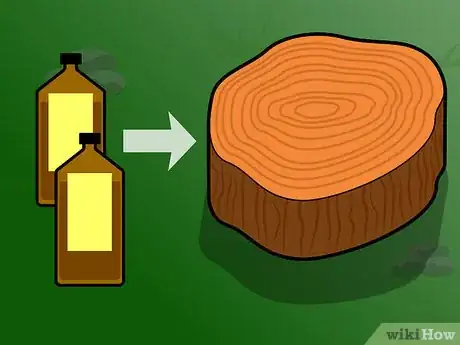
5Put at least 2 coats of stabilizer on the stump. To really seal the stump, apply at least 2 coats of stabilizer, letting the top and bottom of the stump dry for 2-4 hours between coats.[12]
Finishing off the Stump
-
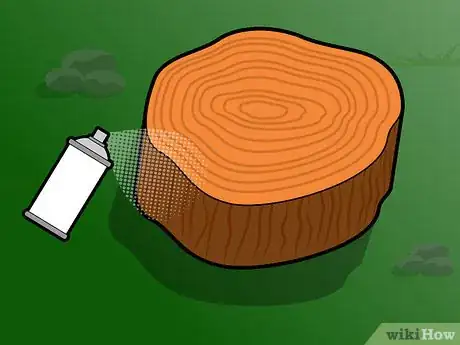
1Apply sealer spray to the bark. To prevent bark and wood pieces from falling off the sides of the stump, seal the bark with a clear gloss finishing spray. Apply the spray around the sides of the stump from top to bottom.[13]
-
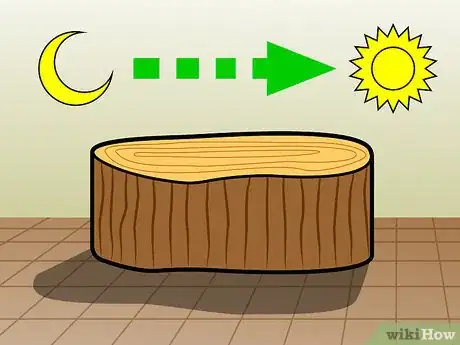
2Allow the sealer to dry overnight. Place the stump in a dry spot outside, such as in your garage or a work shed, and let it dry overnight. This will give the sealer time to set so the stump is ready for use.[14]
-
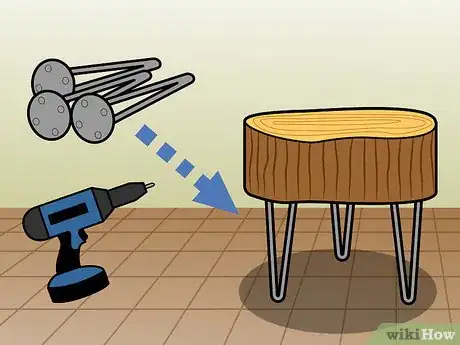
3Attach metal legs to the bottom of the stump, if desired. If you want to elevate the stump and use it as a side table, you may attach legs to the bottom using screws and a power drill. Get 3 thin metal legs, such as hairpin legs, and drill them into the bottom of the stump for a more polished look.[15]
- Alternatively, you can skip the legs and use the stump as is as a side table in your home for a more rustic look.
References
- ↑ http://www.17apart.com/2012/10/how-to-diy-stump-table.html
- ↑ https://www.youtube.com/watch?v=e9vSKuDykqQ&feature=youtu.be&t=33
- ↑ http://www.17apart.com/2012/10/how-to-diy-stump-table.html
- ↑ http://www.17apart.com/2012/10/how-to-diy-stump-table.html
- ↑ http://www.17apart.com/2012/10/how-to-diy-stump-table.html
- ↑ https://www.theartofdoingstuff.com/stumped-how-to-make-a-tree-stump-table/
- ↑ https://www.youtube.com/watch?v=e9vSKuDykqQ&feature=youtu.be&t=112
- ↑ http://www.17apart.com/2012/10/how-to-diy-stump-table.html
- ↑ http://www.17apart.com/2012/10/how-to-diy-stump-table.html
- ↑ http://www.17apart.com/2012/10/how-to-diy-stump-table.html
- ↑ http://www.17apart.com/2012/10/how-to-diy-stump-table.html
- ↑ http://www.17apart.com/2012/10/how-to-diy-stump-table.html
- ↑ http://www.17apart.com/2012/10/how-to-diy-stump-table.html
- ↑ http://www.17apart.com/2012/10/how-to-diy-stump-table.html
- ↑ http://www.17apart.com/2012/10/how-to-diy-stump-table.html
About This Article
To preserve a tree stump, it needs to be cleaned, sanded, and filled with wood filler to prevent it from breaking down. First, use a wet cloth to wipe down the stump and remove any dirt or debris. Remove any bark that looks dead or dry using a rotary hammer. You can tell that the bark is dead if there is a black ring between the wood and the bark. Sand the stump next with a planer power tool until the edges of the stump are smooth to touch. After smoothing the stump, use sandpaper to remove the top layer of wood. When you notice rings appearing in the wood, stop sanding, as this means that you have reached fresh wood. After sanding the stump, fill in any large cracks with wood filler. Clear epoxy is an ideal product to use for this job. For more information about preserving a tree stump, like how to apply wood stabilizer, read on.
