This article was co-authored by Tyler Radford. Tyler Radford is a Plant Specialist at Hollie’s Farm & Garden in Tampa, Florida. With over nine years of experience, Tyler specializes in gardening, planting, mulching, and potting. Hollie’s Farm & Garden is a full-service landscape nursery offering landscape supplies including trees, shrubs, mulch, and flagstone.
There are 9 references cited in this article, which can be found at the bottom of the page.
wikiHow marks an article as reader-approved once it receives enough positive feedback. This article received 15 testimonials and 100% of readers who voted found it helpful, earning it our reader-approved status.
This article has been viewed 301,975 times.
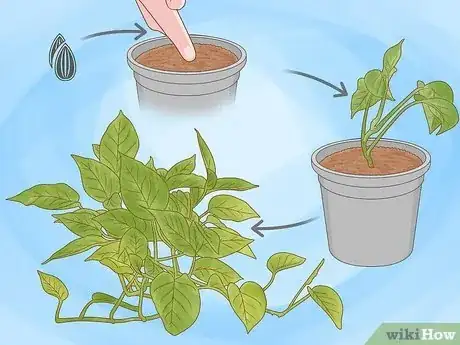
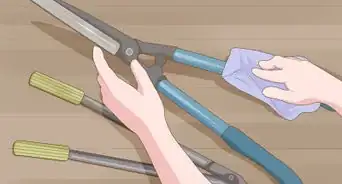
Growing your own plants is a satisfying and inexpensive hobby. Propagation of plants refers to producing more plants by dividing, grafting, or taking cuttings from existing plants. If you have seen a beautiful plant in your neighbor's garden or somewhere else in the area, here is your opportunity to include it in your garden too. Unlike seed, cuttings and divisions of plants will result in an identical plant that will reproduce the same beautiful flowers, blossom etc. that probably attracted you to it in the first place. The fundamental tools you will need for this work are a pair of clippers, a sharp knife, and a pair of gloves.[1] Before you propagate your plant, make sure that it is not protected by propagation laws that apply in some places.[2]
Steps
Dividing
-
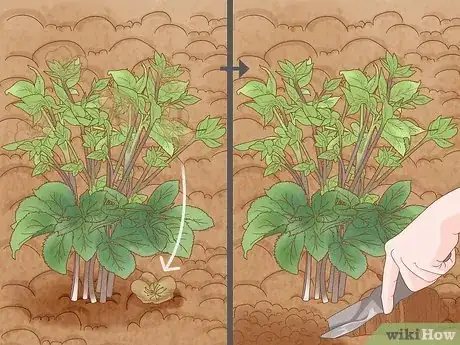
1Dig the plant up when the flowers have faded.
-
2Shake the soil from the roots.[3]Advertisement
-
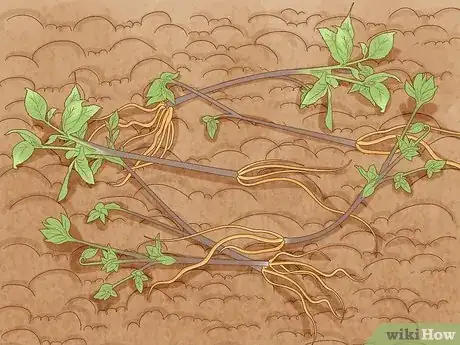
3Break the plant into several pieces. The divisions should follow natural points on the plant (at nodes, or between leaves etc.). The important thing is to make sure each divided piece has shoots and roots on it.[4]
-
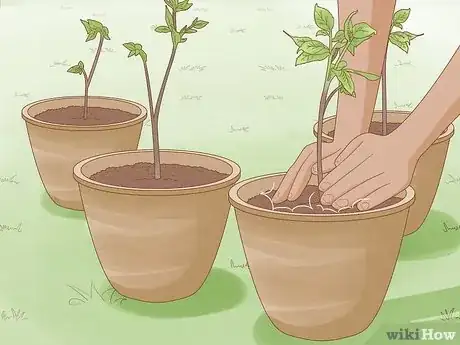
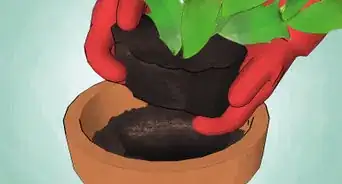
4Replant each piece in good soil in a pot or sheltered garden bed and water thoroughly.[5]
Taking Cuttings
-
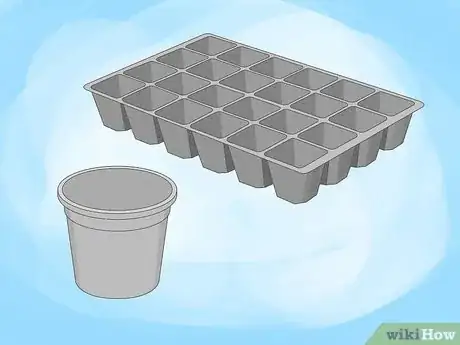
1Select a suitable pot for your cutting. You might want to use a normal-sized flowerpot for one plant or you can even establish several cuttings in the same pot, planted apart from each other. Seedling tubes are also a good idea for many plants.[6]
-
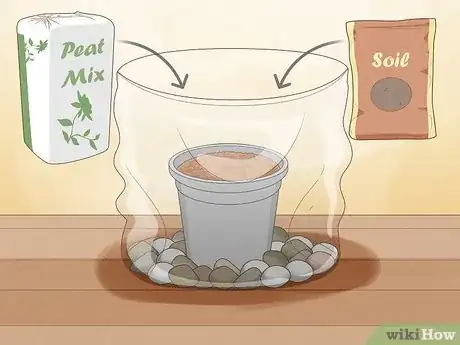
2Prepare the pot. Get a plastic (polythene) bag and place gravel at the base of the bag. The pot will be placed in here after you have made the cutting. Fill the pot with suitable soil - sand and peat for drainage make an ideal combination for many plants. Finally, the pot must be able to drain well (the water will go onto the gravel, rather than pooling in the plastic bag).[7]
-
3
-
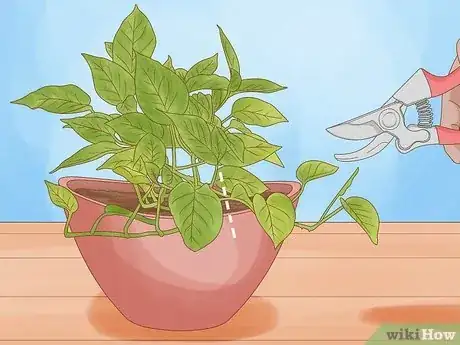
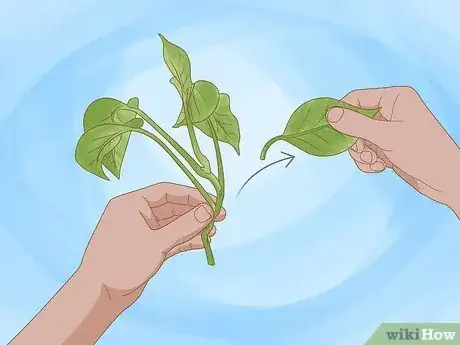
4Prepare the cutting. Once you have cut the plant piece, strip or cut off any leaves on the lower half. You can strip or cut off as high as two-thirds if necessary. If the bark looks like it will tear, use scissors. You can also make a small incision to the lower end of the stem to encourage root growth from this "wound".[10]
-
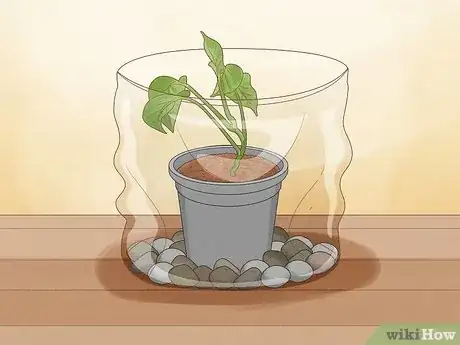
5Insert the cutting into sand and peat in the pot. Use a skewer, pencil, or similar long object to create a hole for the cutting to sit in. Do not use the cutting itself to push in a hole or you will damage it. The idea is to gently drop the cutting into the hole and carefully in-fill with dirt.[13]
-
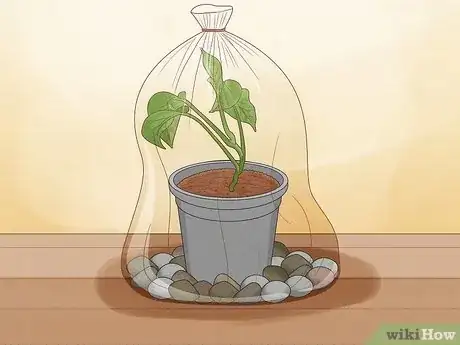
6Place both the pot and the cutting into the bag. Make sure the pot is sitting snugly on the gravel.[14]
-
7Tie the top of the bag with a twist tie. This makes it easy to undo for watering and to place back on again.[15]
Final Steps for Both Methods
-
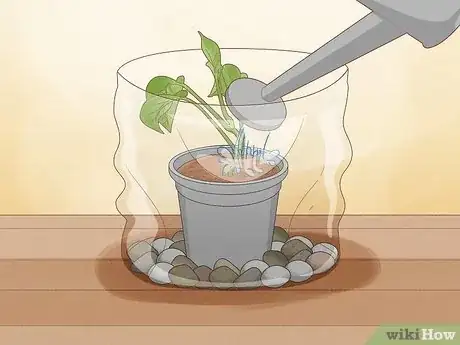
1Keep the soil moist. Do not soak or over-water the cutting or divided plant or it may rot and not take root. Water spray works well for many plants but take care with succulent and furry leaves. They are best only watered directly at the soil level, otherwise the combination of humidity and water may encourage fungal growth.[16]
-
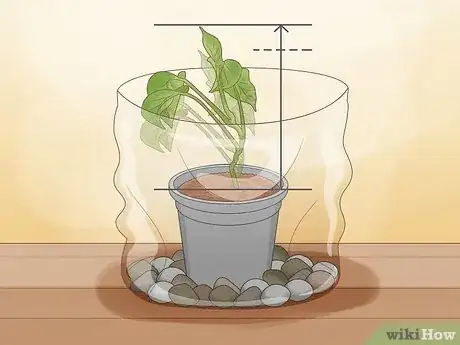
2Pull the cutting or divided plant gently in about 6 - 8 weeks. If you can feel resistance, you'll know there are roots. Most plants will root within 6 - 8 weeks, although some species of plants can take up to 12 months! Do some research on the plant if you are not sure. Most common garden variety plants will root quickly.[17]
-
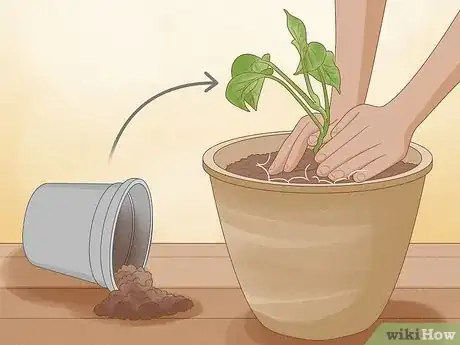
3Transplant to a larger pot or the garden when the seedling is well-established.[18]
Understand the difference between asexual and sexual propagation
-
1Use sexual propagation for increasing plant numbers by germinating seed and growing the seedlings to maturity. This is probably the most widely used method by the majority of growers, including many agricultural grain crops.[19]
- There are many ways to pre-treat seed for attempting germination in the artificial setting of a greenhouse. These are processes used in an effort to overcome seed dormancy and reach successful germination on a human driven schedule. Mother Nature does a wonderful job of overcoming dormancy so seed will germinate at the safest time for the seedlings to emerge into a growth friendly environment. We try to imitate those processes to grow plants indoors successfully.
-
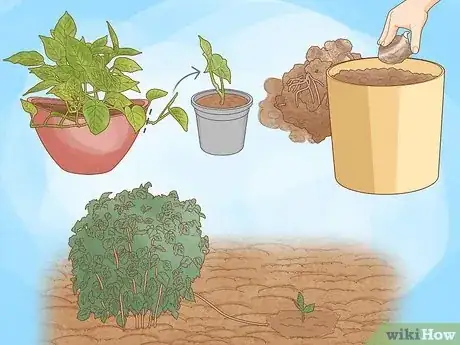
2Use asexual propagation for processes that involve using the leaf, stem, and root cuttings. Some common ways to do this type of propagation are leaf cuttings, stem cuttings, rhizome propagation, tuber propagation, and water propagation.[20] All of these asexual methods develop plants that are essentially clones of the original specimens. Putting slips into a jar of water in the kitchen window until roots form are stem cuttings. This method as a high risk of mold developing.[21]
- Dividing clumps of plants, such as Hostas, when they get very large is another form of asexual propagation.
- Plant bits of a rhizome root will cause new plant growth and is another form of cutting. The practice of grafting which is often used with roses and fruit trees is a type of asexual propagation.
- Use layering with raspberry canes where they are bent over to the ground and covered with soil where new roots will develop.
Community Q&A
-
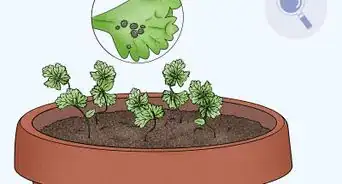
QuestionHow can I keep tiny bugs away from my aloe vera plant?
 Community AnswerYou can typically control small bug populations by squirting your plant with a stream of water and then rubbing the colonies off the leaves with a soft cloth.
 -
QuestionIn covering the new plant in the polyethelene bag, should it be exposed to direct sunlight?
 Community AnswerDon't let your cuttings dry out, get too hot or too wet. Keep them in dappled shade or indoors until established.
 -
QuestionCan you provide some details about asexual propagation?
 Community AnswerPlants are often propagated asexually by a process known as "cloning" whereby a living segment is selected and severed from the parent and then planted, forming an independent, genetically identical clone. The segment is determined based on its viability as a self sufficient organism, with the exact boundaries of the segment depending on the species. If cut in the optimal place and planted in soil, the clone will grow new roots or other relevant moisture absorption apparatuses. This process may be repeated an infinite number of times, at little to no detriment to the parent plant ,provided that it has enough time regrow. This form of asexual propagation is often done methodically by human agriculturists but also occurs naturally for some species, ch actually break off into viable segments upon forcible enough contact with other kinetic elements in the environment, such as wind or getting caught on the fur of a passing or browsing animal.
Warnings
- Equally, do not over-water or you risk encouraging fungal growth or rotting.⧼thumbs_response⧽
- Don't let your cuttings dry out, get too hot or too wet. Keep them in dappled shade or indoors until established.⧼thumbs_response⧽
- The knife used to make a cutting must be clean, to avoid any possibility of transferring disease to the plant.⧼thumbs_response⧽
References
- ↑ Jon Rowland. Plant Specialist. Expert Interview. 7 September 2021.
- ↑ https://uclawreview.org/2022/01/20/propagation-prohibited-understanding-plant-patent-protection/
- ↑ https://extension.umn.edu/planting-and-growing-guides/dividing-perennials
- ↑ https://extension.umn.edu/planting-and-growing-guides/dividing-perennials
- ↑ https://www.finegardening.com/article/10-tips-on-dividing-perennial-plants
- ↑ http://www.cannagardening.com/taking_cuttings
- ↑ https://www.missouribotanicalgarden.org/gardens-gardening/your-garden/help-for-the-home-gardener/advice-tips-resources/visual-guides/propagating-plants-by-cuttings.aspx
- ↑ https://www.missouribotanicalgarden.org/gardens-gardening/your-garden/help-for-the-home-gardener/advice-tips-resources/visual-guides/propagating-plants-by-cuttings.aspx
- ↑ Tyler Radford. Plant Specialist. Expert Interview. 6 October 2020.
- ↑ https://www.bhg.com/gardening/yard/garden-care/starting-flowers-from-cutting/
- ↑ Jon Rowland. Plant Specialist. Expert Interview. 7 September 2021.
- ↑ Tyler Radford. Plant Specialist. Expert Interview. 6 October 2020.
- ↑ https://www.bhg.com/gardening/yard/garden-care/starting-flowers-from-cutting/
- ↑ https://www.bhg.com/gardening/yard/garden-care/starting-flowers-from-cutting/
- ↑ https://www.bhg.com/gardening/yard/garden-care/starting-flowers-from-cutting/
- ↑ http://www.cannagardening.com/taking_cuttings
- ↑ https://extension.umaine.edu/gardening/manual/propagation/plant-propagation/
- ↑ https://extension.umaine.edu/gardening/manual/propagation/plant-propagation/
- ↑ https://extension.umaine.edu/gardening/manual/propagation/plant-propagation/
- ↑ Jon Rowland. Plant Specialist. Expert Interview. 7 September 2021.
- ↑ https://extension.umaine.edu/gardening/manual/propagation/plant-propagation/
About This Article
To propagate your plant, you’ll need to take a cutting from it and plant it in a new pot. First, take the cutting from a firm, young shoot from the current season’s growth. Cut it just below a leaf or node and pull any leaves off its lower half. Then, plant the cutting into a pot filled with a sand and peat mix. Place the pot into a plastic bag lined with gravel to help absorb the water that drains out. Water the soil and tie the plastic bag. Whenever the soil gets dry, water it again to keep it moist. After 6 to 8 weeks, transplant the cutting in a larger pot. For more tips, including how to safely divide a plant into several pots, read on!

