X
wikiHow is a “wiki,” similar to Wikipedia, which means that many of our articles are co-written by multiple authors. To create this article, volunteer authors worked to edit and improve it over time.
There are 8 references cited in this article, which can be found at the bottom of the page.
This article has been viewed 58,907 times.
Learn more...
Turn a flat ceiling into a focal point by installing a ceiling rose beneath your light fixture. Plaster ceiling roses and medallions can be installed at home or by a professional. Take time to secure it properly, and it can last for decades in your home.
Steps
Part 1
Part 1 of 2:
Preparing the Ceiling
-
1Call an electrician to outfit your ceiling with the proper light fittings to secure and hang a light from the ceiling.[1]
-
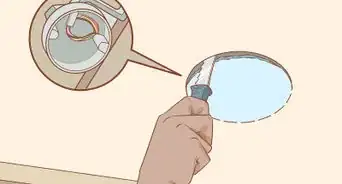
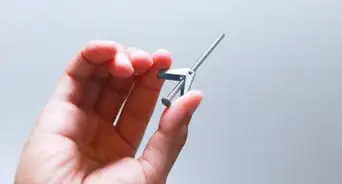
2Purchase your light fitting and ceiling rose. Drill a hole in the center of the rose with an electric drill and bit. The electrician can tell you how big the hole in the center must be.Advertisement
-
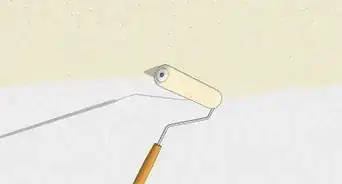
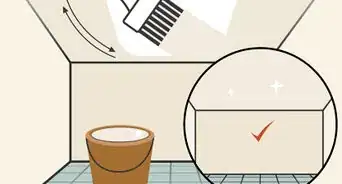
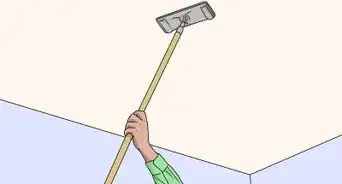
3Sand the surface of the ceiling, where the rose will be. Use a 120-grit sandpaper pad and hand sander. The sanding process will scuff the ceiling so that it adheres more fully to the surface of the ceiling.
- Always wear a ventilation mask when sanding.
-
4Wipe the surface with a tack cloth. Set up your ladder. Have someone hold the ceiling rose in the position you desire, and then outline the area with a pencil.[2]
- Remove the rose, so that you can apply the glue.
- You may need to set up two ladders so that both the person holding and the person outlining can access the ceiling rose.
-
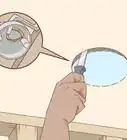
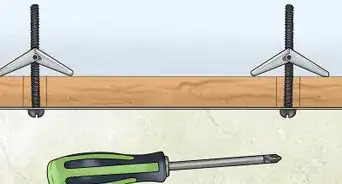
5Use a stud finder or electrician’s instructions to mark where the ceiling joists are. You can draw small perpendicular lines outside where the rose is to use as guidelines.[3]


Advertisement
Part 2
Part 2 of 2:
Gluing the Rose
-
1Use cornice adhesive from your local hardware or home improvement store. You will need to mix it before you place the rose on the ceiling.[4]
-
2Set the ceiling rose face down on a worktable nearby. Apply the cornice adhesive with a one-half inch (12mm) notched spreader. Don’t apply it within a few inches (5cm) of the edges, because it will spread toward the ends.[5]
-
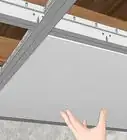
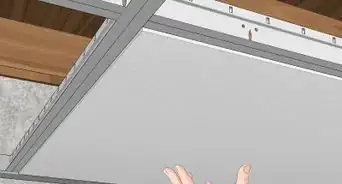
3Step on your ladder, lift the rose and thread any electrical cord through the center hole in center. Push the rose against the ceiling, paying attention to your marked guidelines. Hold it in place for three minutes, or however long the adhesive package suggests.[6]
-
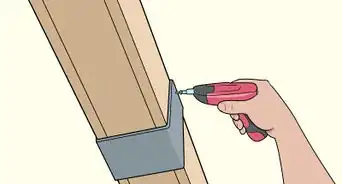
4Use your electric drill to screw plaster screws through the ceiling rose and into the ceiling joists. Screw it in three to four places.[7]
-
5Wipe excess cornice adhesive from the side of the rose with a sponge.
-
6
-
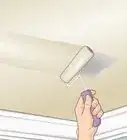
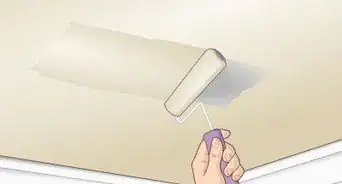
7Allow it to dry completely and then finish connecting and hanging your ceiling light fixture.


Advertisement
Community Q&A
-
QuestionWhat is a stud finder?
 Community AnswerThe usual stud finder has a short range metal detector that's powered by a battery. You simply press the switch on the side of the unit and move it side to side on the drywall. It will flash (some beep as well) when you pass the detector over a nail head or anything metal. (Nails are usually nailed into studs.) It's a great tool to have in your box, and you don't need to spend a lot of money for a good quality product.
Advertisement
Things You'll Need
- Ceiling rose
- Electric drill
- Ladder
- Cornice adhesive
- Notched spreader
- Trimming knife
- Hand sander
- 120-grit sanding pads
- Tack cloth
- Plasterboard screws
- Ventilation mask
- Plasterboard nails
- Sponge
- Caulk
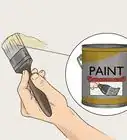
- Paint
- Light fixture


References
- ↑ https://www.youtube.com/watch?v=UJwFhvnLLaQ
- ↑ https://www.thisoldhouse.com/how-to/how-to-install-ceiling-medallion
- ↑ https://www.bobvila.com/articles/how-to-use-a-stud-finder/
- ↑ https://www.youtube.com/watch?v=MXpH5ctjw3I
- ↑ https://www.youtube.com/watch?v=UJwFhvnLLaQ
- ↑ https://www.youtube.com/watch?v=MXpH5ctjw3I
- ↑ https://www.popularmechanics.com/home/tools/how-to/g2661/how-to-adjust-a-drill-driver/
- ↑ https://www.youtube.com/watch?v=JeNM-UGVyH4
- ↑ https://www.youtube.com/watch?v=XutVGQvhheE
About This Article
Advertisement