X
wikiHow is a “wiki,” similar to Wikipedia, which means that many of our articles are co-written by multiple authors. To create this article, 12 people, some anonymous, worked to edit and improve it over time.
This article has been viewed 17,743 times.
Learn more...
Violin mutes are used to soften the sound of a violin. There are two main categories of mutes: one or two hole mutes, used for performance, and practice mutes, used for practice.
Steps
Method 1
Method 1 of 2:
One or Two Hole Mutes
-
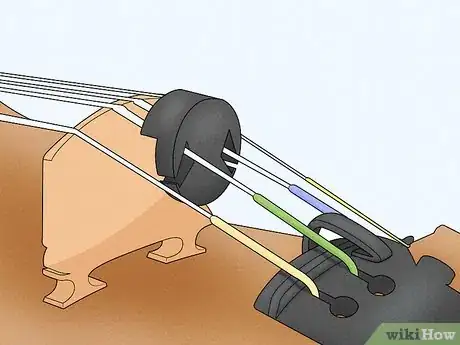
1Attach your mute to your violin. The mute should attach to the one or both of the two middle strings, D and A. It should attach between the tailpiece and the bridge, with the prongs facing the bridge.
- When you do not need to use the mute, leave it between the tailpiece and bridge. If it gets too close to the bridge, it will cause a rough, buzzing sound, so be sure to keep it away from the bridge.
-
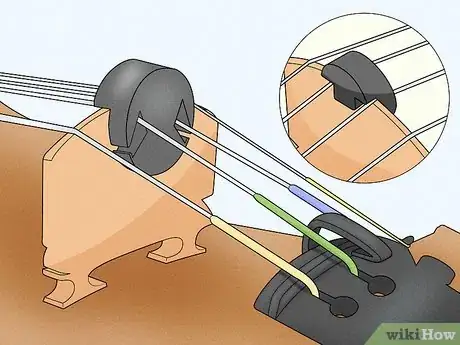
2Slide your mute up the string toward the bridge. While the violin is still in playing position under your chin, slide the mute up. Do not touch the strings.Advertisement
-
3Hook the mute on to the bridge. Lift the mute at the bridge, and press it down gently onto the bridge. Do not apply much force onto the bridge.
Advertisement
Method 2
Method 2 of 2:
Practice Mutes
-
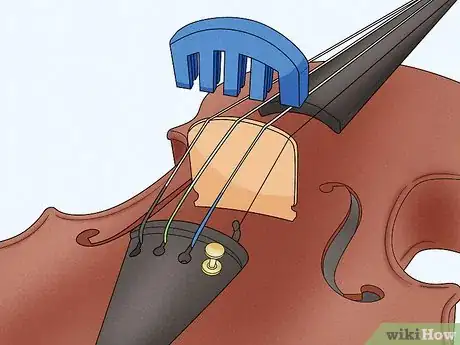
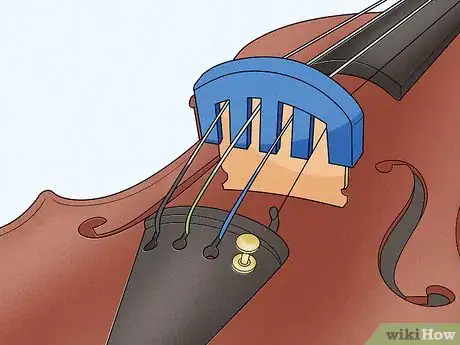
1Line the mute up with the bridge. A practice mute will have the same curve down the bridge has because it will cover the entire bridge. Line the curve up with the curve of the bridge.
-
2Place the mute onto the bridge. Line the space of the mute with the strings.
-
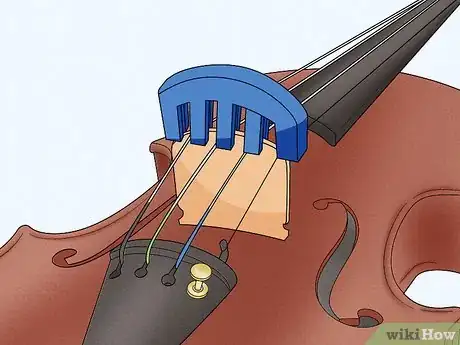
3Push gently down on the mute. To secure the mute, push it down gently. Only a very small amount of force is needed. Do not touch the bridge or the strings.
Advertisement
About This Article
Advertisement

