This article was co-authored by wikiHow Staff. Our trained team of editors and researchers validate articles for accuracy and comprehensiveness. wikiHow's Content Management Team carefully monitors the work from our editorial staff to ensure that each article is backed by trusted research and meets our high quality standards.
This article has been viewed 29,500 times.
Learn more...
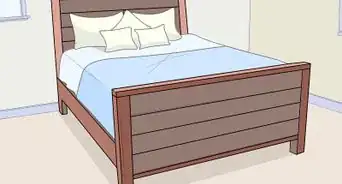
Back in the old days, headboards were a way to keep beds warm — otherwise, cold air from nearby walls would flow right on in.[1] Today, they’re mostly a way to make your bedroom look a little less plain. If you've gone to the trouble of getting a headboard, odds are pretty good you want to show it off. Luckily, depending on the type of headboard you have, there are a few different ways to make it stand out.
Steps
Raising a Freestanding Headboard with Risers
-
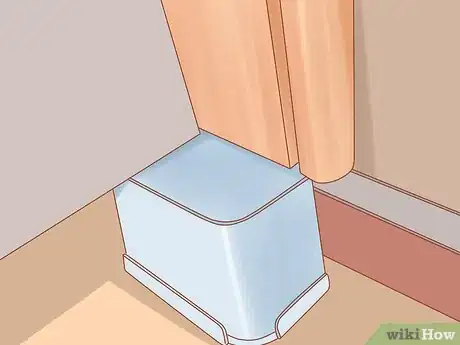
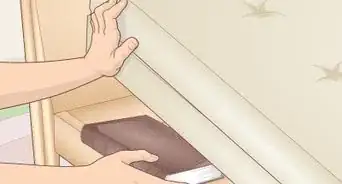
1Turn large tupperware containers into DIY platforms. This method is cheap, easy, and works really well — just as long as your headboard is wedged firmly between your mattress the wall. Simply take a pair of sturdy, plastic containers and place one under each end of your headboard.[2]
- If you’re worried plastic containers won’t be able to hold your headboard, you can always substitute something heavier, like a couple of boxes of old books.
-
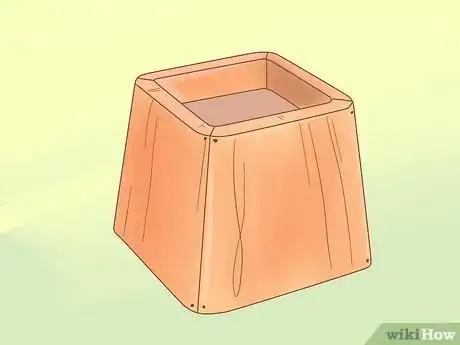
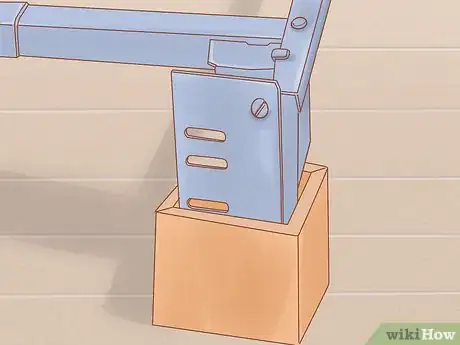
2Attach plastic bed risers, or make your own from wood. You can pick up plastic bed risers at most any store that sells bedroom or dorm furniture (they come in a wide range of sizes), then just place them under each side of your headboard. If you've got a drill handy, you can turn basic wood blocks into risers by drilling a hole big enough to hold your headboard's legs.[3]Advertisement
-
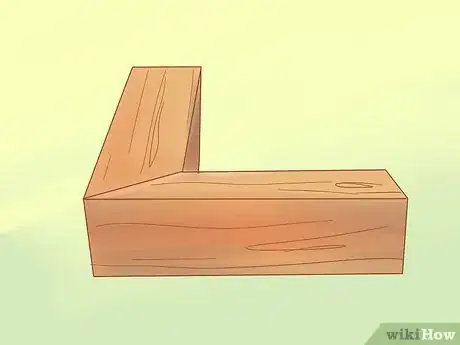
3Cut pieces of plywood into L-shaped height extenders. You'll need a couple of pieces of plywood about as thick as your headboard's legs. The goal is to cut an L-shaped space, which you'll slide the headboard leg into.
- Holding the left leg of your headboard over the upper right corner of one plywood piece, trace the leg's outline onto the wood using a pencil or marker. (Do the same with the right headboard leg and the upper left corner of the other plywood piece.)
- Use a saw to cut away those outlined chunks of wood.
- Drill two bolts through the middle of each piece of plywood, securely connecting the wood to the legs.
- Screw nuts onto the end of the bolts to make sure they stay in place.
- This method only works if your headboard is also made of wood.
Working with a Bed Frame
-
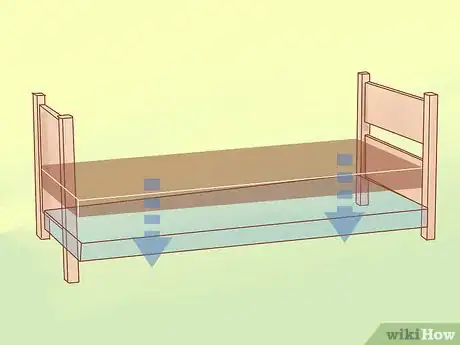
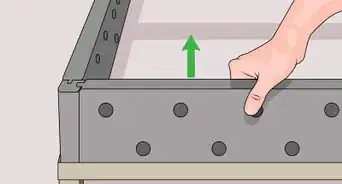
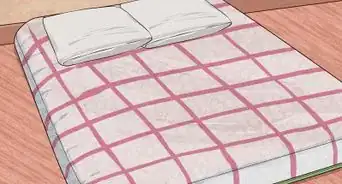
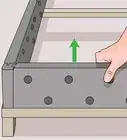
1Lower your adjustable bed to show off the headboard. With many adjustable beds — like the one you might have in your dorm room — the frame can be raised (to give you more storage space) or dropped (to make more of the head and foot of the bed visible). Simply remove the pegs on top of all four bedposts, lower the bed to whatever height you'd like, and pop those pegs back in.
- You'll need a hammer to get the pegs in and out.
- With this setup, you'll also have to lower the footboard to the same height.
-
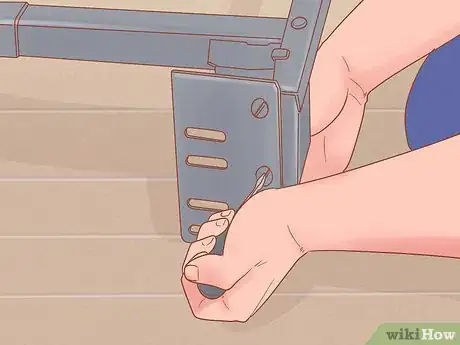
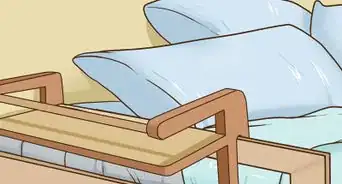
2Install height extension brackets to your frame. Using a socket wrench and flat-head screwdriver to tighten the bolts, attach the brackets to the headboard plates currently on each side of your bed frame (you'll need to unscrew your headboard first). You can now attach your headboard to the plate using the upper slots on the extension brackets, increasing the height of your headboard.[4]
- These brackets are sold at most hardware stores.
- The size socket you use will depend on the size of the bolts included with your extension brackets.
- This method will also lower your bed slightly.
-
3Add bed risers to elevate both the bed and the headboard. If you want your headboard to be higher but like the idea of sleeping closer to the floor, you can use risers to give some extra height to your adjusted bed. Alternately, you can make your own risers by drilling holes in a pair of wood blocks large enough to hold your headboard's legs.
Lifting a Wall-Mounted Headboard
-
1Unscrew the headboard from the wall and check for fasteners. If your headboard is attached to the wall, then it was either put up using metal wall fasteners or screwed directly into a wall stud — a section of the wall that you use to hang really heavy objects. Carefully take down the headboard using a screwdriver or a drill, set to reverse.
-
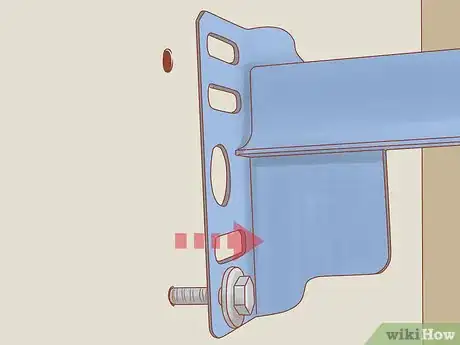
2Drill new holes or hang fasteners higher up on the wall. Whether you're using wall fasteners or going right into the wall, you've got to make sure you're drilling into the stud. Using a ruler or other straight edge, make a mark on the wall directly above where the previous screws or fasteners were attached.[5]
- The distance between the old holes and new marks will be however much higher you'd like to have your headboard.
- Your headboard might have more than one set of mounting brackets or holes. If so, make marks on the wall for each one.
-
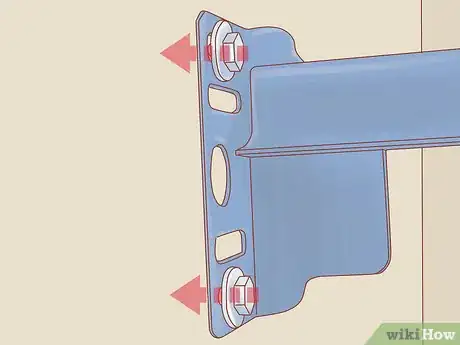
3Mount the headboard back on the wall. Begin by putting up the wall fasteners, if you're using them. While a friend holds the headboard in place, use a drill to screw it into its new spot on the wall.[6]
Warnings
- Watch out for falling headboards and loose screws.⧼thumbs_response⧽
- Take your time when working with wood, to avoid splinters.⧼thumbs_response⧽
Things You'll Need
Using Risers to Raise Your Headboard
- 2 large tupperware containers
- 2 plastic risers or wood blocks
- 2 pieces of plywood
- Handsaw (or other small saw)
- Drill
- Four nuts
- Four bolts
Working with a Bed Frame
- Rubber mallet
- Flat-head screwdriver
- 4 plastic bed risers
- 2 height extension brackets
- Socket wrench and socket
Lifting a Wall-Mounted Headboard
- Drill
- Screws
- Wall fasteners (optional)
References
- ↑ https://www.bobvila.com/slideshow/make-your-bed-16-easy-diy-headboards-44410
- ↑ https://www.youtube.com/watch?v=9wT5Bpcc5T8
- ↑ https://todayscreativeideas.com/make-diy-bed-risers/
- ↑ https://www.youtube.com/watch?v=V_AnhOxLnI0
- ↑ https://www.youtube.com/watch?v=O7bW2Nyvlpw
- ↑ https://www.youtube.com/watch?v=O7bW2Nyvlpw
