This article was co-authored by Timothy Linetsky and by wikiHow staff writer, Eric McClure. Timothy Linetsky is a DJ, producer, and music educator that has been making music for over 15 years. He is a certified Ableton trainer and creates educational YouTube videos focused on producing electronic music. He has over 90,000 YouTube subscribers.
There are 11 references cited in this article, which can be found at the bottom of the page.
This article has been viewed 319,101 times.
There’s nothing more frustrating than setting a microphone up for an event or recording session only to find out that there’s some strange white noise crackling through the speakers. There a handful of reasons that a microphone will emit static sounds. The most common problem is that the gain, which is basically the mic’s sensitivity, is set too high on your amp or audio interface. However, ambient sound, bad cable connections, and moving air are also common culprits. Removing static is fairly easy so long as your equipment isn’t faulty and you can always edit static out after you finish recording if you’re on a tight schedule.
Things You Should Know
- Unwanted noises on a microphone can be caused by improper gain settings.
- Faulty connections and loud, ambient sounds can contribute to bad microphone quality.
- To reduce static noise, you can adjust the microphone settings or edit the audio using a program.
Steps
Adjusting the Mic and Audio Settings
-
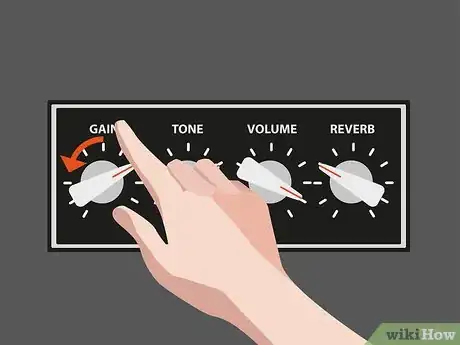
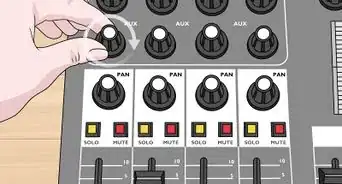
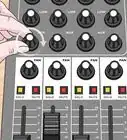
1Lower the gain on your amp, audio interface, or mic to remove static. In the vast majority of cases, the gain setting is to blame for static noise. Find the “gain” or “input” knob on your amplifier, interface, or mic. Turn it down 1-2 dB (decibels) and talk into the mic again to see if it helps. Keep adjusting the sound until you find a level where the static noise is completely gone.[1]
- Gain is basically how sensitive your microphone is. The higher the gain, the louder the output volume of the microphone will be. If the gain is too high, the microphone will pick up background noise and amplify it into static.
- There is no “correct” or universal setting when it comes to gain. It all depends on the power of the microphone, the microphone’s diaphragm, and the settings on your amplifier or interface.
- An audio interface refers to any device that converts audio to a digital signal. If you record music at home, the audio interface is that box that your mic’s XLR cable plugs into.
Tip: Unless you’re recording in a vacuum, there is no such thing as a “silent” room when it comes to recording. The minor movement of air can be picked up by a mic and cause hissing or static sound if the gain is too high.
-
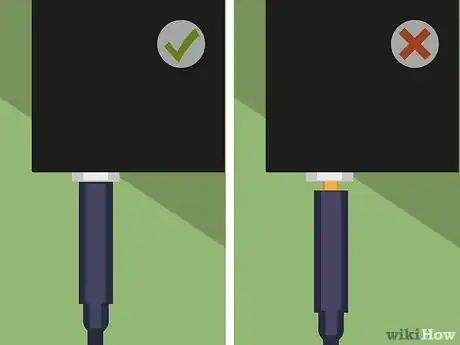
2Push your headphone and mic cables in all the way to secure them. Static is often caused by a jack or cable not sitting correctly in its port. Give the cables connecting your mic, headphones, computer, amp, or interface a quick push to make sure they’re plugged in all the way. If one the cables is jiggling a little, it may need to be replaced to remove the static.[2]
- If the static is in your headphones but it’s not present when you speak into the mic or record audio, the headphone jack is faulty. Just get new headphones and the static will go away.
Advertisement -
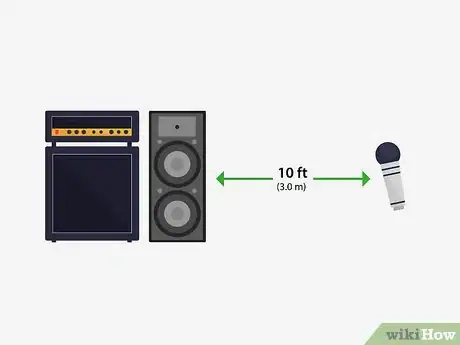
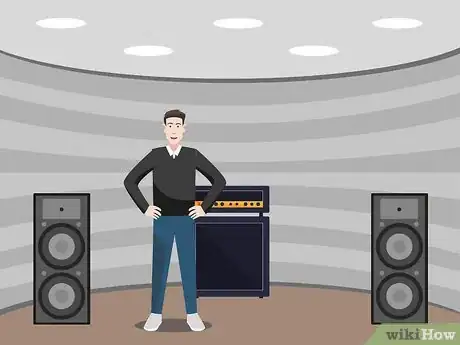
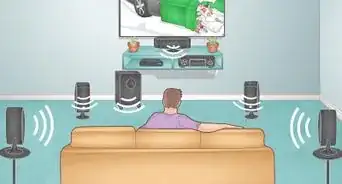
3Position the microphone at least 10 ft (3.0 m) away from speakers, amps, or devices. If you’re speaking into a mic and sending the audio out of an amplifier or speaker at the same time, changing where you stand will remove the feedback. Occasionally, the low- or high-frequency sounds from other electronics can trigger audio static. If there is a phone, TV, or other audio equipment near the microphone, move it.[3]
- Feedback is a result of the ambient noise being projected into the air and cycling back through the microphone. This happens over and over again until the resulting sound is the high-pitched feedback that sounds like fingernails on the blackboard.
- Find out the right distance away from the microphone to record.[4]
-
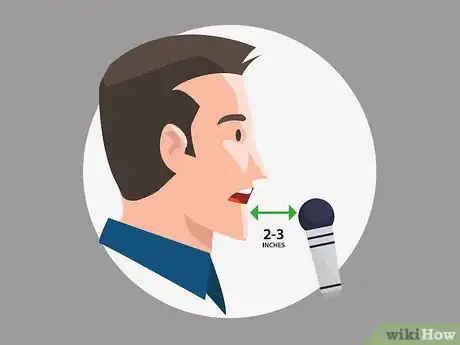
4Hold the mic 1–3 inches (2.5–7.6 cm) from your mouth when you talk. The more space between your mic and your mouth, the more likely the mic is to pick up distorted sound in the air. Move the microphone closer to your lips to see if the static dissipates.[5]
- if the audio is too loud when you move the mic closer to your mouth, turn the gain down.
-
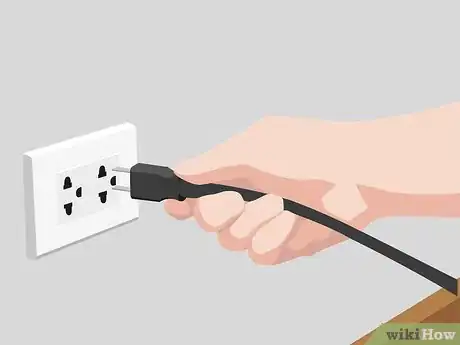
5Try different electrical outlets or USB ports to remove interference. This is an uncommon solution, but it’s worth exploring before moving on. Turn your mic, speaker, amp, or audio interface off. Then, unplug every cord you’ve got plugged into a wall or USB port and put them into new outlets. Since some outlets and ports produce different currents, this may get rid of the static.[6]
- Just to clarify, if this works it isn’t because your wall outlets or USB ports are bad. It just means the electrical current clashed with something in your microphone or audio device.
Getting Rid of Ambient Noise
-
1Soundproof your room if you record audio indoors. If you’re running into static and you record at home, soundproof the room. Either put soundproofing foam all over the walls or insulate the walls and floor with tapestries and carpets. You can also use soundproofing boards or hang curtains along the walls to reduce the sound in the room.[7]
- This will reduce the overall ambient sound in the room, which may cut down on the static you’re experiencing.
- Usually, when you are recording vocals or something like that, you want to minimize reverberations and reflections.
- So you can record in a closet with a bunch of clothes that can dampen the sound or record with a pop filter.[8]
-
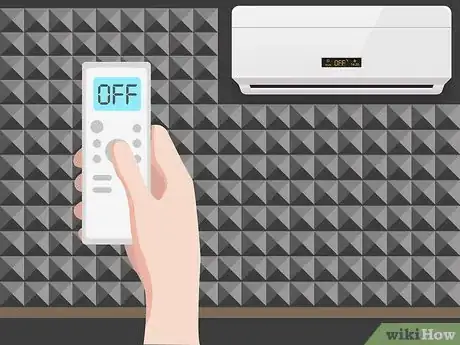
2Turn off any fans or AC units while recording to cut out excess noise. Fans, air conditioning units, and heating vents pump air around your home, and this movement of air may trigger static sounds. The sound they make may also be picked up by the mic. Just shut your air conditioning, heat, or fans off when you’re recording.[9]
- Don’t run your washer, dryer, or dishwasher, while you record. Keep noises in other rooms to a minimum. A sensitive microphone may pick up small sounds from other rooms, even if you don’t notice them yourself.
Tip: If you’re setting up a home studio, choose a room without windows if possible. Outside sounds can easily sneak in through windows.
-
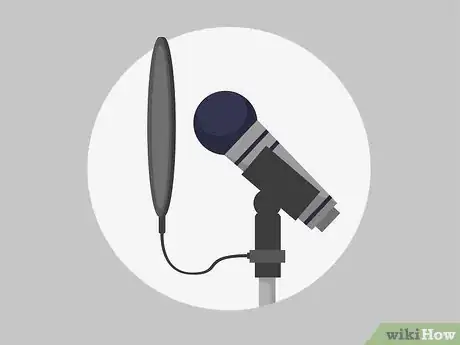
3Put a pop filter on your microphone to remove static from your voice. A pop filter refers to a small screen that covers your microphone to remove popping and hissing noises from p-, h-, and t-sounds. Buy a pop filter and attach it to the mic stand just below your microphone. Then, adjust the flexible part to place the fabric or metal filter in between your mouth and the mic.[10]
- Pop filters will remove any static triggered by the words you say into the mic.
- If you record outdoors, get a windscreen. This is basically a big sock that goes over the microphone to filter out the sound caused by moving air.
Editing the Audio
-
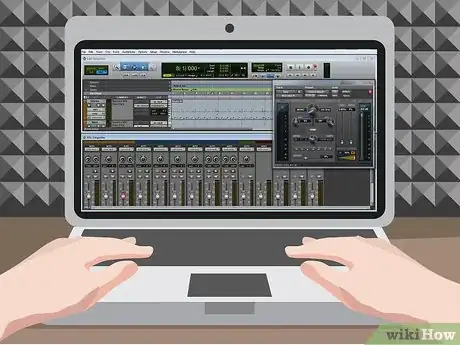
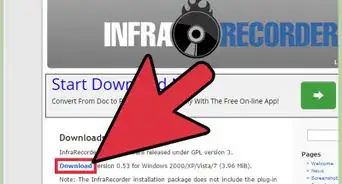
1Use a DAW to edit your audio and remove static manually. DAW is short for digital audio workspace. It refers to any program that edits and records audio. You can use the digital effects that come with most DAWs to edit the static out of your audio—either as you record or after you’ve finished recording. Download a DAW to edit your recorded audio.[11]
- Some popular DAWs include FL Studio, Sonus, Ableton, Reaper, and Cubase.
- There are a handful of solid free options. WaveForm, Cakewalk, Adobe Audition 3, and Audacity are all free. If you have a Mac, GarageBand is a free DAW that comes with your computer.
Tip: The industry standard when it comes to DAWs is Pro Tools, but the program costs $600. Still, if you plan on doing a lot of audio recording, it may be a great investment.
-
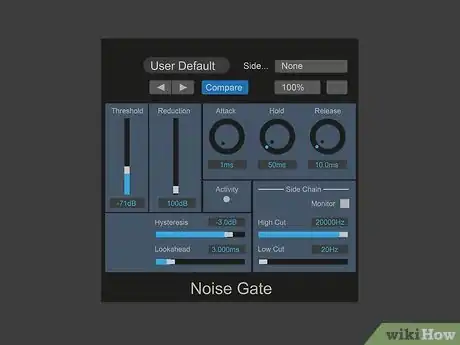
2Put a noise gate on the audio to cut any quiet soundwaves triggering static. A noise gate is an effect that controls and regulates volume in a recording. Open the “effects” tab in your DAW and select “gate.” Play the audio and adjust the “threshold” dial until the static disappears. You can achieve a similar effect by turning the “attack” down and increasing the “time” dial.[12]
- Some effect panels have a preset called “noise suppression.” If your noise gate has this preset, use that instead.
- The gate basically looks at an audio clip and trims any sound that’s below your threshold setting. Since static is normally very subtle, it rarely has a loud soundwave. The gate will automatically cut anything below the volume you set the threshold at.
-
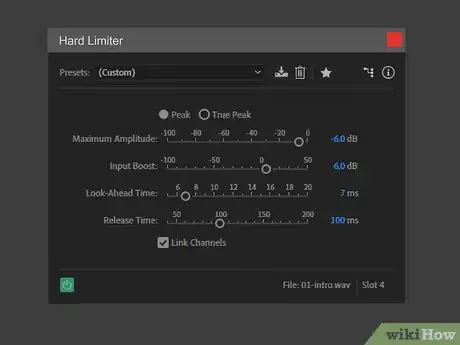
3Place a hard limiter on the audio if the static is caused by clipping. A hard limiter is an effect that puts a cap on audio volume. If the static is caused by loud sounds, select “hard limiter” in your “effects” tab. Set the threshold to -1 dB or more while playing your audio. This will lower the volume of loud sounds to reduce any crackling noises triggered by high volumes.[13]
- This will lower the volume of the recording. You can compensate for the difference by turning up the overall volume of the master recording.
- A hard limiter is basically the opposite of a gate. It looks at the peaks of each soundwave and checks to see if passes a certain threshold. If the static is caused by loud sounds, the hard limiter will greatly reduce the sound of the static.
Getting Rid of Static Using Computer Settings
-
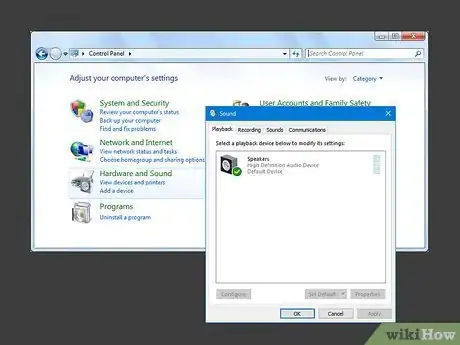
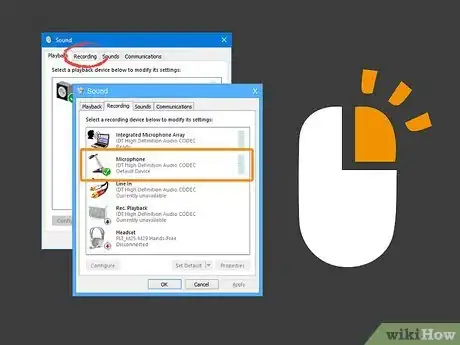
1Open the sound settings in your computer’s control panel. If you hear static whenever you use the built-in mic in your webcam or laptop, you can usually fix the problem in your computer’s settings. Pull up your computer’s control panel and click “Hardware and Sound.” Then, select “Sound” to open the audio devices tab.[14]
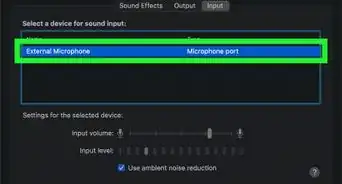
Variation: On a Mac, go to your system preferences and open the sound preferences. Check the box next to “ambient noise reduction” and adjust the microphone volume using the slider until the static goes away.
-
2Select the recording tab and right click your microphone. At the top of the audio devices page, there are 4 tabs. Select the second tab, labelled “Recording.” This will show you a list of every device capable of recording audio on your computer. If your mic is on, you will see the volume bar and green checkmark next to the device. Right click your mic.[15]
-
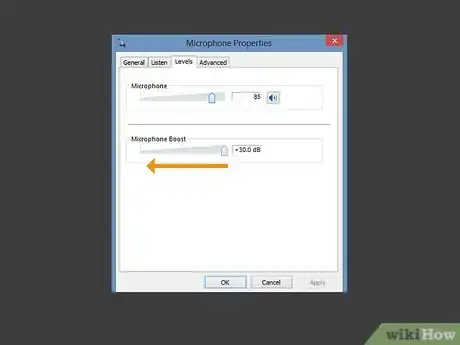
3Click “Properties” and turn the “Microphone Boost” off. On the pop-up menu, select “Properties” to pull up the mic’s settings. Check to see if there is an option labelled “Microphone Boost.” If you have the microphone boost option, turn it off or lower the volume on the boost to see if this resolves the problem.[16]
- Microphone boost is basically an artificial gain on your computer mic. Turning this off will typically resolve the static problem.
-
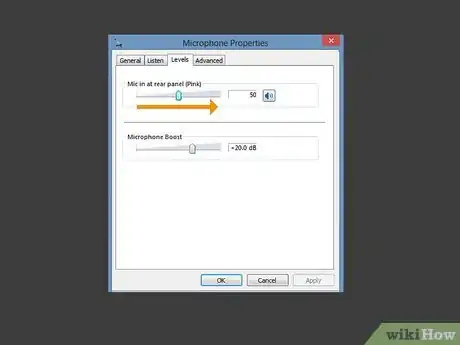
4Slide the microphone’s level up and click “Enhancements.” Next, click the “Levels” tab at the top. Turn the volume slider on the microphone all the way up. If there is a button labelled “Enhancements,” click it to open the optional settings for your microphone.[17]
- Every version of Windows does not have the “Enhancements” button. If you don’t have it, don’t worry about it. Your problem should be resolved.
-
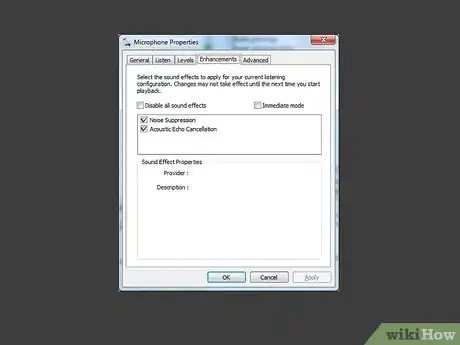
5Turn “Noise Suppression” and “Echo Cancellation” on. In the “Enhancements” tab, there are a few options for the microphone. Make sure that both “Noise Suppression” and “Echo Cancellation” have checkmarks next to them. This will filter out any static sounds you experience.[18]
- If you still hear static, try updating the drivers for your webcam or microphone. If that doesn’t work, you probably need a new webcam or mic.
References
- ↑ https://medium.com/@Wootpeanuts/removing-background-noise-with-obs-studio-17214d967fe0
- ↑ https://techtalk.currys.co.uk/gadgets/smart-home/how-to-reduce-microphone-noise/
- ↑ https://www.mediacollege.com/audio/howto/feedback.html
- ↑ https://www.diyphotography.net/here-are-10-microphone-tips-to-improve-the-audio-quality-in-your-videos/
- ↑ https://www.behindthemixer.com/easy-ways-prevent-feedback/
- ↑ https://techtalk.currys.co.uk/gadgets/smart-home/how-to-reduce-microphone-noise/
- ↑ https://www.popularmechanics.com/home/interior-projects/how-to/g2470/soundproofing-a-room/
- ↑ https://www.descript.com/blog/article/best-tips-to-improve-the-audio-quality-of-a-recording
- ↑ https://techtalk.currys.co.uk/gadgets/smart-home/how-to-reduce-microphone-noise/
- ↑ https://youtu.be/hVbwn7y4tPs?t=268
- ↑ https://youtu.be/OqMrgQ0bHYo?t=21
- ↑ https://medium.com/@jowie/a-podcaster-s-guide-to-noise-reduction-e8cad9fc21f4
- ↑ https://www.thedawstudio.com/limiter/
- ↑ https://techtalk.currys.co.uk/gadgets/smart-home/how-to-reduce-microphone-noise/
- ↑ https://techtalk.currys.co.uk/gadgets/smart-home/how-to-reduce-microphone-noise/
- ↑ https://techtalk.currys.co.uk/gadgets/smart-home/how-to-reduce-microphone-noise/
- ↑ https://techtalk.currys.co.uk/gadgets/smart-home/how-to-reduce-microphone-noise/
- ↑ https://techtalk.currys.co.uk/gadgets/smart-home/how-to-reduce-microphone-noise/
