This article was co-authored by wikiHow Staff. Our trained team of editors and researchers validate articles for accuracy and comprehensiveness. wikiHow's Content Management Team carefully monitors the work from our editorial staff to ensure that each article is backed by trusted research and meets our high quality standards.
This article has been viewed 40,389 times.
Learn more...
Baseboard removable is a simple DIY project. You might find yourself attempting this if you're planning on remodeling your floors or installing new baseboards. Whatever the reason, with a little patience, you can remove your baseboards as easily as an expert carpenter.
Steps
Removing the Baseboard from the Wall
-
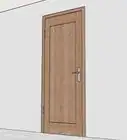
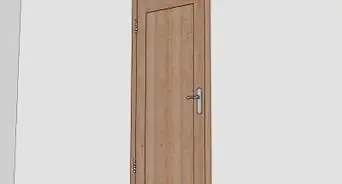
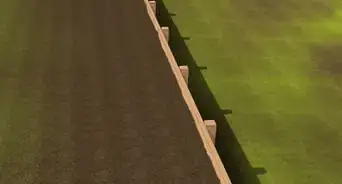
1Kneel in front of the edge of a baseboard with your tools at the ready. You're starting at the edge instead of the center to give the pressure caused by prying an exit. If you start in the center, the pressure will be solely on the board, and you'll run the risk of snapping the board and damaging the drywall. You'll also prolong the removal process.
- A good place to start is where the door casting meets the baseboard.[1]
-
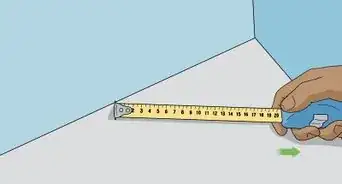
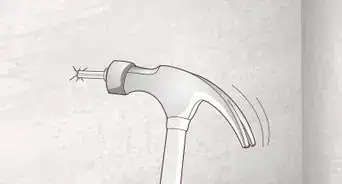
2Cut through the caulk binding the board to the wall. Take your utility knife and position it at the top of the edge of the baseboard. This is where the caulk is located. Slowly but firmly press the blade into the caulk and run it along the end of the baseboard. You want to break this adhesive so that, when you're prying, it doesn't pull your drywall away with the board.
- Return to your starting position once you have finished.
Advertisement -
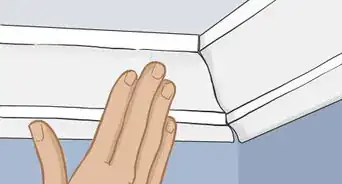
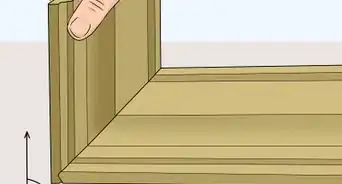
3Wedge your taping knife between the board and the wall to create space. Position your taping knife at the top edge of the newly made score. Grab your hammer and tap the knife in deeper to give yourself more of a hold. Flex the knife in the grove a bit to create some spacing.[2]
- If you have shoe molding, go ahead and remove it first with your taping knife using this same process.
-
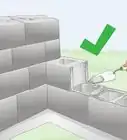
4Find the nails in the space and place your taping knife above them. Take the taping knife out of the grove for a moment and check for any nails. If you don't find any, move along the board a little and repeat step 3. You're finding the nail so you have a place to position your crowbar and make pulling off the baseboard easier.
- If your baseboards are glued on, you can skip this step and move onto the next.
- If you have a trim puller, you can use that instead of the taping knife.
-
5Pull back the space between the taping knife and board with a crowbar. Place the claw of your crowbar between the blade of the knife and the board. Gently pull your end of the bar up to separate the board from the wall. Carefully apply more pressure if needed, but don't yank or force anything.[3]
- If you feel you're going to crack the trim or damage the drywall, you may need to settle a second taping knife in front of the first to further disperse the pressure.
- If you have a trim tool, you need neither the crowbar or taping knife for this step. The trim tool will do the job of both by itself.[4]
-
6Work along down the baseboard while repeating steps 3 through 5. You'll steadily free the baseboard from the wall while doing this. Stop once you make it to the end of the current board and the start of the next.
-
7Pull the board free with your hand if needed. If the entire board doesn't come off after step 6, grab the board by the edge where you started and pull gently. If your board still doesn't come free, it's probably behind the board immediately next to it. Remove this board if this is the case. Both boards should come free when you reach this step again.[5]


Wrapping up Baseboard Removal
-
1Pull the nails out of the back of the board with a pair of nippers. Clamp your nippers at the base of the nail and pull or rock them out. For safety purposes, make sure that you place every nail in a secure place away from you, and then set your boards aside.[6]
- Do not bang the nails out through the front of the board. This will put more holes in the trim than necessary and leave you with a mess of wood pieces to clean.
-
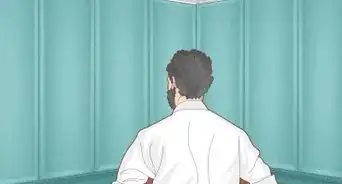
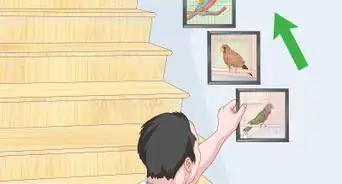
2Mark your boards if you plan on using them again. Now that your board is removed, you'll want to take a sharpie or some other type of marker and jot down a number on both the board and the portion of the wall that used to be immediately behind it.
- The number on the board should correspond with the number on the wall. This way, you'll know what goes where you're ready to reinstall.
-
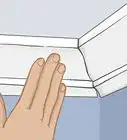
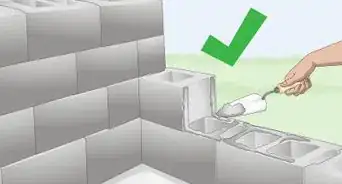
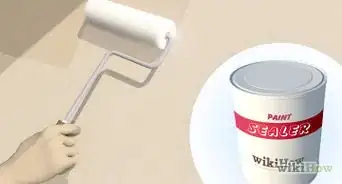
3Scrape any remaining caulk off the wall. Take your taping knife and gently chip away at the caulk. Come at it from the side rather than from the top or bottom to avoid accidentally chipping the drywall.
- You can leave a dustpan underneath you while you work to catch the falling chippings.


Things You'll Need
- Crowbar
- Taping Knife
- Utility Knife
- Nippers
- Trim Remover Tool


References
- ↑ https://sawdustgirl.com/remove-baseboard-trim-puller/
- ↑ https://www.bobvila.com/articles/how-to-remove-baseboard/
- ↑ https://www.blesserhouse.com/the-diy-newbies-guide-to-removing-baseboards/
- ↑ https://sawdustgirl.com/remove-baseboard-trim-puller/
- ↑ https://www.blesserhouse.com/the-diy-newbies-guide-to-removing-baseboards/
- ↑ https://www.youtube.com/watch?v=DxevlCBcjFY
About This Article

To remove a baseboard from a wall, start by cutting through the caulk at the top of the board with a utility knife. By breaking this adhesive, you’ll be able to pry the baseboard away without ruining the drywall. At the cut you made, wedge a knife between the board and the wall and tap the top of your knife with a hammer to expand the space. Then, find any nails in the baseboard and wedge your crowbar above the nail. If your baseboard is glued on, you can place your crowbar anywhere between the wall and baseboard. With you crowbar wedged in, pull up to separate the board from the wall and work along down the length of the baseboard until it is removed. For more tips, including how to clean up your wall once the baseboard is gone, scroll down.