This article was co-authored by wikiHow staff writer, Amber Crain. Amber Crain has been a member of wikiHow’s writing staff for the last six years. She graduated from the University of Houston where she majored in Classical Studies and minored in Painting. Before coming to wikiHow, she worked in a variety of industries including marketing, education, and music journalism. She's been a radio DJ for 10+ years and currently DJs a biweekly music program on the award-winning internet radio station DKFM. Her work at wikiHow supports her lifelong passion for learning and her belief that knowledge belongs to anyone who desires to seek it.
There are 7 references cited in this article, which can be found at the bottom of the page.
Learn more...
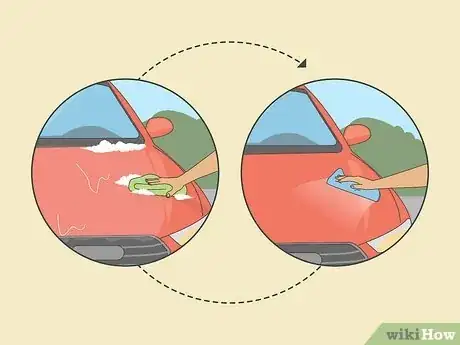
Removing your car's existing ceramic coating is important when you're getting ready to apply a fresh coating, but you may also need to remove it when your car needs body work or a new paint job. While ceramic coating is a pretty tough substance, you can definitely remove it on your own at home. There are 2 easy ways to do it: clay barring and polishing. In this article, we'll help you figure out which method to use and walk you through the process from start to finish. If you're ready to get started, scroll on down!
Things You Should Know
- Try clay barring if your ceramic coating is more than a couple of years old. The polishing technique works great on more recent ceramic coatings.
- Hand-wash your car thoroughly with a microfiber cloth and car shampoo. Then, dry the surface with a microfiber cloth.
- Apply clay bar lubricating spray to a small area of the car, then swipe the clay bar back and forth across the area. Wipe away excess lubricant with a cloth.
- Alternatively, remove ceramic coating by polishing the surface of your car. Use medium cut polish and a dual action polisher or rotary polisher.
Steps
Clay Barring
-
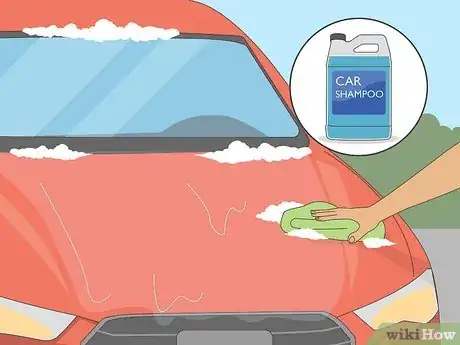
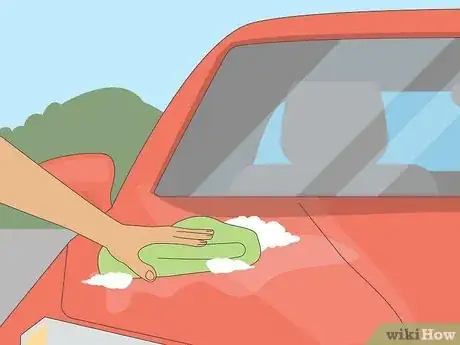
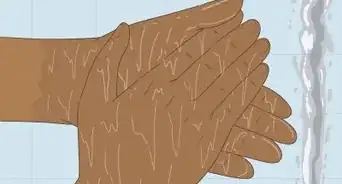
1Hand-wash your car with a microfiber cloth and car shampoo. Hose down your car’s exterior, starting at the top and working your way down. Then, fill a bucket with soapy water and dip a microfiber cloth into the solution. Working in small sections, scrub your car thoroughly. It's best to start at the top of each section and work down.[1]
- Clay barring works best on older ceramic coatings that have already worn off a bit. If your vehicle's coating is more than a couple of years old, a clay bar will work great for you.
- Rinse the car every few minutes so the soap doesn’t dry on the surface.
- Stick with microfiber cloths; regular rags or towels can scratch the paint and leave behind fibers on the surface.
-
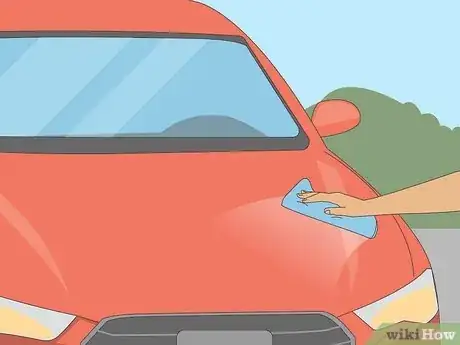
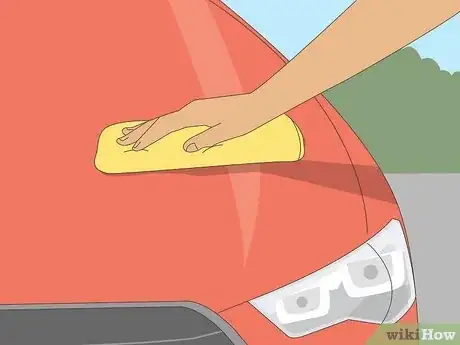
2Dry off the vehicle with a microfiber towel. Grab a clean, dry microfiber cloth and towel off the surface, starting at the top of your car and working your way to the bottom. Take your time and dry the surface thoroughly—don't forget the nooks and crannies! It’s important to get rid of any moisture on the surface.[2]
- Leaving moisture on the surface may make the clay bar harder to use.
Advertisement -
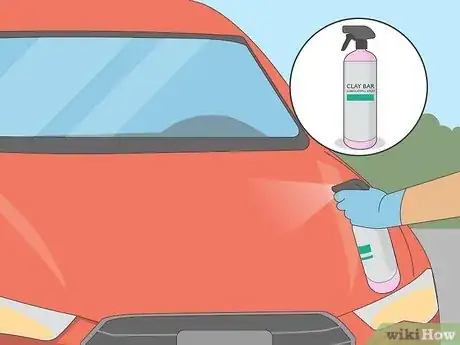
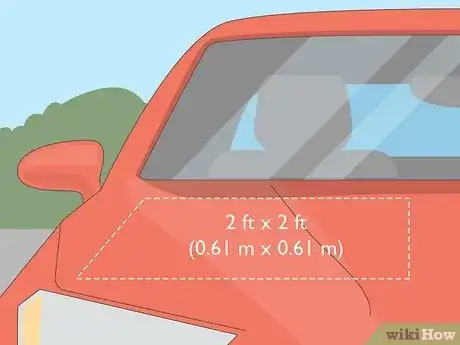
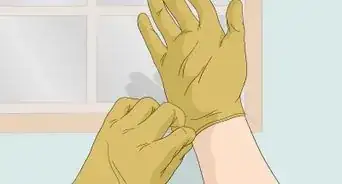
3Spray a small section of the surface with clay bar lubricating spray. Put on a pair of protective work gloves to protect your hands. Then, pick a 2 ft × 2 ft (0.61 m × 0.61 m) section of the vehicle’s surface to start on and coat the area thoroughly with lubricating spray. It doesn’t matter where you start, just be sure to work systematically from there so you don’t miss any spots.[3]
- It’s important to lubricate first so the clay bar glides smoothly across the vehicle’s surface without damaging the paint job. Never use a clay bar without first applying the lubricant.
-
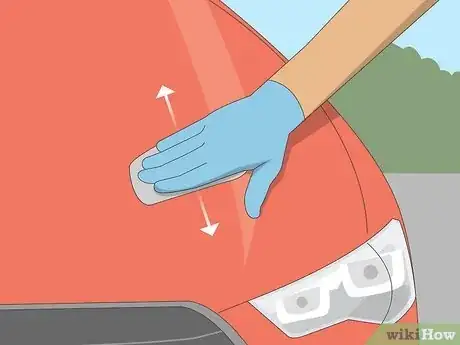
4Rub the clay bar over the lubricated area using back-and-forth motions. Knead the clay bar a few times to loosen it up and press it right against the vehicle's surface. Using gentle pressure, swipe the clay bar across the section and back again. You’ll feel a bit of resistance as the clay bar picks up debris. Continue moving the clay bar back and forth until you feel the grip start to reduce because this means you’ve removed all of the coating from that area.[4]
- If the clay bar gets stuck on the surface, just apply a little more lubricant and carry on.
- Avoid rubbing the clay bar in a circular motion; this could scratch your paint job.
-
5Wipe the clayed surface clean with a microfiber towel. Be sure to towel off the area thoroughly to remove any excess lubricant on your car. To confirm the surface is completely clean, slip your hand into a standard sandwich baggie. Then, run your fingers across the clayed section. If you feel particles on the surface, apply lubricant and clay bar the section again.[5]
- If the clayed area feels smooth, the first section is all set! Just move to the next section and repeat the same steps until you've clayed and wiped the entire surface of your vehicle.
- The baggie amplifies small particles so you can feel them easily on the surface of your car.
-
6Wash and dry the car again to remove any lingering residue. Once you dry off the vehicle thoroughly, keep your car parked in your garage until you're ready to apply a fresh ceramic coat. Try to do this as soon as possible so your car's surface doesn't collect any debris.
- Any debris or residue on the surface will prevent the new coating from bonding properly.
Polishing
-
1Hand-wash your car thoroughly. Hose down your car’s exterior from top to bottom. Add a dollop of car shampoo to a bucket and fill it with water. Dunk a microfiber cloth in the water and scrub your car thoroughly. Work on small sections at a time, starting at the top and scrubbing your way down to the bottom. Rinse the car with the hose.[6]
- A polisher can cut through new ceramic coatings easily. If your ceramic coating is less than a year old, or if you recently got a ceramic coating and dislike the results, use the polishing method to remove it.
- Dry the surface with a clean microfiber towel before proceeding.
- Be as meticulous as possible; any debris left on the surface may scratch the paint during the polishing process. If you want to be extra thorough, consider clay barring the car before you polish it.
-
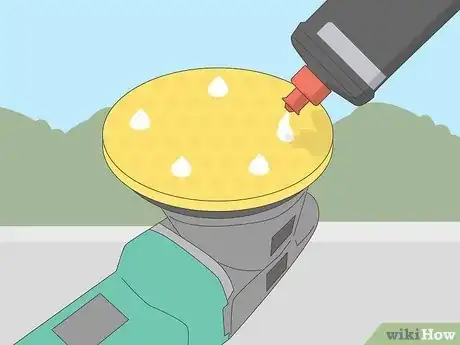
2Apply medium cut polish to the surface of a cutting pad. Put on protective work gloves and slip a clean cutting pad onto a dual action polisher or rotary polisher. Squeeze 3-5 drops of medium cut polish onto the cutting pad and spread it over the surface with your fingers.[7]
- There’s no “right” size cutting pad for this job—it's best to have a few sizes on hand. Use the bigger pads for large, flat surfaces. Then, switch to a smaller pad to go over small or tight areas like door handles, bumpers, etc.
- If you prefer to use compound instead of polish (either gets the job done), use heavy-cut compound.[8]
-
3Work the polish over a 2 ft × 2 ft (0.61 m × 0.61 m) section of the surface. Start on one of the flat surfaces, like the hood, roof, or trunk (it doesn't really matter where you start as long as you work systematically, but the flat surfaces are easy areas to start with). Place the cutting pad against the surface, switch on the polisher to a low speed setting, and apply the polish to the entire section using back-and-forth motions and light pressure.[9]
- This applies the polish to the entire section, but you still need to work the polish.
-
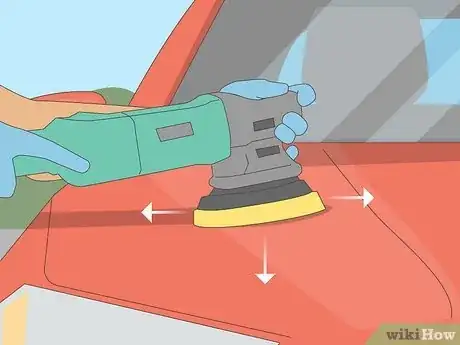
4Increase the speed and work the polish using overlapping motions. Once you've applied polish to the section, move the polisher over the section using up and down motions. Then, go back over the same section moving the polisher from left to right. That counts as 1 pass—do 4-5 passes per section (first moving up/down, then switching to left/right).[10]
- Work carefully around hard edges so you don’t grind them down.
-
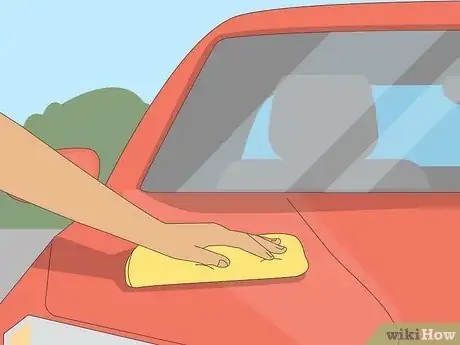
5Wipe the surface clean with a microfiber towel. After you finish polishing each section, switch off the polisher and swipe a clean microfiber cloth across the area to remove excess polish. Be sure to wipe thoroughly since you’ll want to remove any polish residue lingering on the surface.[11]
- When the polishing pad looks caked with polish and debris, just rinse it clean with water and keep going.
- Once you polish and wipe each section, move to the next section. Then, just keep repeating this process until you’ve polished the entire car.
-
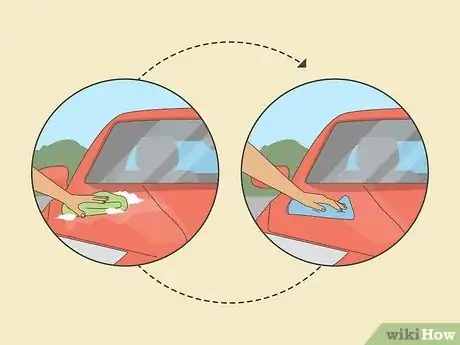
6Wash and dry the car again. You can use the same car shampoo or soap that you used the first time. After drying off the surface a final time, park your car in the garage until you're ready to apply a fresh ceramic coat or begin the fresh coat immediately. That way, your car doesn't pick up any surface debris in the interim (which can interfere with the bonding process).
Things You’ll Need
References
- ↑ https://www.prepmycar.com/how-to-remove-wax-sealant-and-ceramic-coating-from-your-car/
- ↑ https://www.thedrive.com/cleaning-detailing/35005/how-often-should-you-wash-your-car
- ↑ https://ceramicpro.com/how-to-use-a-clay-bar/
- ↑ https://www.thedrive.com/cleaning-detailing/35713/how-to-clay-bar-a-car
- ↑ https://ceramicpro.com/how-to-use-a-clay-bar/
- ↑ https://www.thedrive.com/cleaning-detailing/36506/how-to-polish-a-car
- ↑ https://cardetailingplanet.com/how-to-polish-car-using-machine-polisher/
- ↑ https://drivedetailed.com/ceramic-coating-gone-wrong/
- ↑ https://cardetailingplanet.com/how-to-polish-car-using-machine-polisher/
