This article was co-authored by Benjamin Hansen. Benjamin Hansen is a Landscape Contractor and the Owner of Artscape Gardens, a boutique landscaping company in Los Angeles, California. With over 12 years of experience, Benjamin specializes in transforming properties into aesthetic, functional, and drought-tolerant oases. Benjamin uses color scheme, dimension, and water conscious spaces to inspire the design and installation of soft scape, hardscape, patios, pathways, irrigation, drainage, fencing, concrete, lighting, and electrical work. Artscape Gardens covers all areas of the C-27 landscape contractor classification.
This article has been viewed 125,811 times.
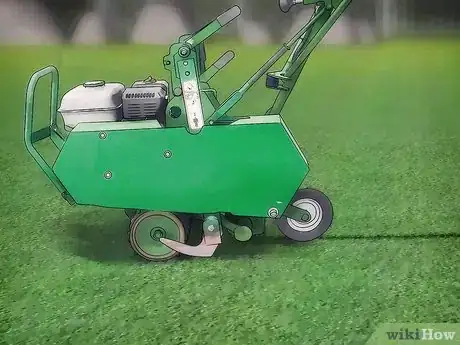
Removing sod is often a necessary first step when preparing a new garden bed or beginning a construction project.[1] There are many methods you might use to get rid of your sod, but the one that works best for you will depend on your personal situation. You might decide manual removal is best, but you could also use a gardening machine, like a tiller, a gas powered sod cutter, a dethatching power rake machine (in some cases), or chemical treatments.
Steps
Removing Sod Manually
-
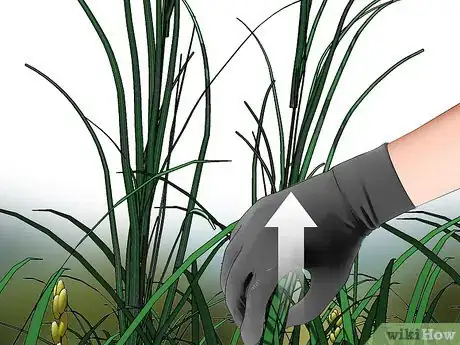
1Consider the type of grass you are removing. Some grasses have deep roots, such as Perennial Rye grass, while other types of grasses have shallow roots, such as Bermuda or Zoysia. Grasses with deep roots will be harder to remove that grasses with shallow roots. For example, if your grass has deep roots, then you will need to make extra sure that you kill the roots or the grass may grow back later.
-
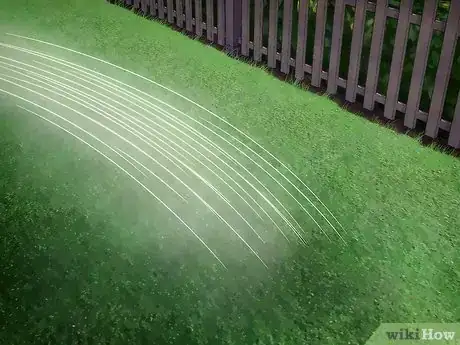
2Water the sod you wish to remove. By adding moisture to the sod, you'll make it clumpier and easier to work with your shovel or spade. Do this by watering your unwanted sod a few days before you start removal.
- If you over water, the soil may become muddy. Muddy soil is very difficult to work with a shovel. Only water your sod until the soil is moist.
Advertisement -
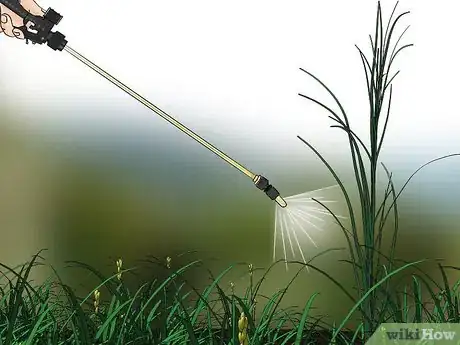
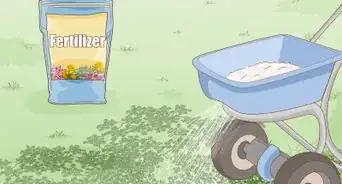
3Treat your lawn with glyphosate.[2] This is the main ingredient in Roundup, which kills an array of different weeds like nutsedge which come from the subsoil and not the topsoil. Though you'll be excavating anywhere from 3 inches to 3 feet down, you want to get rid of those dormant weed seeds no matter what.[3]
- Please note: The WHO considers glyphosate to be a probable human carcinogen. Its use is prohibited in some states and countries. Please check with your local laws and use caution if handling this chemical.
- Test your soil so see how much moisture is in it by sticking your shovel into the sod you wish to remove and wiggling it back and forth to make a small, narrow hole. Then gauge soil dryness with a touch test.[4]
-
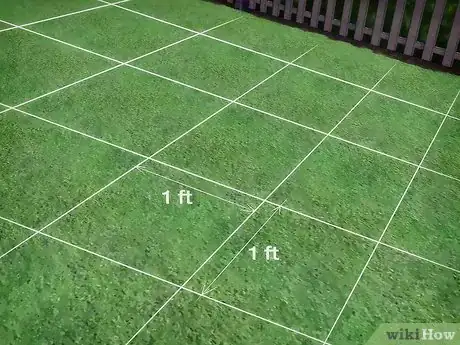
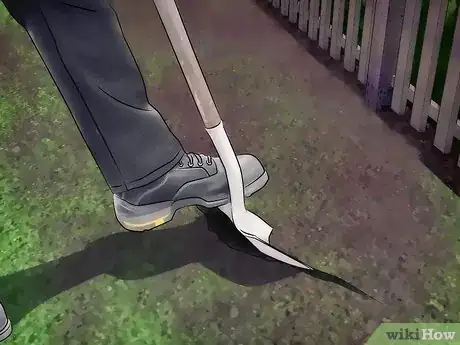
4Use a shovel, spade, or an edger to cut strips into the sod. If you plan on reusing your sod somewhere else around your home or garden, prioritize using an edger. These kinds of machines will give you straight, clean cuts. Your strips of sod should be roughly 1-foot-wide (30 cm) each and approximately 3 feet (0.91 m) in length (91 cm).
- Sod is almost like carpet. The roots of the grass weave together to form a thin layer of greenery on the top of the soil. When cut into strips, you can roll up sod for easier handling.
- Strips that are larger than one foot wide may be too cumbersome for you to handle without help, even if rolled up carpet style.
- Sod is very heavy. Even if you've cut your sod into manageable segments, you may need someone's help to move it. You may also want to keep some pallets handy to put the removed sod onto and then either hire someone to pick them up or get a few people to help you load the pallets into a truck to take them away.
- You only need to break through the top layer of sod with a shovel, spade, or edger to prepare your sod for removal. You don't need to dig especially deep.[5]
-
5Cut your sod in a checkerboard pattern for large scale removal. You can use your shovel, spade, or edger to cut additional 1-foot-wide (30 cm) parallel strips that run perpendicular to your previous cuts. After this sod is cut, it can be pulled free of the ground and disposed of.
-
6Pry up sod squares with a spade or pitchfork. The roots of the sod will still be gripping the soil beneath it. This will offer slight resistance, but you should be able to pull the sod free by pulling on it with your hand or prying it up with your shovel, spade, or pitchfork.
- If you want to keep your sod in one continuous piece, use a spade or pitchfork to cut through the taproots so there is minimal resistance to your removal.[8]
-
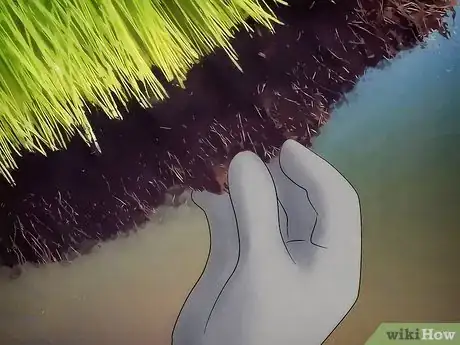
7Break up soil clumps with your hand or a gardening tool. In some cases, soil will cling to the roots of your sod in clumps. You can usually knock these free easily with your hand, but more stubborn soil might be removed more efficiently with a shovel or other suitable tool.
- Clumps of soil might not seem like a big deal at first, but if you plan on rolling or stacking your sod, soil clumps could make your sod uneven and more difficult to transport.[9]
Tilling to Remove Your Sod
-
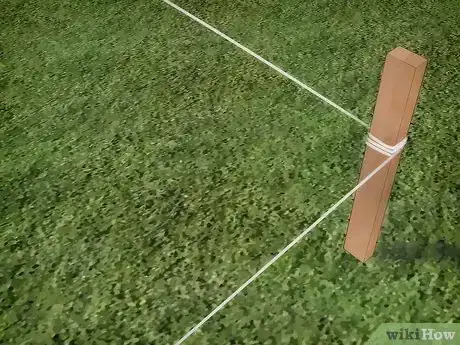
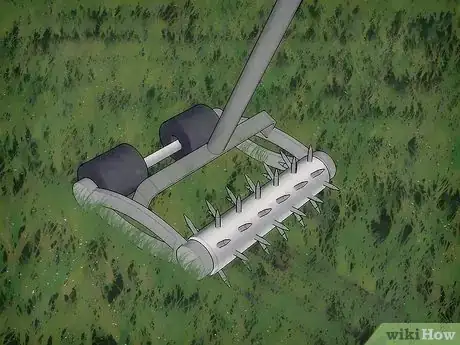
1Stake off the area where you wish to remove your sod. Most modern tillers are motorized. A small motor powers metal blades to break up and aerate soil. This can make it easy to till more sod than you intended. Some stakes marking the boundaries for your sod removal project will prevent this from happening.
- For especially long distances, or if you only have a few stakes, you could stake the corners of your project area and run string between them to outline your sod removal.[10]
-
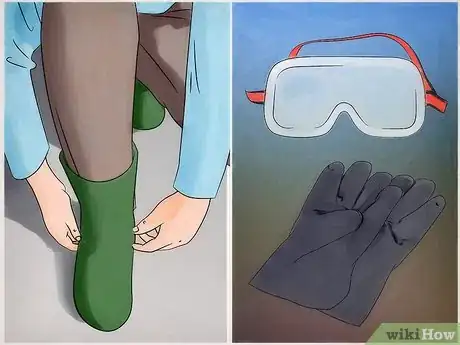
2Wear proper safety equipment when operating your tiller. The blades of your tiller can sometimes kick up dangerous debris, rocks, and plant matter. For this reason, you should wear proper protective gear, like gloves, goggles, long pants, and boots while using a mechanical tiller.
- If you live in a dry region, you may kick up a great deal of dust over the course of your tilling. You may want to wear a dust mask to prevent breathing in dust.[11]
-
3Till your sod. The blades of your tiller will turn over the grass while breaking up its roots and mixing it in with the soil. This can be especially good if you're turning your sod area into a garden. Mixing in organic matter, like grass or leaves, can enrich the soil with nutrients.
- Set the depth gauge of the tines to a shallow setting for your first few passes. Then, go back and rake out any rocks and hard dirt clods. After you have removed these, then you can re-set the depth gauge of your tiller by no more than a couple of notches. Then, go over the areas again to re-till deeper. Keep going through this process until you achieve the desired depth.
- Follow the use and care instructions for your tiller for best results. These kinds of machines can be dangerous if used incorrectly. Keep all children, pets, and people out of the area while you are tilling. Getting caught in the tiller can cause severe bodily injury or death.
- Keep loose clothing and body parts, like your hands and feet, away from the blades of your tiller when it is running.
- Hold your tiller firmly while it's running. The force of your blades trying to break up soil can cause your tiller to buck erratically. Losing hold of your tiller could result in damage or injury.[12]
-
4Refrain from over tilling. Tilling too frequently can be harmful to the micro-organisms that live in the soil beneath your sod. If you are making a garden where you once had sod, over tilling could negatively impact the soil health of your plot.[13]
- Generally, your sod will only need a single day of thorough tilling before it is ready to be used for your purposes.
Depriving Sod of Light
-
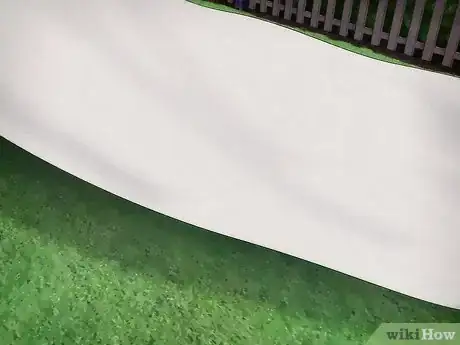
1Cover undesirable sod. Use an opaque material that completely blocks out light, like cardboard or a tarp, to cover the area where you want to remove your sod. Depending on your climate, it may take several months before the grass dies.
- If you live in a humid environment, paper products like cardboard might decay or disintegrate. If the weather report calls for rain, you may want to use a plastic tarp, instead.
- Avoid using sun blockers that have had colored ink on them. This kind of ink can be harmful to the balance of your soil and surrounding plant life.[14]
-
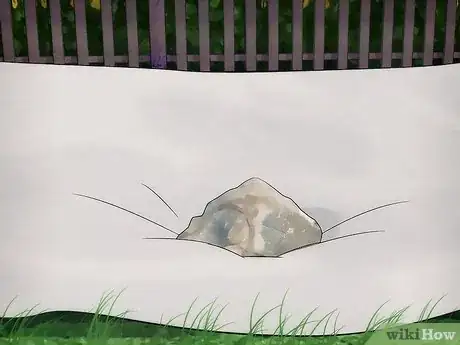
2Weigh down your sun blocker. Wind, animals, or other natural forces might cause your sun blocker to move out of place. To prevent this from happening, you should use heavy objects, like large stones or bricks, to hold your sun blocker in place.
- Put your weights around the perimeter of your sun blocker. Even small amounts of sunlight filtering in from the edges can prolong the amount of time it takes for your sod to die of light deprivation.[15]
-
3Remove your sod, if necessary. If you've waited long enough, your sod may be mostly decayed and require little extra effort on your part to remove. If you need the sod removed in a more timely fashion, first wait until the sod is dead. Then remove it with a shovel.
- You can check whether or not the sod has died by looking under your sun blocker periodically. When the sod has turned completely brown or yellow and has no green remaining, it is dead.
- Sod that is dead will not grip the soil as strongly as sod that is still living. Killing the sod first with light deprivation will make it easier to remove with a shovel or garden tools.[16]
Killing Sod with Chemicals
-
1Choose a suitable herbicide to kill your sod. There are specially formulated herbicides that target grass. You can find these at most home and garden stores or in the gardening section of most general retailers. Some herbicides may come in liquid form to be applied with a sprayer, while others may need to be first dissolved in water then applied to your undesirable sod.[17]
- There are many different kinds of grass, and some of these may be resistant to certain grass herbicides.
- If your sod is not killed by the herbicide, talk with a representative at your local home and garden store to find which herbicide will work best for you.[18]
-
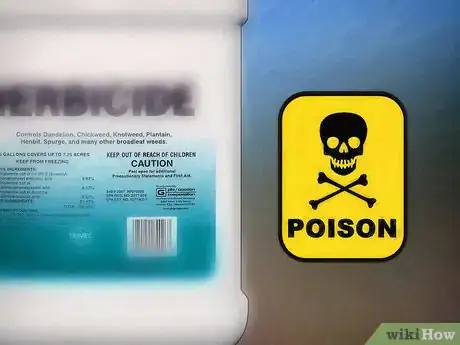
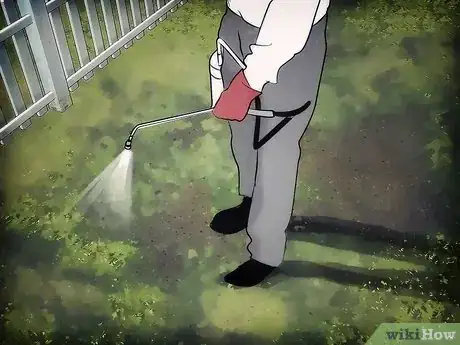
2Apply your herbicide according to its directions. Herbicides are basically a kind of poison, so you should be very careful when using it. Follow the directions exactly as described, and make sure it's administered safely and in the proper quantity. Using too much herbicide could be harmful to surrounding plants.
- Some herbicides can be dangerous to get in your eyes. For this reason, you may want to wear googles while applying your herbicide and avoid applying it on windy days.
- Avoid applying herbicide if there is rain in the forecast. Rain can wash herbicides into the water or surrounding ecosystem and cause damage.[19]
-
3Use further herbicide applications as necessary. Some kinds of sod will be more resistant than others. It may take several applications of herbicide before you achieve the results you desire, or if you have aggressively growing sod, you may have to apply your herbicide annually.[20]
Expert Q&A
Did you know you can get expert answers for this article?
Unlock expert answers by supporting wikiHow
-
QuestionHow do you remove old sod?
 Benjamin HansenBenjamin Hansen is a Landscape Contractor and the Owner of Artscape Gardens, a boutique landscaping company in Los Angeles, California. With over 12 years of experience, Benjamin specializes in transforming properties into aesthetic, functional, and drought-tolerant oases. Benjamin uses color scheme, dimension, and water conscious spaces to inspire the design and installation of soft scape, hardscape, patios, pathways, irrigation, drainage, fencing, concrete, lighting, and electrical work. Artscape Gardens covers all areas of the C-27 landscape contractor classification.
Licensed Landscape Contractor First, treat the sod with something like Roundup, which contains glyphosate. This will kill weed seeds even in the subsoil. Then, use a Classen sod cutter and cut out the sod. After that, you can put 70% top soil and 30% compost on the ground for your new sod. Be sure not to rototill, which can trigger weed germination.
 -
QuestionI want to remove the topsoil and rock scape my front yard. How can I do this and how much of the topsoil should I remove?
 Anthony "TC" WilliamsAnthony "TC" Williams is a Professional Landscaper in Idaho. He is the President and Founder of Aqua Conservation Landscape & Irrigation, an Idaho Registered Landscape Business Entity. With over 21 years of landscaping experience, TC has worked on projects such as the Idaho Botanical Garden in Boise, Idaho. He is a Idaho Registered Contractor and a previously Licensed Irrigator in the State of Texas.
Experienced Landscaper After you remove the plant vegetation, you can shovel off the topsoil by hand or use a small tractor with a front bucket. To put down a rock scape, you wouldn't have to necessarily remove all of the topsoil, you it is a good idea to level or shape the area. After you level the area, install a good heavy weed fabric and then add the rock material.
 -
QuestionHow can I get rid of St. Augustine grass?
 Anthony "TC" WilliamsAnthony "TC" Williams is a Professional Landscaper in Idaho. He is the President and Founder of Aqua Conservation Landscape & Irrigation, an Idaho Registered Landscape Business Entity. With over 21 years of landscaping experience, TC has worked on projects such as the Idaho Botanical Garden in Boise, Idaho. He is a Idaho Registered Contractor and a previously Licensed Irrigator in the State of Texas.
Experienced Landscaper
Things You'll Need
Removing Sod Manually
- Gloves (optional; recommended)
- Shovel, spade, or edger
- Water
- Wheelbarrow (optional)
Depriving Sod of Light
- Sun blocker (like a tarp, drop cloth, or cardboard)
- Weights (to hold sun blocker in place)
Tilling to Remove Your Sod
- Mechanical tiller
- Gloves
- Safety Glasses
- Boots
Killing Sod with Chemicals
- Herbicide
- Applicator (for herbicide)
References
- ↑ http://www.finegardening.com/4-ways-remove-sod
- ↑ Benjamin Hansen. Licensed Landscape Contractor. Expert Interview. 6 October 2020.
- ↑ Benjamin Hansen. Licensed Landscape Contractor. Expert Interview. 6 October 2020.
- ↑ http://www.finegardening.com/4-ways-remove-sod
- ↑ http://ucanr.edu/sites/scmg/Lawn_Replacement/Grass_Removal_Methods/
- ↑ Benjamin Hansen. Licensed Landscape Contractor. Expert Interview. 6 October 2020.
- ↑ http://www.finegardening.com/4-ways-remove-sod
- ↑ http://ucanr.edu/sites/scmg/Lawn_Replacement/Grass_Removal_Methods/
- ↑ http://ucanr.edu/sites/scmg/Lawn_Replacement/Grass_Removal_Methods/
- ↑ http://www.finegardening.com/4-ways-remove-sod#
- ↑ http://www.finegardening.com/4-ways-remove-sod#
- ↑ http://ucanr.edu/sites/scmg/Lawn_Replacement/Grass_Removal_Methods/
- ↑ http://www.finegardening.com/4-ways-remove-sod
- ↑ http://ucanr.edu/sites/scmg/Lawn_Replacement/Grass_Removal_Methods/
- ↑ http://www.finegardening.com/4-ways-remove-sod#
- ↑ http://ucanr.edu/sites/scmg/Lawn_Replacement/Grass_Removal_Methods/
- ↑ http://www.finegardening.com/4-ways-remove-sod
- ↑ http://ucanr.edu/sites/scmg/Lawn_Replacement/Grass_Removal_Methods/
- ↑ http://www.finegardening.com/4-ways-remove-sod
- ↑ http://ucanr.edu/sites/scmg/Lawn_Replacement/Grass_Removal_Methods/
About This Article
To remove sod manually, water it a few days in advance so it's moist but not muddy, which will make it easier to work with. Then, use a shovel, spade, or edge cutter to cut the sod up into a grid made up of 1-foot by 1-foot squares. Finally, pry up the squares you cut with a spade or pitchfork. If you don't want to reuse the sod, you can go over it with a tiller to break up the roots and mix the sod in with the soil underneath. To learn how to remove sod by depriving it of sunlight, scroll down!
