This article was co-authored by wikiHow Staff. Our trained team of editors and researchers validate articles for accuracy and comprehensiveness. wikiHow's Content Management Team carefully monitors the work from our editorial staff to ensure that each article is backed by trusted research and meets our high quality standards.
The wikiHow Video Team also followed the article's instructions and verified that they work.
This article has been viewed 214,213 times.
Learn more...
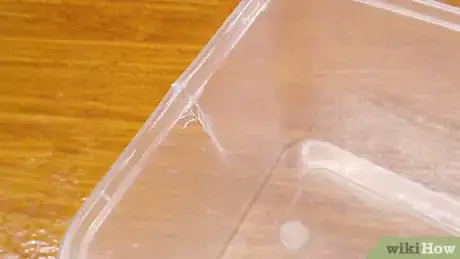
Repairing cracked plastic can seem like a difficult task, but most common plastics are thermoplastic, which means they can be heated and remolded. The key to fixing cracks in plastic is knowing which method is best to repair the crack. Smaller cracks can usually be fixed with glue, hot water, or plastic slurry, while larger cracks may require some welding with a soldering iron. With the right method, fixing a crack in plastic is easier than you think.
Steps
Gluing the Cracked Plastic
-
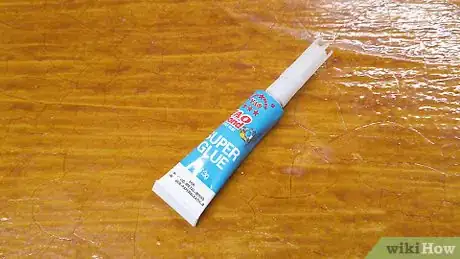
1Use plastic glue to fix small cracks in plastic. If you need to reconnect a crack in plastic, you can use plastic glue, which is specially formulated to bond plastic surfaces. Plastic glue is often used for making models so it is easy to use and safe to handle for adults. Make sure you have enough to connect the whole crack, you don’t want to have to stop after you’ve started applying strong glue![1]
- You can use most super glues as well, but check the packaging to make sure it can be applied to plastic.
-
2Apply the glue to the edges of the crack. Squeezing the tube gently, spread a layer over the edges you will reconnect. Keep a cloth or wipe nearby in case you pour too much and dab any excess glue immediately to prevent it from hardening. Glue dries fast to be sure you are ready to connect the cracked plastic before you start applying![2]
- Strong glues have strong fumes. Work in a well-ventilated area or wear a facemask when handling the glue.
- Wear gloves when using strong glue to prevent it from getting onto your skin and becoming painful to remove.
Advertisement -
3Connect the edges of the crack. With the glue spread on the edges, push them together to connect them. Line up the edges carefully. Apply pressure to the reconnected plastic for 1 minute to allow it to set and then gently release the pressure.[3]
- You can use a C-clamp to hold the plastic together.
-
4Allow the glue to fully cure. Once you’ve connected the cracks in the plastic, it’s very important that you let glue fully set before using the plastic. Different glues have different drying times, so check the packaging for specific drying time. Wait at least 1 hour before using the repaired plastic.[4]
- You can make glue dry faster if you don’t have time to wait for it to cure.
Using Hot Water
-
1Reconnect small cracks in plastic using hot water. Plastics often do not need extreme heat to become malleable enough to repair a crack. Soaking the plastic in hot water can make the plastic soft enough to mold and reconnect the edges of the crack. You can make the plastic set almost instantaneously by quickly submerging it in cold water.[5]
-
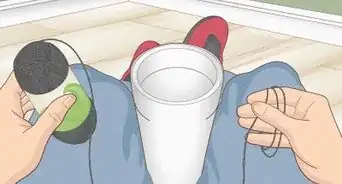
2Fill a container of hot water and a container of cold water. Fill a bowl or container with enough hot water to submerge the cracked piece of plastic. Then fill a container with cold water and keep it nearby so you can set the plastic after you’ve repaired the crack.[6] Make sure you don't overfill the containers so the water doesn't spill over the sides when you submerge the plastic.
- The water should not be boiling when you submerge the plastic.
-
3Place the cracked plastic in the hot water. You may not need to fully submerge the entire piece of plastic since you’re only repairing a crack and not remolding the whole piece. Different types of plastic may take longer to become malleable in the water. Leave the cracked plastic in the water for at least 30 seconds.[7]
- Take the plastic out of the water periodically to test if it is soft enough to mold.
- You can use tongs to hold the plastic in the hot water.
- Don’t slosh the plastic around in the water. Allow it to sit undisturbed.
-
4Take the plastic out of the water and connect the cracked plastic. When the plastic starts to loosen and become malleable enough where you can mold it with your fingers, remove it from the water. Press the cracked edges together to reconnect them. Try not to squish the plastic edges so they don’t appear uneven.[8]
- Wear gloves or use tongs to pull the plastic out of the hot water.
-
5Submerge the plastic in the cold water to set. Once you have reconnected the edges of the crack, it’s important that you quickly cool the warm plastic so that it sets into place. Fully submerge the plastic into the container of cool water. Do not move it around in the water and allow it to sit for at least 30 seconds.
- You can use a C-clamp to hold the crack together when you submerge it in the cold water, just be sure not to squish the plastic so it’s uneven when it sets.
- Take the plastic out of the water and check to see that it has hardened completely before using it.[9]
- Submerge as much as the plastic as you can. Cooling the entire piece will help the recently molded plastic set better.
Making Plastic Slurry with Solvent
-
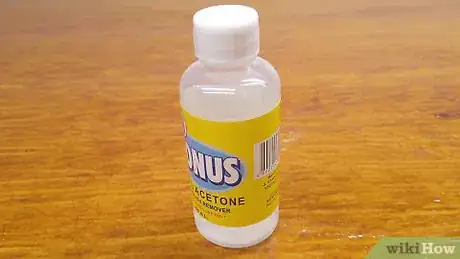
1Use acetone to make a plastic putty to fill in cracks. Acetone is a strong solvent that can dissolve plastic down completely. You can use acetone to make a putty of melted plastic that is great for filling in cracks. But you shouldn’t use it for large holes or gaps or it may not set evenly.[10]
-
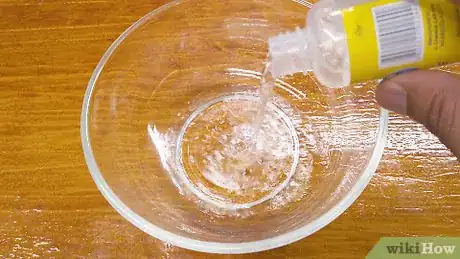
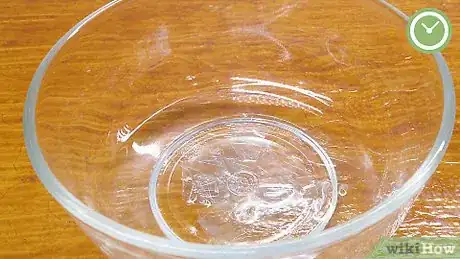
2Fill a glass container with acetone. Acetone melts plastic, so you don’t want to fill a plastic container like a cup or bucket with it.[11] Use a glass or ceramic bowl and fill it with enough acetone to completely submerge a few pieces of scrap plastic. It may be difficult to fully clean the melted plastic when you’re finished, so use a bowl you don’t mind ruining.
- Acetone can emit noxious fumes, so be sure you’re working in a well-ventilated area or wearing a facemask when you use it.
-
3Submerge a few pieces of scrap plastic in the acetone. You’ll be melting down plastic to use to fill your crack, so use pieces that you don’t need. It doesn’t matter the shape, because it will melt completely before you use it.[12] If possible, use scrap plastic that matches the cracked plastic you are repairing.
- Do not get the acetone on your skin as it can irritate it.
- If you can’t match the same type of plastic, try to match the color as best as you can.
-
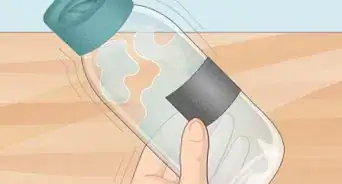
4Let the plastic pieces dissolve in the acetone overnight. The plastic will slowly disintegrate into a thick slurry.[13] Depending on the pieces of scrap plastic, the time it takes to fully break down may vary. A safe bet is to allow the plastic to sit in the acetone for over 8 hours.
- You can speed up the time it takes the scrap plastic to break down by cutting it into smaller pieces.
- If the plastic sludge has any large lumps of plastic in it, it may need more time to disintegrate.
-
5Pour out the extra acetone. Once the pieces of plastic have fully broken down in the acetone, they will separate and sink to the bottom of the container. Carefully drain the acetone in the sink, leaving only the melted plastic behind. Be careful not to breathe in the fumes.[14]
- Acetone can eat through plastic and damage your grass so do not empty the acetone in the garbage or outside!
- Any small amount of acetone left in the container will evaporate quickly.
-
6Brush the plastic slurry over the crack to fill in the seam. With the acetone fully removed from the mixture, you can apply the plastic slurry made from your scrap plastic. Dip a small paintbrush or swab into the liquid plastic and use it to fill in the crack. Be sure to fill it in completely and apply the putty as evenly as you can.[15]
- Apply the liquified plastic to the underside of the crack so it won’t be as visible.
-
7Allow the plastic slurry to harden completely. The slurry will quickly begin to bond with the plastic and start to harden. It’s important that you let it set completely before you use the plastic or the crack can reopen. Wait at least 1 hour before using the repaired plastic.[16]
Welding the Plastic
-
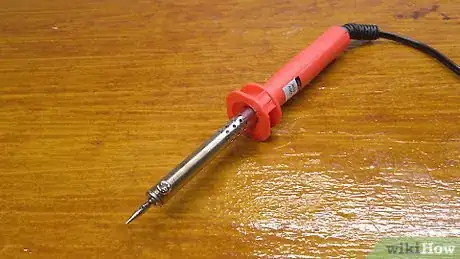
1Use a soldering iron to fix larger cracks in plastic. A simple soldering iron is a great way to fix a crack in plastic. The focused heat from the iron allows you to melt only the edges of the crack so you can reconnect them easily without melting or warping any of the rest of the plastic. They are also easy to use and do not require any extra material.[17]
- Soldering irons are available at hardware stores and the home improvement section of many stores for about $10.
-
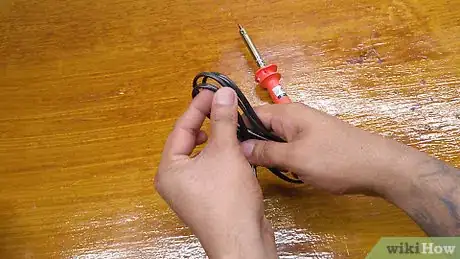
2Let the soldering iron heat up. Plug in and turn on your soldering iron and set it to the lowest setting. It may take a little while for the iron to heat up, but you can use this time to prepare the rest of your materials. You don’t want to use the soldering iron until it has reached the set temperature or your plastic may weld unevenly.[18]
- Do not rest the soldering iron on anything flammable while it heats up.
- Make sure the tip of the soldering iron is clean of any residue.
- Plastic melts much easier than metal, so your soldering iron does not need be higher than 400 °F (204 °C).
-
3Connect and hold the crack together. When the iron is ready, push the edges of the crack together so that they connect, but don’t overlap each other. Try not to stretch or bend the rest of the plastic. If the edges of the crack cannot connect, you use a small piece of scrap plastic as a patch by melting the edges of the patch and the edges of the crack, and then fusing them together.[19]
- Use a clamp to hold the crack together and allow you to use both of your hands to solder.
- If you do use a piece of scrap plastic as a patch, cut the plastic to a size that fits the crack, and try to use the same type and color of plastic.
-
4Melt the edges of the crack with the soldering iron. Lightly rake the hot tip of the soldering over the edges of the crack until they melt and fuse together. Be sure to heat the plastic evenly so it fuses together smoothly. Allow the plastic to fully cool before using it.[20] There should not be a flame or a lot of smoke.
- The soldering iron will be very hot, so take be careful not to burn yourself or anything around you when you’re handling it.
- Melting plastic can put off fumes that are harmful. Work in a well-ventilated area or wear a breathing mask to avoid breathing in the fumes.
-
5Allow the plastic to cool completely. The plastic must cool completely in order for it to set. If you try to use the plastic before the crack is fully set, it may reopen and be harder to repair the next time. Remelting plastic can affect its appearance.[21]
- Wait at least 1 hour before using the repaired plastic.
-
6Turn off and store the soldering iron. When you are done welding your plastic together, turn off and unplug your soldering iron and allow it to cool. Wipe the soldering tip clean of any plastic residue that may have collected there. Then store the iron in a safe location.
- You may need to scrub the tip of the soldering iron with a brush to remove the residue.
- You can use a cleaning solution to clean the tip, but make sure the iron is unplugged first.
Our Most Loved Articles & Quizzes
Warnings
- Acetone is a noxious chemical. Do not breathe in the fumes or get any of the liquid on your skin.⧼thumbs_response⧽
- Strong glue can give off harmful fumes. Work in a well-ventilated area or wear a facemask when you are handling it.⧼thumbs_response⧽
References
- ↑ http://www.craftechind.com/blog/
- ↑ http://www.scalemodelguide.com/construction/materials/learn-glue/#
- ↑ https://makezine.com/2017/02/16/plastic-repair/
- ↑ https://makezine.com/2017/02/16/plastic-repair/
- ↑ https://makezine.com/2017/02/16/plastic-repair/
- ↑ https://makezine.com/2017/02/16/plastic-repair/
- ↑ https://makezine.com/2017/02/16/plastic-repair/
- ↑ https://makezine.com/2017/02/16/plastic-repair/
- ↑ https://makezine.com/2017/02/16/plastic-repair/
- ↑ https://chemistry.stackexchange.com/questions/74963/repairing-acetone-damage-and-discoloration-to-plastic
- ↑ https://chemistry.stackexchange.com/questions/74963/repairing-acetone-damage-and-discoloration-to-plastic
- ↑ https://faq.ninja250.org/wiki/Plastics_repair_with_ABS_cement
- ↑ https://faq.ninja250.org/wiki/Plastics_repair_with_ABS_cement
- ↑ https://chemistry.stackexchange.com/questions/74963/repairing-acetone-damage-and-discoloration-to-plastic
- ↑ https://makezine.com/2017/02/16/plastic-repair/
- ↑ https://chemistry.stackexchange.com/questions/74963/repairing-acetone-damage-and-discoloration-to-plastic
- ↑ http://www.circuitrework.com/guides/7-1-1.html
- ↑ http://www.circuitrework.com/guides/7-1-1.html
- ↑ https://makezine.com/2017/02/16/plastic-repair/
- ↑ https://makezine.com/2017/02/16/plastic-repair/
- ↑ https://makezine.com/2017/02/16/plastic-repair/
