This article was co-authored by Jacob Pischer. Jacob Pischer is a Home Improvement Specialist and the Owner of Helpful Badger, a home repair service in Portland, OR. With over four years of experience, Jacob specializes in a variety of handyman services including pressure washing, cleaning gutters, repairing drywall, fixing leaky plumbing fixtures, and repairing broken doors. Jacob studied at Madison Area Technical College and has a background in real estate investment.
This article has been viewed 58,303 times.
Plastic lattice is a great tool for landscaping—it won’t rot, it’s insect-resistant, and it’s easy to clean. However, handling and cutting it can sometimes prove to be a challenge. Start by measuring your project space and marking where you’ll need to cut the lattice with a pencil and straightedge. Clamp the lattice in place and use a circular saw to carefully cut away the excess. After that, your lattice should be ready to install!
Steps
Measuring the Space
-
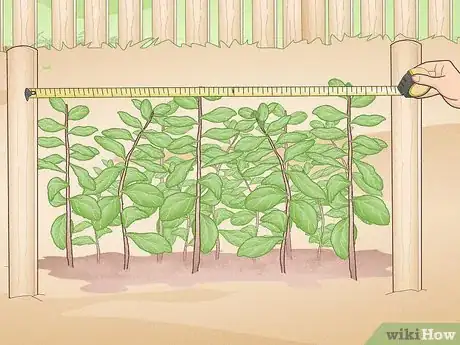
1Use a measuring tape to measure your project’s dimensions. Once you’ve decided where the lattice will go, measure and record the dimensions of the product area. Purchase panels of lattice that either fit the space perfectly or are sized slightly bigger, so you can trim them down.
- For example, if the project space is 3 ft (0.91 m) wide and 4 ft (1.2 m) high, you’ll need to purchase panels that are at least 3 by 4 ft (0.91 by 1.22 m).
-
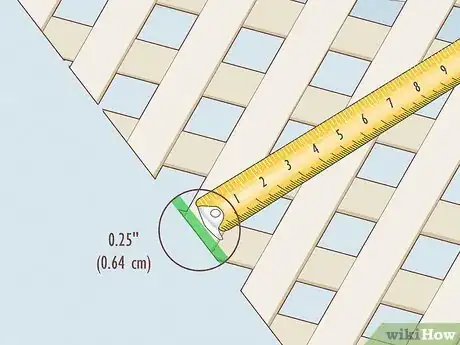
2Allow for an additional 0.25 in (0.64 cm) on each side. Weather can sometimes affect plastic lattice, causing it to contract or expand up to 3 times as much as wood or solid core vinyl lattice. To counteract this effect and prevent permanent warping, add a small 0.25 in (0.64 cm) buffer to the measurements.[1]
- For example, if your project space is 3 by 4 ft (0.91 by 1.22 m), you should purchase lattice panels that measure 3.02 by 4.02 ft (0.92 by 1.23 m)
Advertisement -
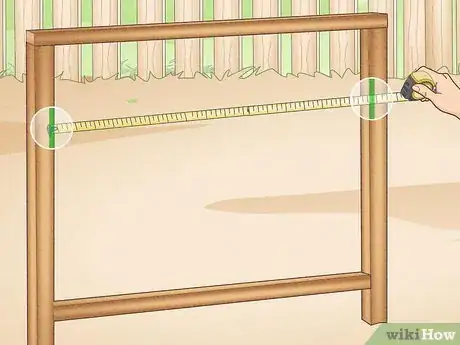
3Adjust your measurements based on any frames you’ll be using. When you’re planning the space for the lattice, make sure it includes the size of the panel as well as the framing material. Measure the thickness of any caps, dividers, or frames that will surround the lattice and subtract that number from your lattice width.[2]
- For example, if the project space is 3 ft (0.91 m) wide, add your 0.25 in (0.64 cm) buffer, then subtract the thickness of your frame. If your frame is 3 in (7.6 cm) thick, your lattice should be cut at 2.77 ft (0.84 m).
-
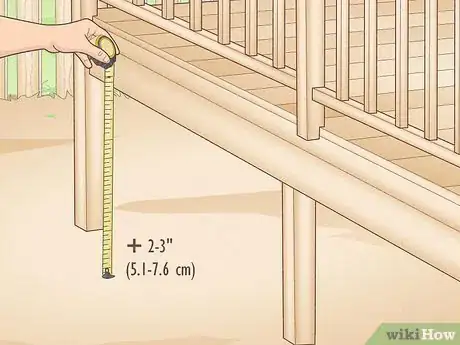
4Add an extra 2 to 3 in (5.1 to 7.6 cm) to panels that go below a house. For this project, the lattice will need to be pushed into the dirt a few inches to stay in place. Depending on the hardness and compactness of your soil, allow for about 2 to 3 in (5.1 to 7.6 cm) of extra length for staking and securing.[3]
- For example, if your project space is 3 by 4 ft (0.91 by 1.22 m) and your soil is soft, your panel should measure 3.02 by 4.27 ft (0.92 by 1.30 m)
- If your soil is harder and more compact, use less than 2 inches (5.1 cm) of lattice for staking.
- If the soil is soft, add on the full 3 in (7.6 cm) length to keep the lattice in place.
Cutting with a Circular Saw
-
1Put on protective gear before you start sawing. Make sure to wear plastic safety glasses to protect your eyes. You should also wear work gloves while you handle and cut the lattice, just in case any splinters or chips go flying.
-
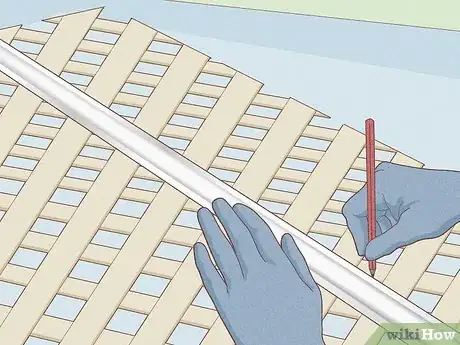
2Use a straightedge and a pencil to draw a straight cut line on the lattice. Once you’ve found your measurements, mark the lines where it needs to be cut. Use a carpenter’s pencil to carefully draw a light line down the back of the lattice where it requires trimming.[4]
-
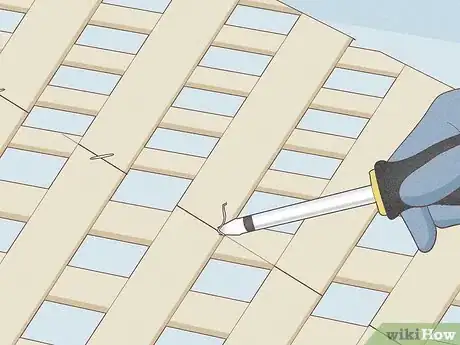
3Use a flat screwdriver to remove any staples or nails along the pencil line. Manufacturers often place staples and nails in the lattice to help it hold its shape, but these can be a safety hazard when you’re sawing. This will help the cutting process go much more smoothly and prevents the risk of staples flying up and hitting you.[5]
-
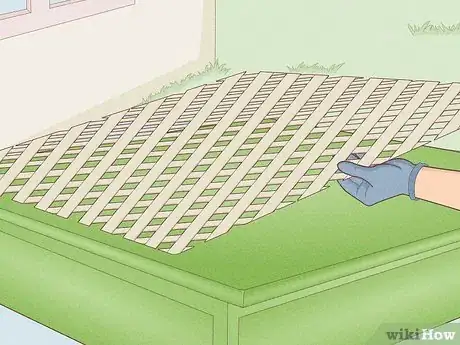
4Place the lattice face-down on a flat surface for cutting. A worktable or a sturdy plank will do the trick. Set the lattice on the surface with the front, or the side with the faux wood grain, facing down.[6]
- Any flat 8 ft (2.4 m), 2 by 4 in (5.1 by 10.2 cm), or 2 by 6 in (5.1 by 15.2 cm) board can function as a work surface.
-
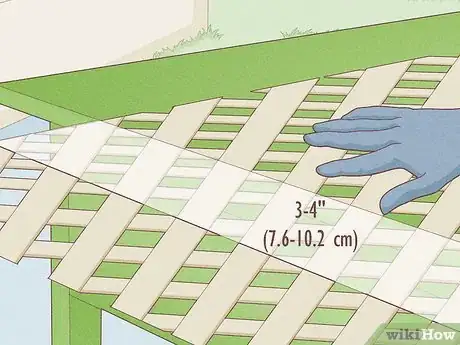
5Adjust until the drawn line is 3 to 4 in (7.6 to 10.2 cm) past the edge of the table. The space below the line will need to be open while you cut, so move the lattice until you have enough overhang. Keep the pencil line parallel to the side of the surface to help you make the straightest cut possible.[7]
-
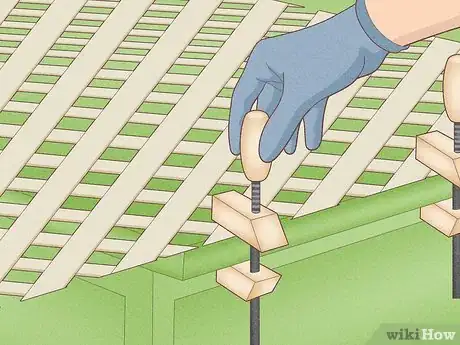
6Secure the lattice with several clamps. Place the clamps at either end of the lattice, out of the way of the cut line. Make sure the clamps are tight and firmly in place to keep the lattice stabilized and help you cut in a straight line. It will also help prevent splintering, splitting, and chipping.
-
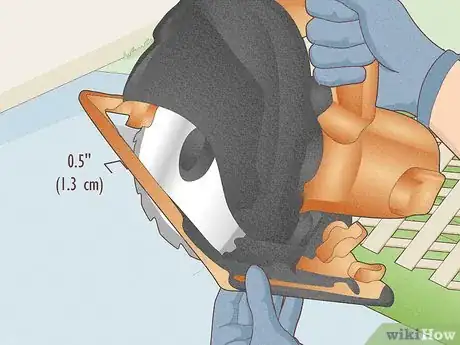
7Set the blade depth 0.5 in (1.3 cm) wider than the lattice’s thickness. Adjust the blade depth on a circular saw by releasing the blade lever on the back. Hold the saw against the lattice as if you were about to cut it, then let the blade dip roughly 0.5 in (1.3 cm) below the level of the lattice. Press the blade lever back into place to secure the depth.
- Generally, plastic lattice will be about 0.5 in (1.3 cm) thick, but check the thickness with a ruler if you need to.
- For plastic or solid core vinyl lattice, you may want to use a vinyl-cutting blade.[8]
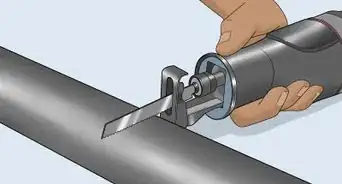
- You can also use a reciprocating saw or a sawzall with a metal bit, but avoid using anything with a high-speed saw bit designed for wood. The teeth will be too big and the plastic will end up chipping.[9]
-
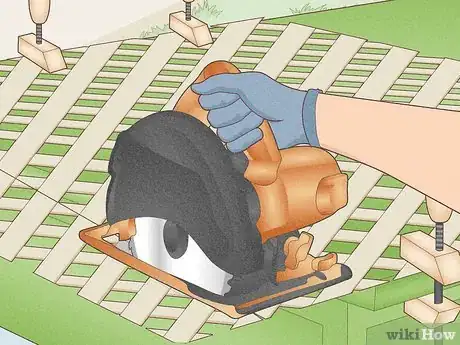
8Squeeze the saw's trigger and make a slow, steady cut down the line. Position the saw so it’s right along the pencil line, then start making a careful, straight cut down the lattice. Go at a slow pace, following the pencil line as closely as possible. Turn off the saw the once you reach the end and cut cleanly through. Now your lattice is ready to be installed!
Expert Q&A
Did you know you can get expert answers for this article?
Unlock expert answers by supporting wikiHow
-
QuestionWhat would you use to saw through plastic lattice?
 Jacob PischerJacob Pischer is a Home Improvement Specialist and the Owner of Helpful Badger, a home repair service in Portland, OR. With over four years of experience, Jacob specializes in a variety of handyman services including pressure washing, cleaning gutters, repairing drywall, fixing leaky plumbing fixtures, and repairing broken doors. Jacob studied at Madison Area Technical College and has a background in real estate investment.
Home Improvement Specialist
Things You’ll Need
- Measuring tape
- Protective gear (eyewear, gloves)
- Straightedge
- Pencil
- Flat screwdriver
- Clamps
- Circular saw
Warnings
- Always wear personal protective gear when working on plastic lattice. This includes work gloves and safety goggles to protect you from any stray pieces or sparks.⧼thumbs_response⧽
- No matter which type of blade you use, make sure it’s sharp. A dull blade is a safety hazard and won’t make clean cuts.⧼thumbs_response⧽
References
- ↑ http://resourcecenter.permalatt.com/lattice-best-project/
- ↑ https://www.homedepot.com/catalog/pdfImages/d0/d088231a-972d-4e2a-b749-c512a2518bb1.pdf
- ↑ https://www.doityourself.com/stry/6-tips-for-cutting-lattice-panels
- ↑ https://www.doityourself.com/stry/6-tips-for-cutting-lattice-panels
- ↑ https://www.doityourself.com/stry/6-tips-for-cutting-lattice-panels
- ↑ https://www.doityourself.com/stry/6-tips-for-cutting-lattice-panels
- ↑ https://www.doityourself.com/stry/6-tips-for-cutting-lattice-panels
- ↑ https://www.doityourself.com/stry/6-tips-for-cutting-lattice-panels
- ↑ Jacob Pischer. Home Improvement Specialist. Expert Interview. 4 September 2020.
About This Article
Plastic lattice is a great landscaping material that you can cut to shape with a circular saw. Use a ruler and pencil to mark the cut line on your lattice. If there are any staples or nails along the cut line, remove them with a flathead screwdriver so your saw blade doesn’t hit them. Place your lattice on a flat surface with the cut line overhanging by 4 inches, and clamp it in place. Set your saw blade ½ inch deeper than the lattice thickness to make sure it cuts through cleanly, then make a slow, steady cut along the line. Don’t forget to wear gloves and goggles to protect you from splinters or flying plastic chips. For more home improvement tips, including how to measure your lattice, read on!
